 by
by You might be under the impression that it doesn’t really matter whether you choose to frame your shot using the portrait or landscape orientation. But that couldn’t be further from the truth. Because it actually influences the storytelling, the perception of the main subject, and the emotional impact quite significantly. Keep in mind that photography is kind of an art of illusion. You are responsible for what’s included into the frame and what’s not. Choosing the right orientation can help you provide the necessary context and evoke exactly the emotions that you want.
Understanding when to use portrait and landscape orientations is definitely a skill that you should master if you want your works to be impactful and make a lasting impression.
Luckily, this guide will equip you with all the necessary knowledge. Here, you will learn about the definitions and the differences between portrait vs landscape orientations as well as when exactly you should each of them. You will also find out about the rule of thirds, and how you can use cropping to change the orientation of your image, if needed.
If you want to improve your visual storytelling skills, keep reading!
Portrait Orientation
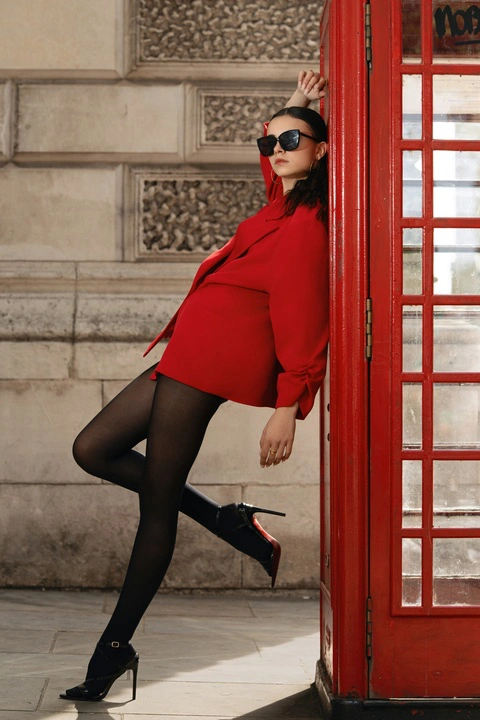
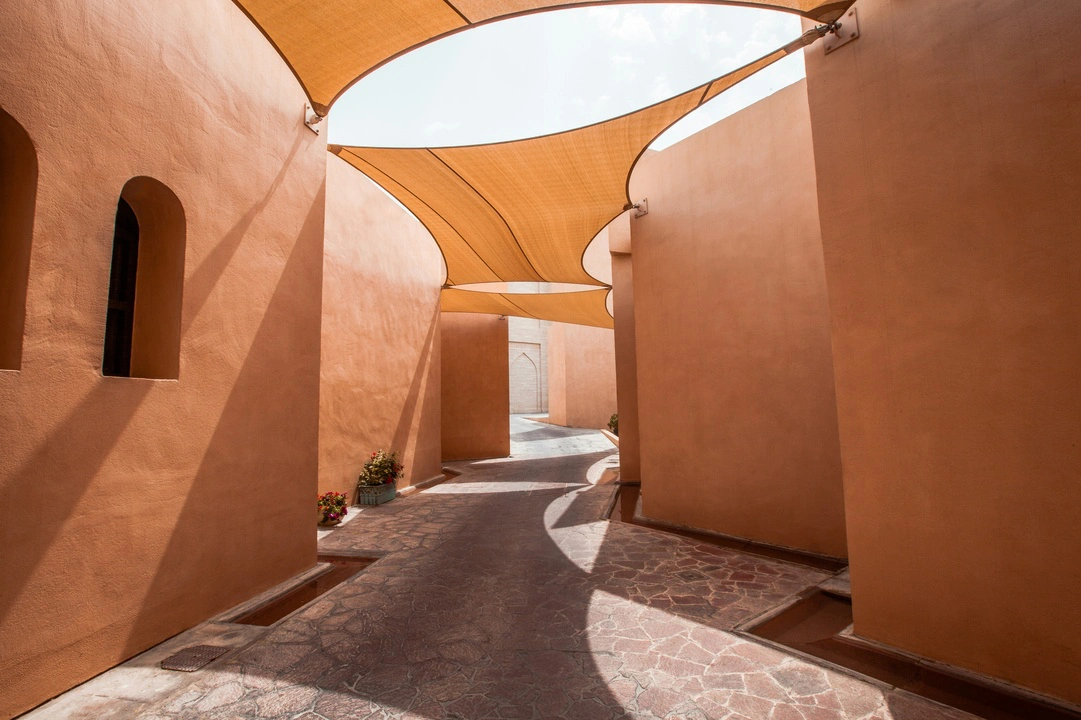
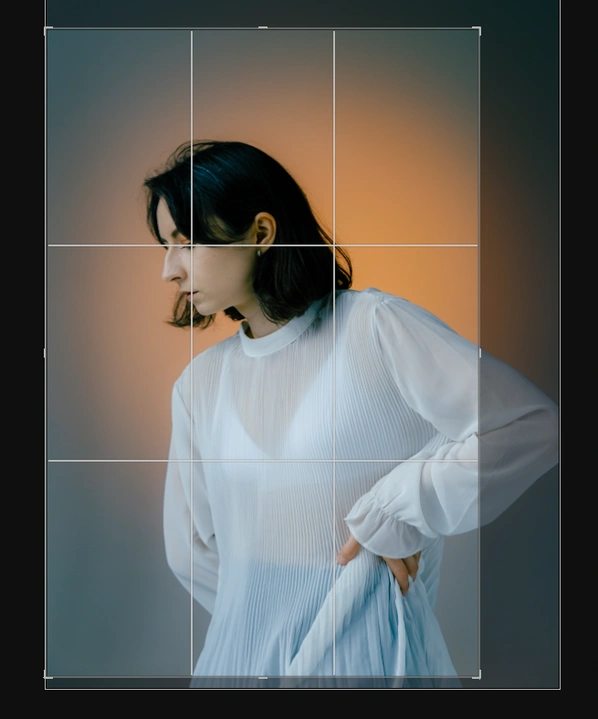
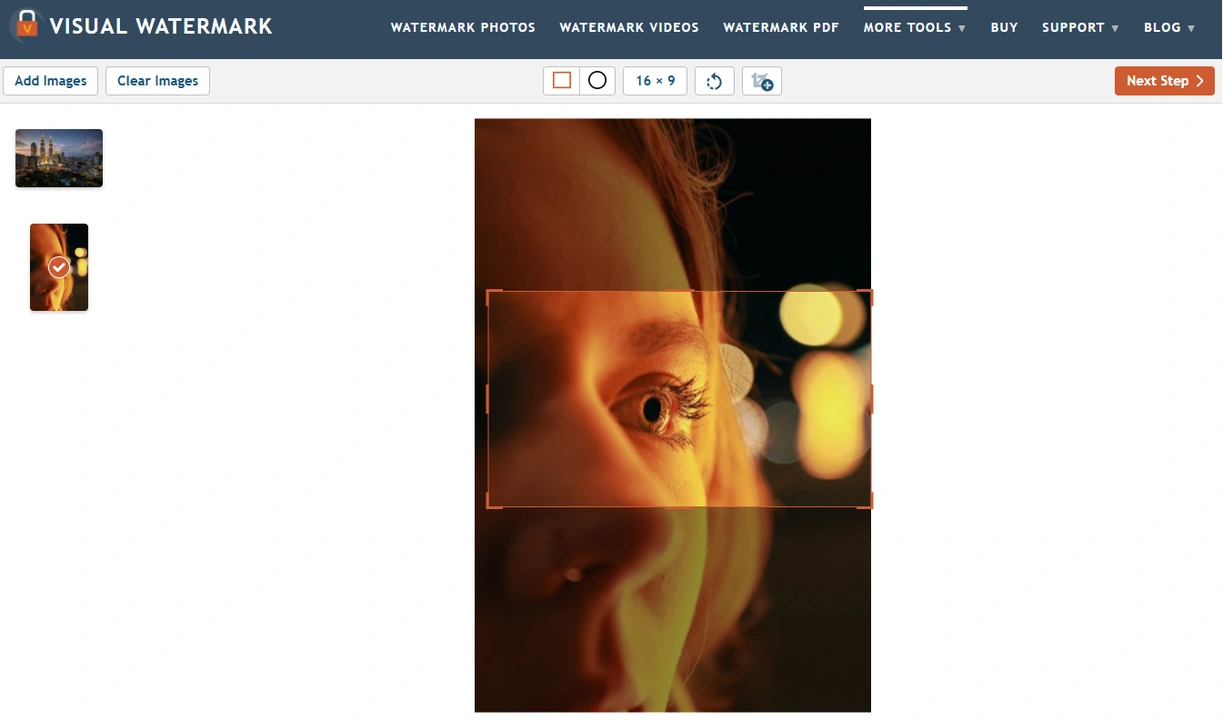
In portrait orientation, the height of an image exceeds its width. In other words, it’s a vertical orientation. A portrait-oriented image looks like this:
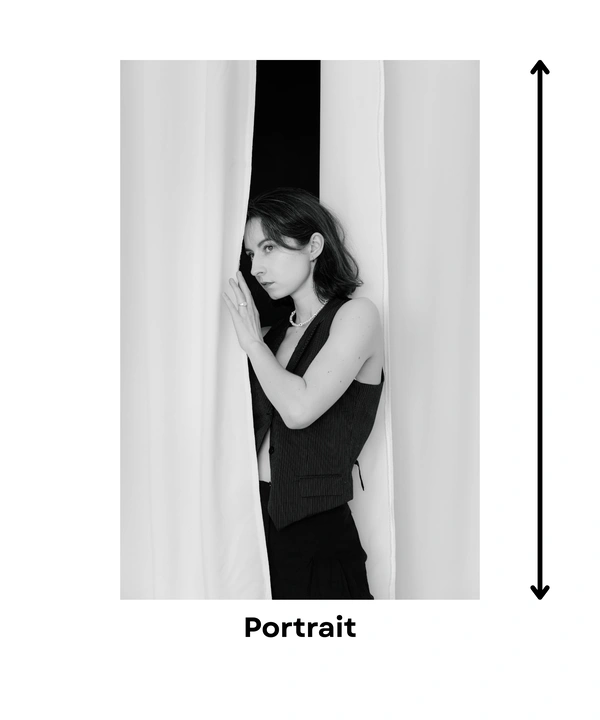
In a portrait-oriented image, a vertical subject often fills the majority of the frame, therefore these images can feel more intimate. But, depending on the composition, they can also evoke a sense of constraint. For instance, if you leave little free space around the subject, it may feel like you crammed your subject into the frame.
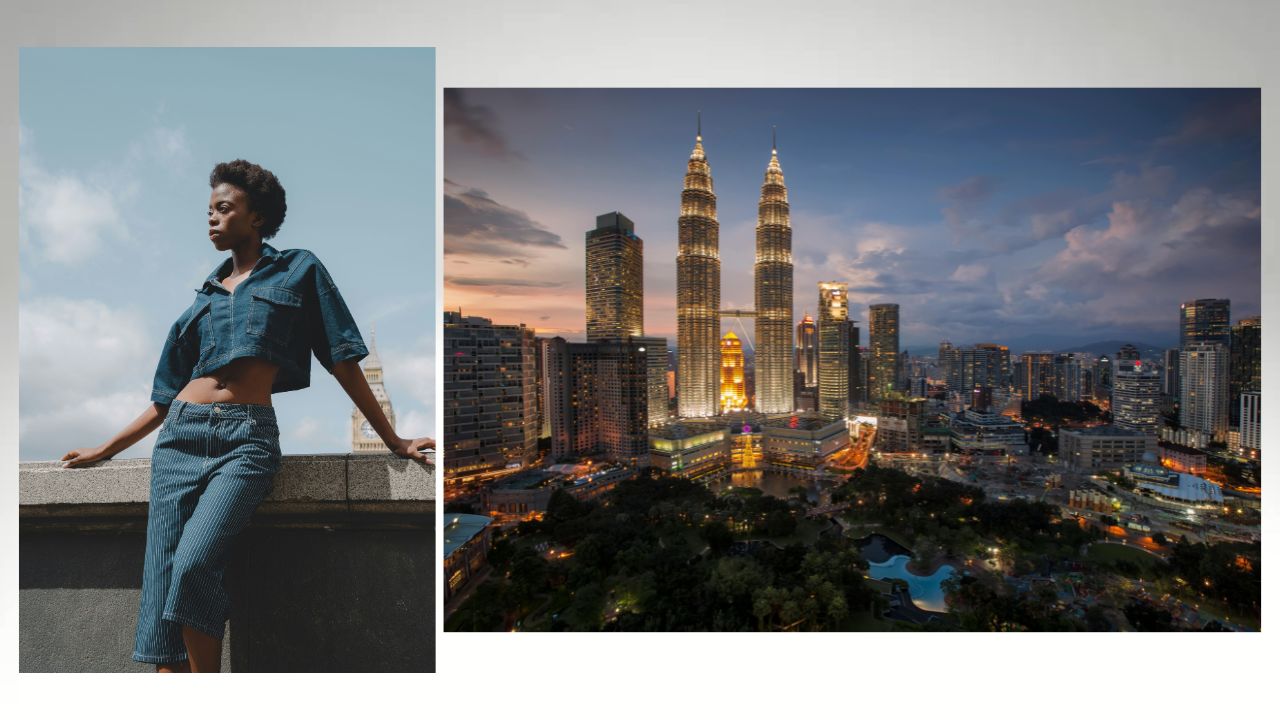
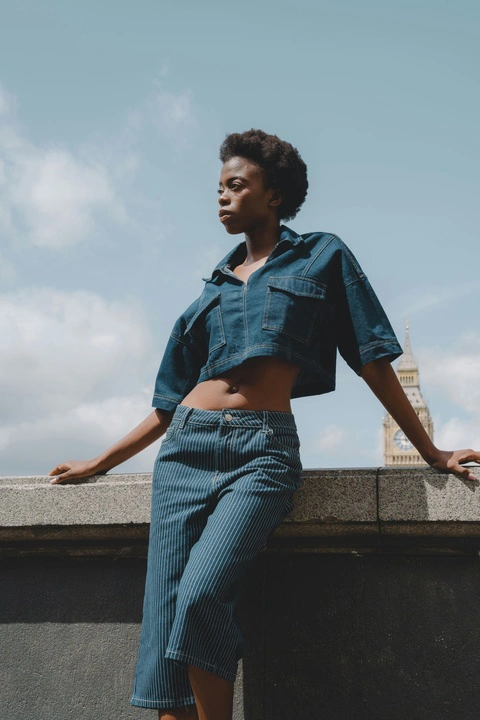
Keep in mind that a portrait-oriented image can provide a lot of information about a vertical object. For instance, it can give the viewer a better understanding of a person’s height or how tall a building or tree is. But it won’t provide as much context as a landscape-oriented image when you are photographing a broad scene, e.g. a cityscape, for instance. Portrait orientation can help you focus the attention on a particular detail of a cityscape, instead.
Portrait orientation is particularly effective when you need to:
- Focus on a single subject, such as a person or a tall object.
- Emphasize the vertical form of one or several elements in a scene, e.g. a skyscraper or a standing person.
- Highlight details.
- Make the viewers feel connected to the subject.
This orientation is also prevalent in mobile photography and images that are posted on social media because you usually hold your smartphone vertically.
Landscape Orientation
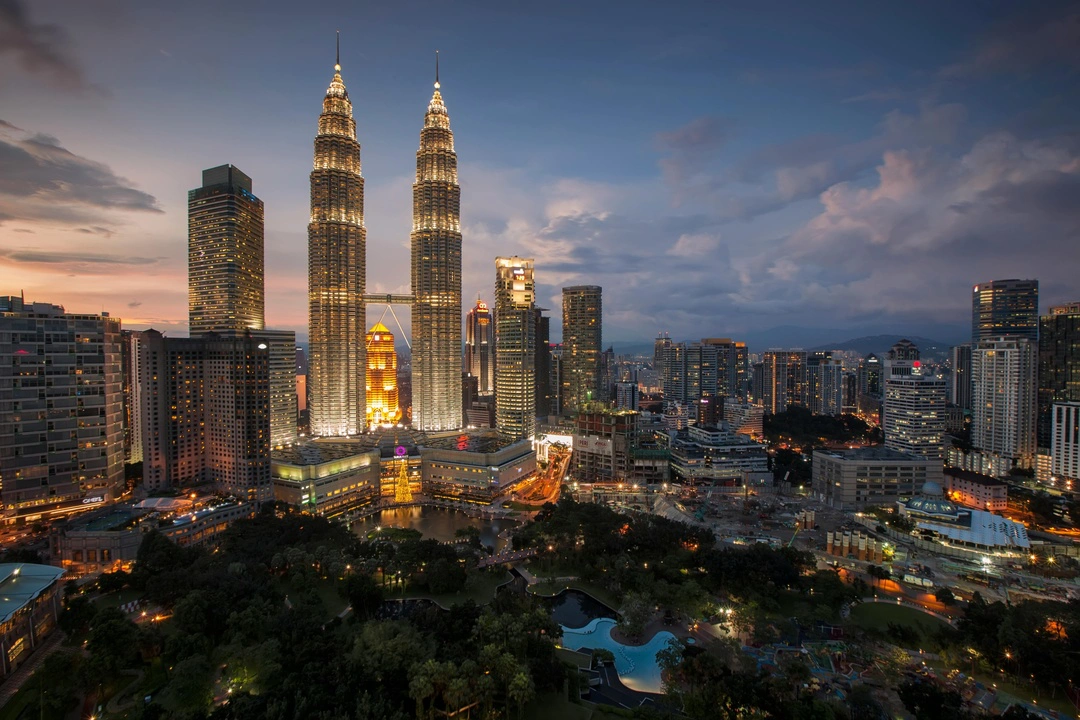
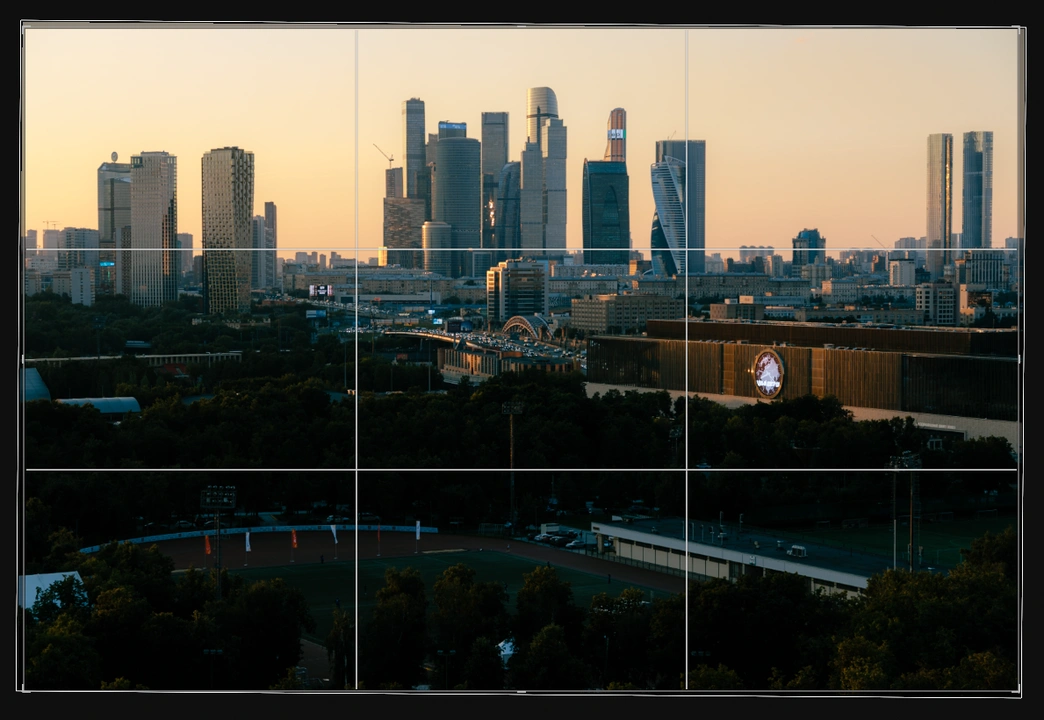
In landscape orientation, the width of an image exceeds its height. So, it’s a horizontal orientation. A landscape-oriented image looks like this:
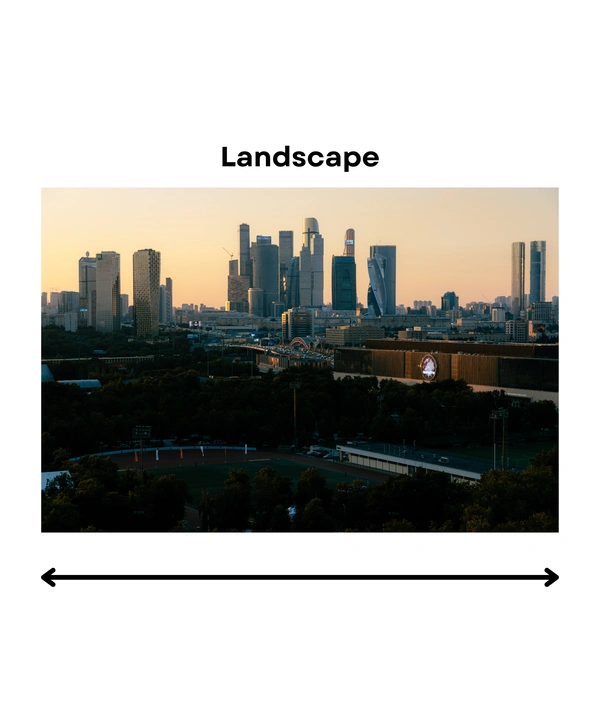
In landscape-oriented images, a wide subject fills up the majority of the frame. This orientation emphasizes the width and the breadth of a scene and provides much more context. For instance, if you are taking a photo of a cityscape, by choosing the landscape orientation you will be able to include a lot of different elements into your scene – all the buildings, roads and the sky.
Landscape orientation is particularly effective when you need to:
- Capture wide vistas or panoramic views.
- Include multiple subjects or elements within the frame.
- Convey a sense of scale, vastness and openness.
It’s worth noting that the landscape orientation is how people view the world naturally. For this reason, TVs and computer screens are oriented horizontally and this is also why this orientation is used in television and cinematography.
When You Should Use Portrait Orientation
We’ve already mentioned a couple of instances when the portrait orientation might come in handy. But now, let’s take a closer look at when it can be a great choice:
- Portrait photography. As the name suggests, the vertical orientation is perfect for taking photos of people, specifically when there’s one or maybe two people in the frame. Vertical close-ups, headshots and full-body portraits provide all the key information about the main subject while also eliminating all the unnecessary elements in the background. When photographing a person vertically, you can also evoke a sense of closeness and intimacy.
- Photos of clothes. Are you an entrepreneur selling clothes and taking DIY product photos yourself? Or maybe you’re into fashion photography? In both of these cases, your best bet is to frame your shots vertically. This orientation would be perfect for showcasing an entire garment or some details of it.
- Vertical objects and lines. The portrait orientation is also ideal when you need to emphasize the vertical form of an object as well as convey its grandeur. For instance, if you want to take a photo of a tall building (e.g. a skyscraper), a tree or a waterfall. In addition to this, if there are lots of vertical elements and lines in your shot, it’s also better to frame your shot vertically to create a harmonious and dynamic image.
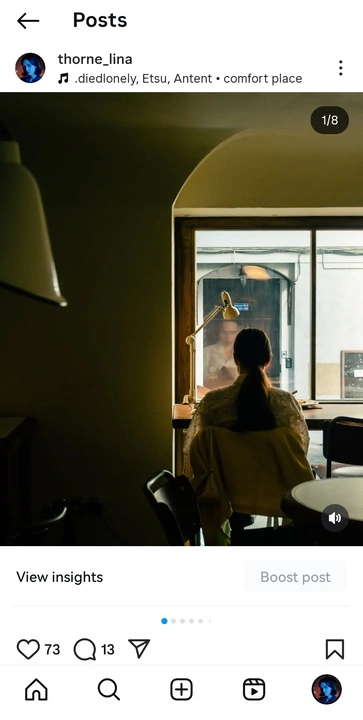
- Social media content. It’s no secret that portrait-oriented images perform the best on Instagram because they fill up the majority of your smartphone’s screen when you are scrolling the feed and, thus, you will surely notice them. So, if you want to get those likes and gain some followers, always go for portrait-oriented images.
When You Should Use Landscape Orientation
Now, let’s take a closer look at when you should opt for landscape orientation:
- Landscape photography. The horizontal orientation is called landscape because it’s absolutely perfect for pretty much any kind of -scape: landscapes, cityscapes, and seascapes. Landscape orientation will allow you to encompass the vastness, provide a lot of context, and showcase the breadth and the scale of a scene.
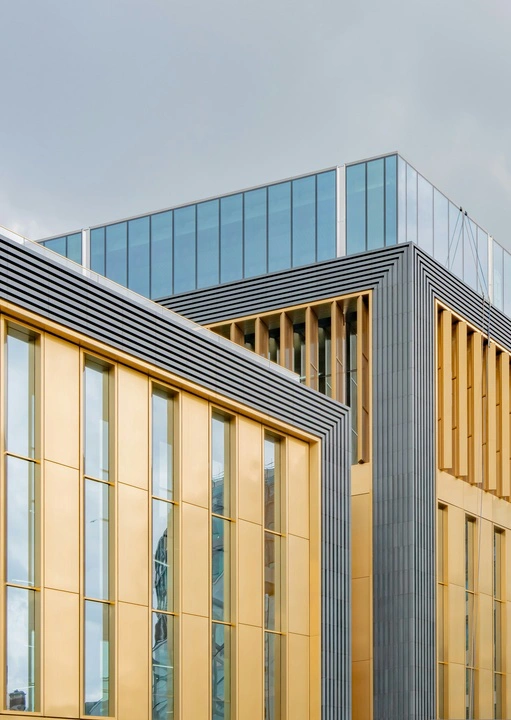
- Architecture photography. Frankly speaking, both the portrait and the landscape orientation can be used in this genre. If you need to capture a tall skyscraper, definitely go vertical. But if you need to take a photo of a wide building with an expansive facade, landscape orientation would be a much better choice. It’s also great for showcasing details of exterior and interior design.
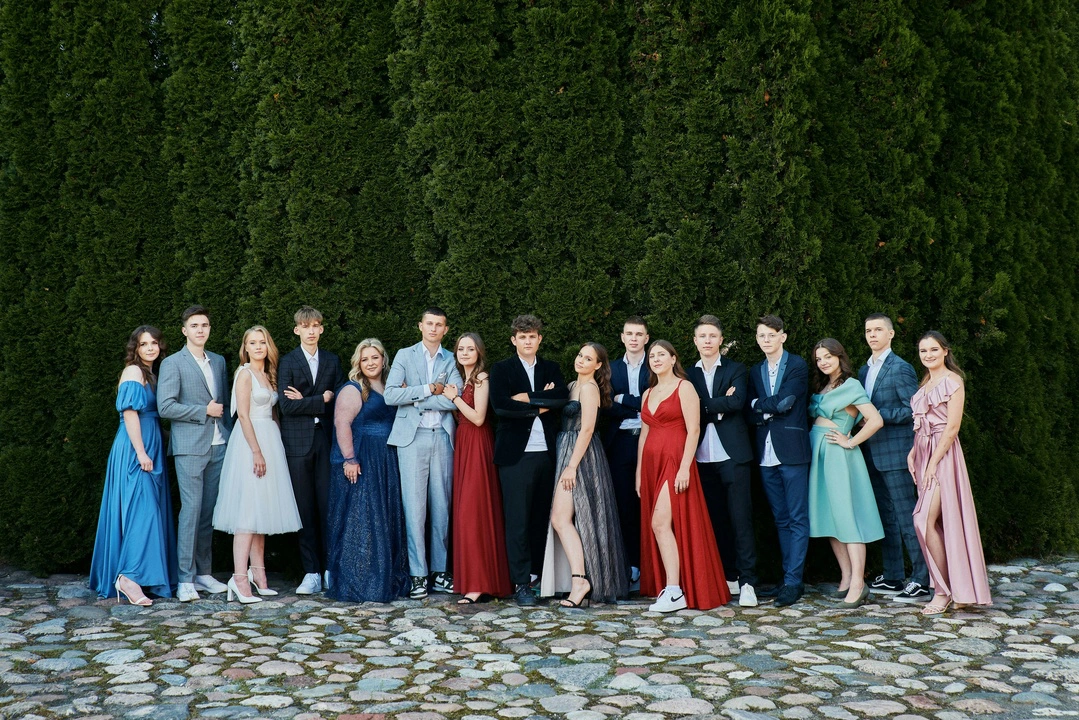
- Group Photos. If you need to take a photo of several people, definitely go for the landscape orientation as it will allow you to fit everyone in the frame without having too much free space in the upper or lower part of your image; and everyone’s faces will be clearly visible.
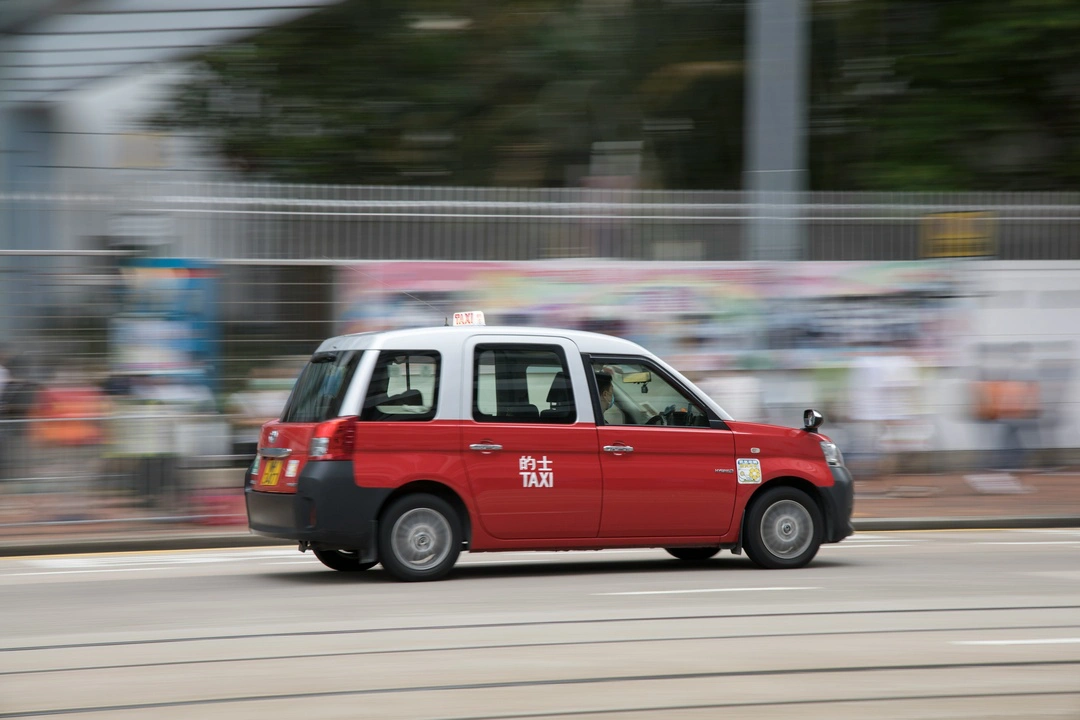
- Horizontal Objects and Movement. The landscape orientation is a great choice when you need to emphasize the horizontal form of an object or a horizontal line. For example, if you want to take a photo of a sunset while also including the horizon in the frame, you definitely should go for this orientation to create a well-balanced image. Additionally, if the subject – a car or an animal – is moving horizontally, you should frame your shot horizontally, too. This way, you will be able to convey the motion in a more effective way.
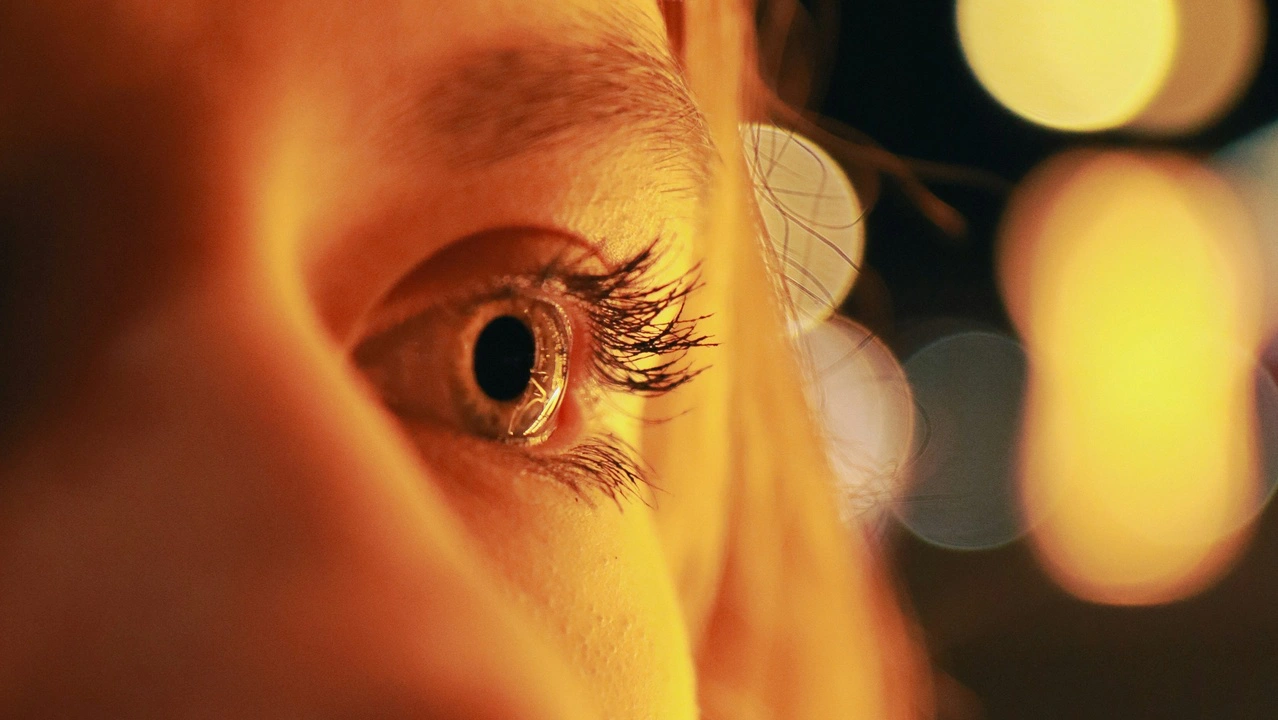
- Cinematic Look. TVs, computer screens and cinema screens are all horizontal, so, to fill up the majority of a screen’s frame, all the movies, TV shows and even YouTube videos are shot horizontally. Taking this into account, if you want a photo – especially a portrait of a person – to have a more cinematic look, consider using the landscape orientation.
With all of that being said, there are two things that you need to keep in mind:
- Think of what emotions you want to evoke in viewers with your image. What kind of story you want to convey? Do you want them to feel connected to the person in the photo? Do you want them to be amazed by the vastness and the beauty of the landscape you captured? Do you want to focus on a particular detail of a vast scene? Answers to these questions will help you determine what orientation you should go for.
- Experimentation is the key to success. There are no right or wrong answers. No one is stopping you from framing your shot horizontally when taking a photo of a person and, vice versa, framing your shot vertically when taking a photo of a landscape. In most cases, you will have enough time to experiment. So, try to take a photo of the same scene while framing your shot horizontally, then vertically.
The Rule of Thirds
The choice of orientation can emphasize certain aspects of your image – vertical or horizontal lines and form – and provide the right context. But to make your image truly impactful and guide the viewers’ attention where you want it to go, you also need to compose your image correctly. What really makes or breaks the photo is composition, after all.
You’ve probably heard of the rule of thirds – one of the most popular and commonly used compositional principles. It involves dividing the image into nine equal parts by two equally spaced horizontal lines and two equally spaced vertical lines. Nowadays, this grid can be enabled in pretty much all digital cameras and smartphone camera apps. According to the rule of thirds, you need to place key elements of your image along these lines or at their intersections. This is how you can create an engaging and well-balanced image.
Here’s how it’s best to place the key elements depending on your choice of orientation:
- Portrait Orientation: It’s better to position the subject’s eyes at the upper third line or at either of the two upper intersections. This way, the majority of the subject’s body will fill up the frame and the viewers’ attention will go right to the eyes.
- Landscape Orientation: Align the horizon with the upper or lower third line. If you are shooting a landscape, choosing the lower line will allow you to include more of the sky. But if you choose the upper line, you will include more of the ground.
Please note, though, that while the rule of thirds is a helpful guideline, it’s not a strict rule. In fact, you can break it to evoke a sense of disharmony. In addition to this, you can also try the central composition – placing your subject in the center of the frame. The central composition can work well regardless of the photo’s orientation.
Change Photo Orientation
Say, you have a nice photo…but it could’ve been much better, had you chosen a different orientation. Maybe, you took a portrait using the landscape orientation and there’s just too much of the background in the frame, which distracts from the subject. Well, don’t get rid of this photo just yet. Try to crop it, instead.
By cropping images, you can remove distractions and unwanted elements, focus the attention on the main subject, improve the composition as well as change the aspect ratio and the image orientation.
Now, there are a couple of things worth mentioning:
- It’s better to experiment with orientation in camera. In other words, try different orientations and camera angles during the actual shoot if you have the time. This way, you won’t have to sacrifice a part of your image when cropping.
- The quality of your image might degrade drastically if you crop it too much. Generally speaking, it’s better to experiment with cropping when you have a high-resolution image and, at the same time, you can easily sacrifice some of those pixels. For instance, an Instagram post should be 1080x1350 pixels. A digital camera can produce a photo with the size of 4000x6000 pixels. So, you can easily get rid of a half of your image and it will still look good on Instagram.
Luckily, cropping an image is not a challenging task. You can do it right on your smartphone in the Gallery app. Some desktop image viewing apps also offer a crop tool. However, if you want more control and flexibility, you should definitely opt for an app designed specifically for cropping. For instance, Visual Watermark’s online app that can be used on any operating system. It’s intuitive and beginner-friendly.
Here’s how you can change a photo orientation:
- Open Visual Watermark’s crop tool.
- Import your image from your device, Google Drive, Google Photos, DropBox or via web link. The app supports batch processing, so you can upload multiple images, as well.
- Choose the cropping shape. You can crop your image into a circle or a rectangle.
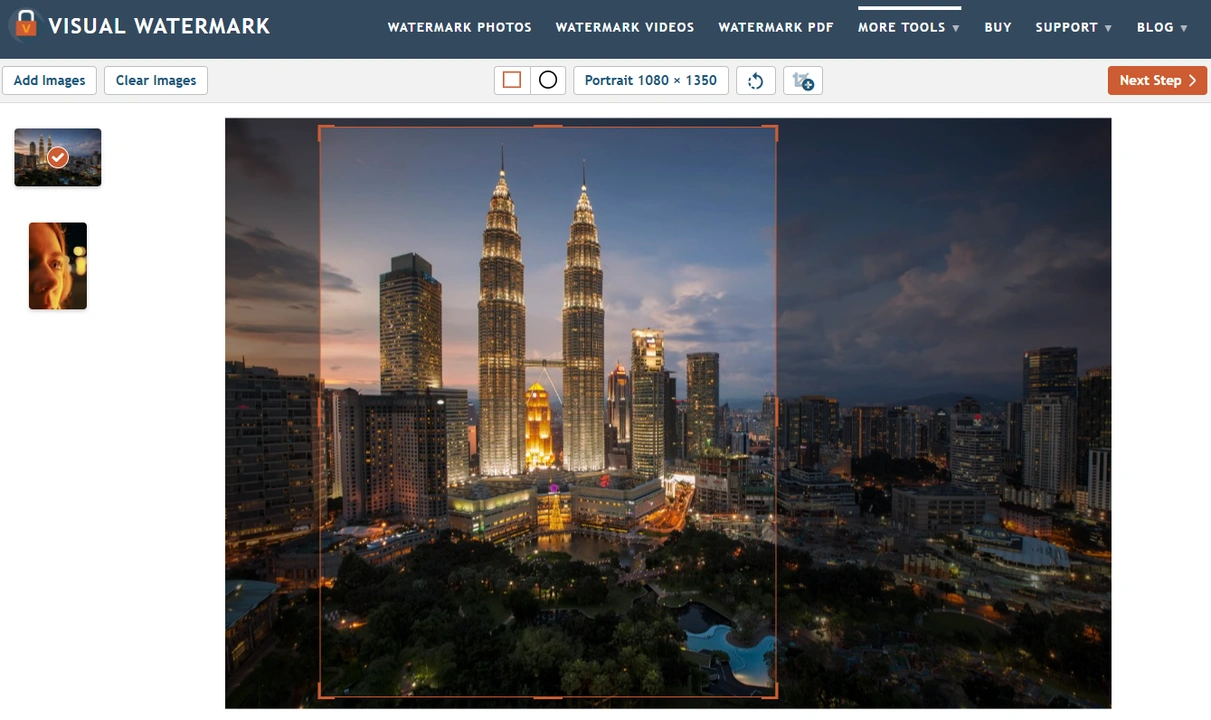
- Adjust the cropping area freely without the aspect ratio being locked.
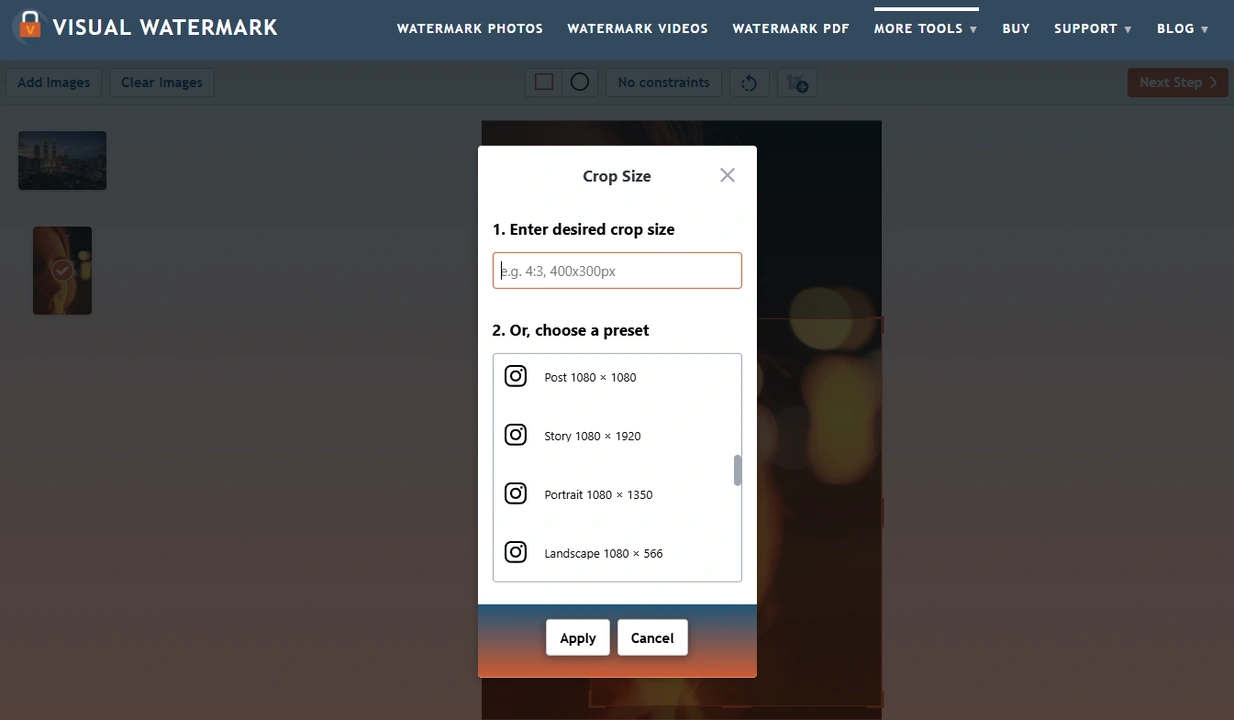
- But if you need a specific aspect ratio, click on the No Constraints menu. Enter the necessary aspect ratio or choose a preset. Visual Watermark’s app offers presets with common aspect ratios as well as presets for social media. The latter will change not only the aspect ratio but the pixel dimensions of your image as well. Naturally, the presets for social media can be of great use if you need to prepare your images for sharing them online.
- Resize and reposition the cropping area as desired.
- Make the changes on each image separately, if you are working with a batch of them.
- Click on Next Step, then specify the export settings.
- Click on Crop Images, wait a bit, then download your cropped copies!
As you can see, this whole process will take you only a few minutes. But it can really make a world of a difference – it can not only help you turn your horizontal image into a vertical one but also improve its composition and make the overall image more impactful.
Conclusion
Choosing between landscape vs portrait orientations depends on your subject and the story you wish to tell. Go for the portrait orientation if you need to take a photo of a person or a vertical object while also creating a sense of intimacy. But if you want to take a group photo or a breathtaking vista, then definitely opt for the landscape orientation.
The intended use of your image can also help you make the right choice. For instance, if you want to post on Instagram or some other social media platform, keep in mind that portrait-oriented images will perform much better. Nevertheless, experimenting with both orientations can provide different perspectives and help you discover the most effective way to capture your subjects.