
 by
by Say, your camera missed the focus while you were capturing an important moment. Or maybe you were shooting an event in low-light conditions and some of the best photos ended up with a bit of shakiness and motion blur. It can be incredibly frustrating.
Don’t rush to delete these blurry images just yet! They can be salvaged. Thanks to modern editing tools — especially those powered by artificial intelligence (AI) — it’s possible to rescue and restore blurred images effectively.
This guide covers everything you need to know about how to unblur photos: from using powerful photo editing software like Adobe Photoshop to utilizing AI tools – mobile and web-based – that can make the whole process much quicker and easier. No matter your skill level or what device you’re using, there’s a method that will fit your needs.
Why Do Photos Get Blurry?
Before you learn how to fix this issue, it’s helpful to understand the main causes:
- Motion Blur occurs when the subject moves while the shutter is open. For instance, if you’re photographing a fast-moving car in low-light conditions. In this case you will need to lower the shutter speed, so it will be open for a longer period of time.

- Camera Shake is similar to motion blur, but it occurs when the camera moves, not the subject. For instance, if you were holding the camera in your hands unsteadily. This also tends to happen in low-light conditions when you need to slower the shutter speed.
- Lens Blur occurs when the camera doesn’t focus correctly or doesn’t focus at all. If the face is not in focus, but other parts of an image are, this is called a soft focus. When the entire image is blurry, then it’s out of focus.
- Low Resolution can happen if you over-compressed an image or saved it in low quality. This can also occur if you try to make a small-sized image much bigger. If an image is in low resolution, it doesn’t have a lot of pixels in it. Therefore, it will appear blurry.
There’s something else that you need to keep in mind. Unfortunately, not every photo can be salvaged. If the blurring is intense – no matter if it’s lens blur or motion blur – you probably won’t be able to fix it. After all, even powerful AI tools will need some information to work with.
If, on the other hand, your photo is only slightly blurred, then there’s a chance that it can be fixed with the help of the tools featured in this guide.
How to Unblur a Photo With Adobe Photoshop
By now, you probably know perfectly well how powerful Adobe Photoshop is. And yes, you can use it to unblur your photos. Well, you can actually use it for two things – fix motion blur and sharpen the area that is slightly out of focus.
First, let’s take a look how you can remove motion blur in Photoshop:
- Open your image in Photoshop, then duplicate the Background layer by pressing CTRL / CMD + J.
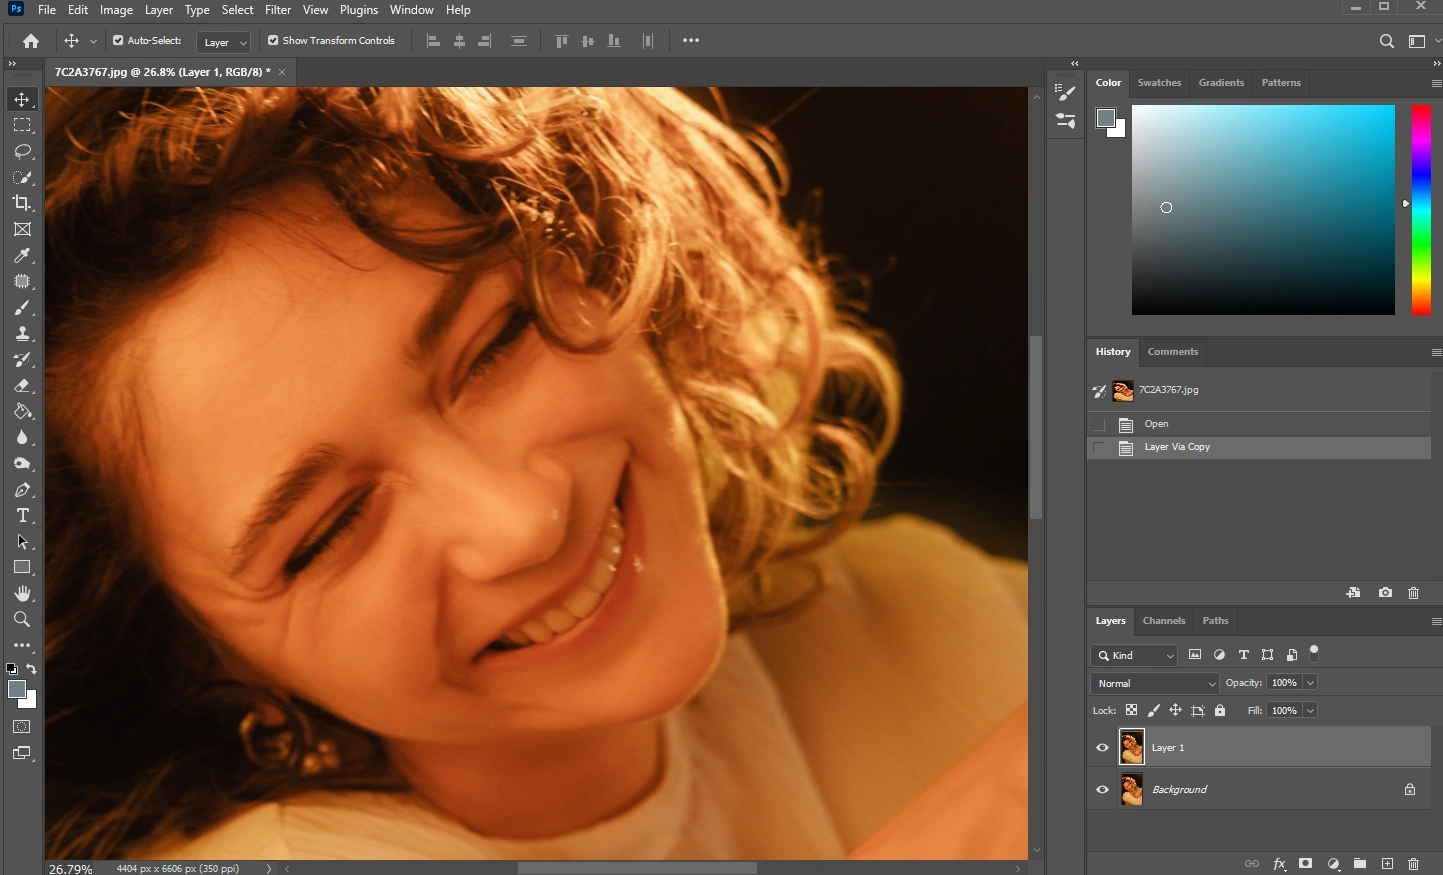
- Make sure Layer 1 is selected in the Layers panel, then go to Filter > Convert for Smart Filters. This is an important step, so don’t miss it.

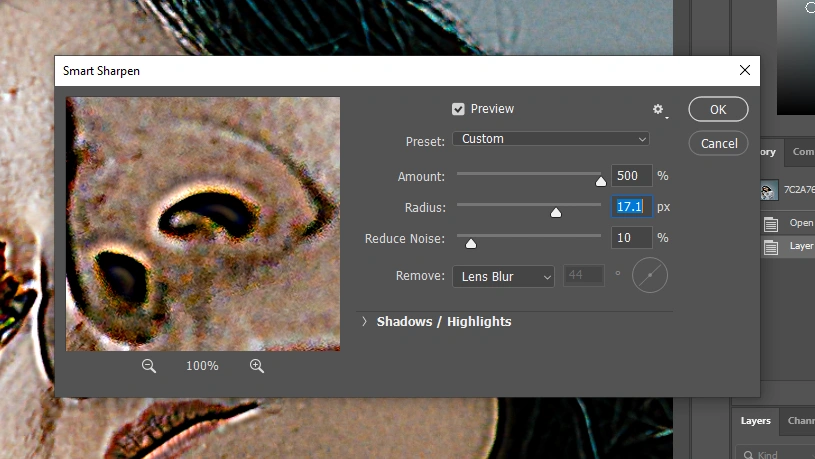
- Next, go to Filter > Sharpen > Smart Sharpen.
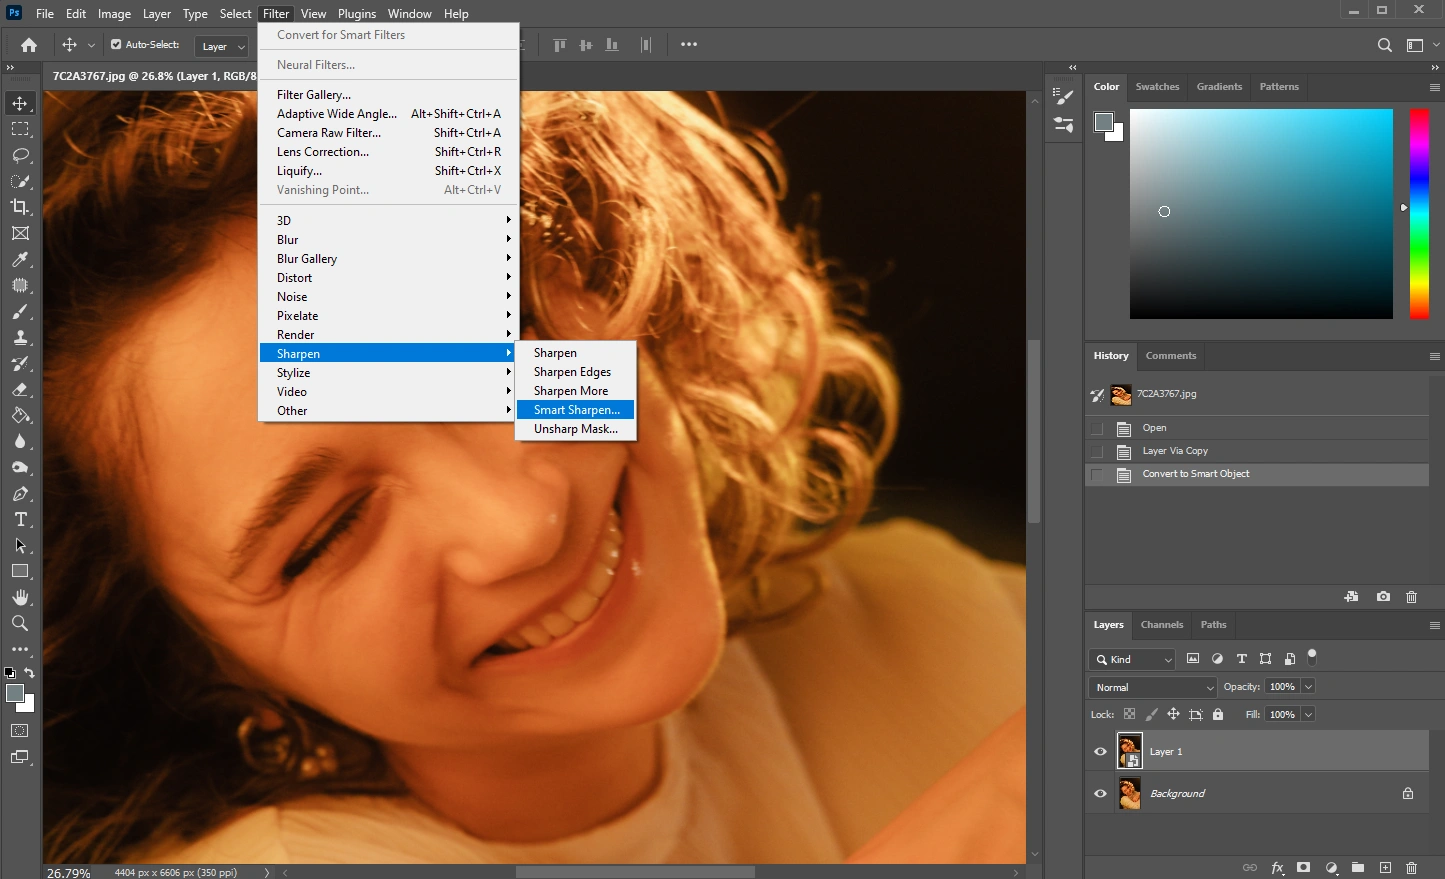
- The Smart Sharpen dialog will open. Here, select Motion Blur in the Remove drop-down menu.
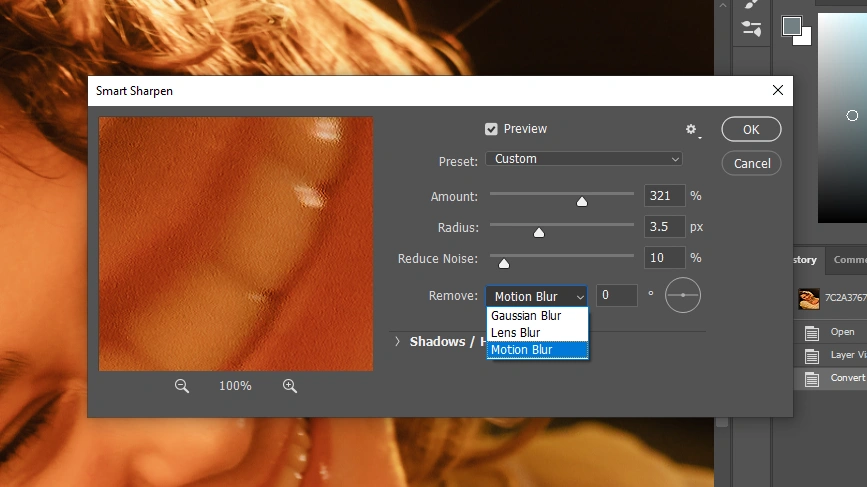
- Pick the necessary angle. If it looks like the motion blur is at 45-degree angle, for example, then choose this angle.
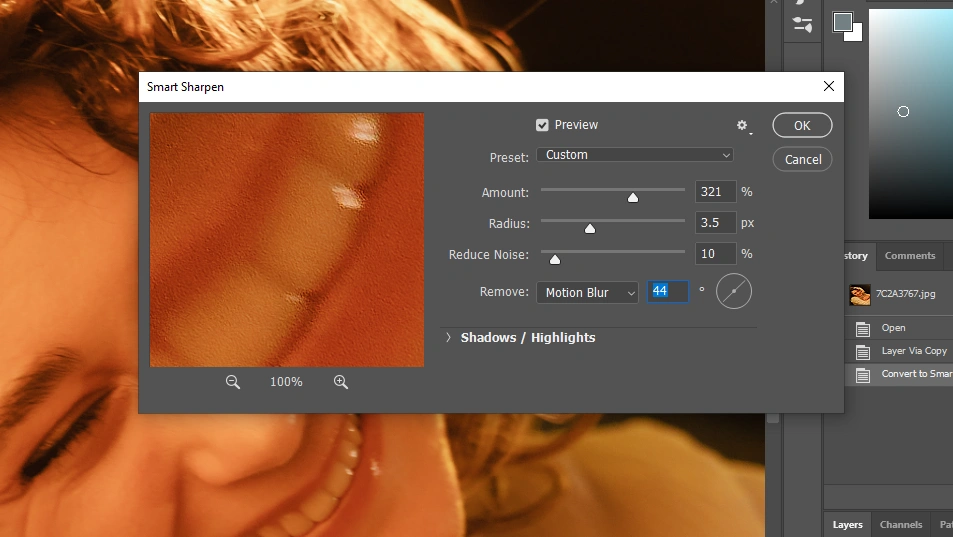
- Experiment with the Radius and the Amount sliders until you achieve the most natural-looking result.
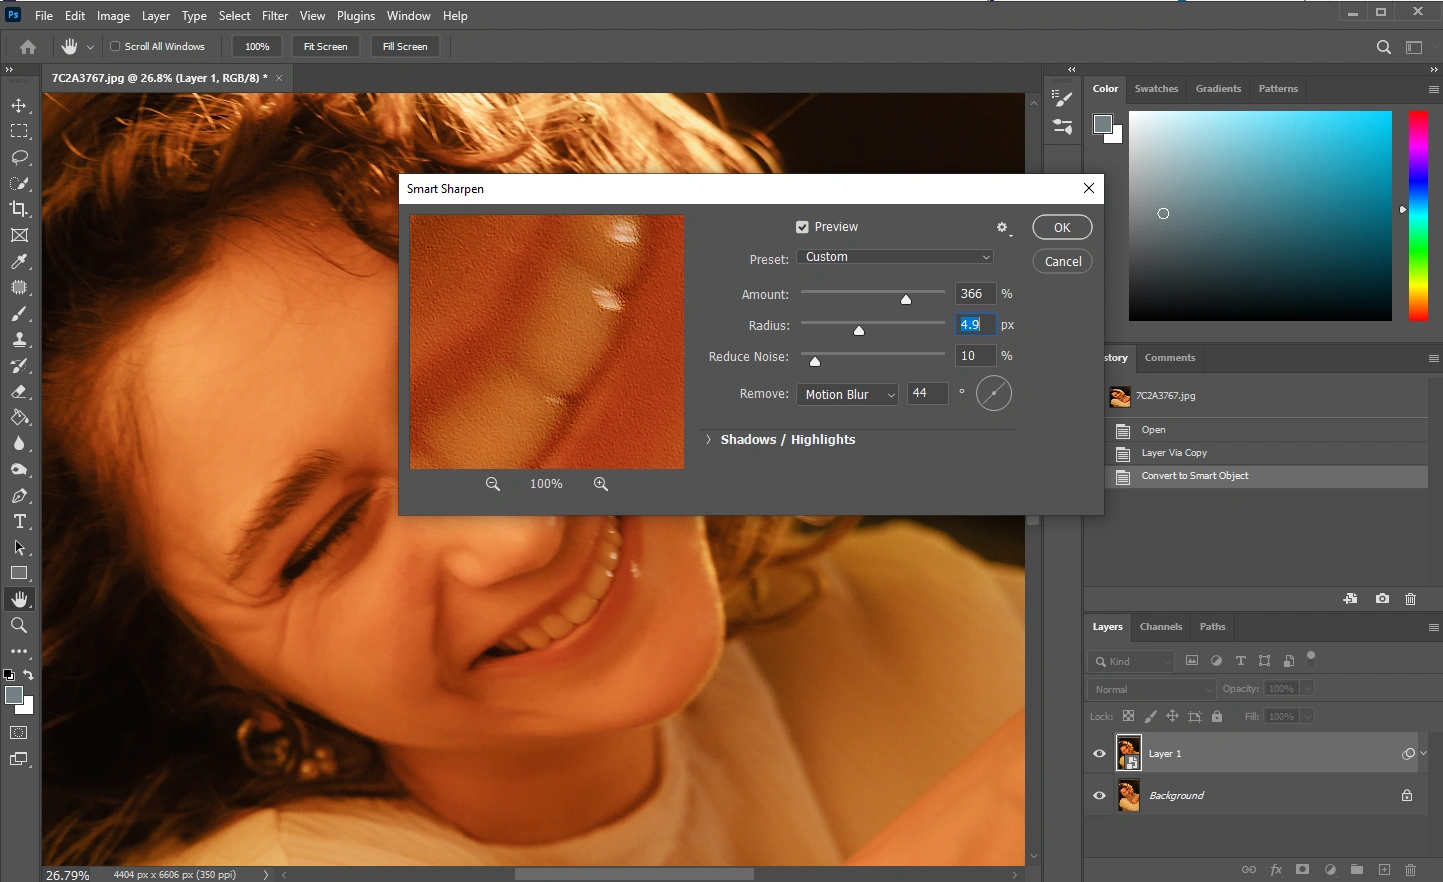 Please note that it’s important not to go overboard with these sliders, otherwise you might end up with an odd-looking, overly-processed image.
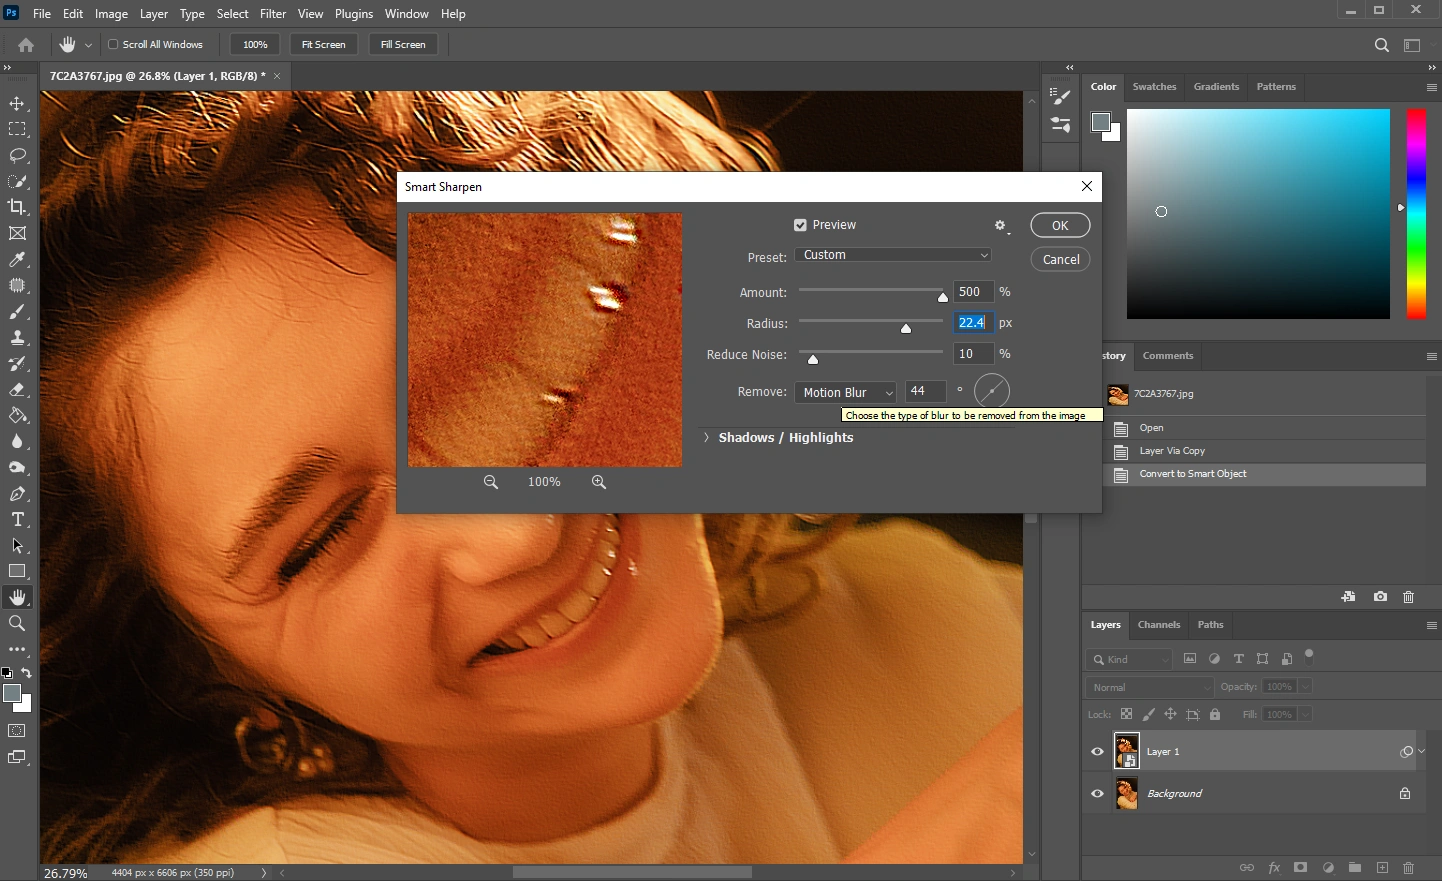
- If your image has a little bit of noise, you can also decrease it using the Reduce Noise slider.
- Click on OK when you’re done.
That’s it!
As you can see, the effect is quite subtle. Photoshop didn’t remove the motion blur completely, yet made the image somewhat sharper. This is why you will be able to get rid of motion blur only if it’s subtle; at least, with the help of this method.
Now, what if you have a different problem – you missed the focus? For instance, the focus should’ve been on the face, but it’s on the flower, instead.
Let’s see how you can remove lens blur in Photoshop:
- Once the necessary photo is open in Photoshop, press CTRL / CMD + J to duplicate the layer.
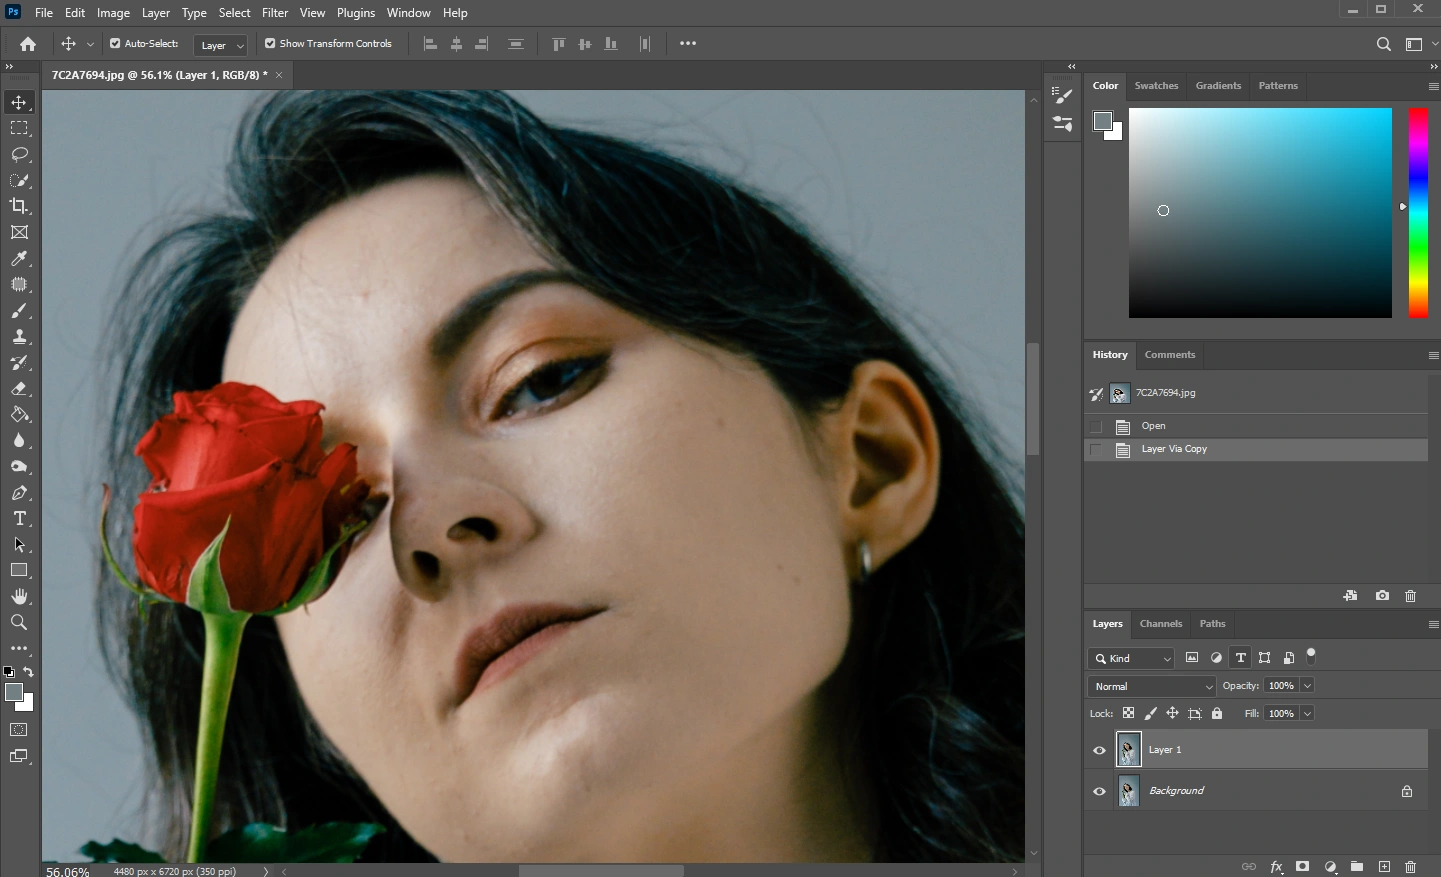
- Go to Filter > Convert for Smart Filters.
- Zoom in on the area that you need to sharpen.
- Next, go to Filter > Sharpen > Smart Sharpen.
- In the Remove drop-down menu select the Lens Blur option.
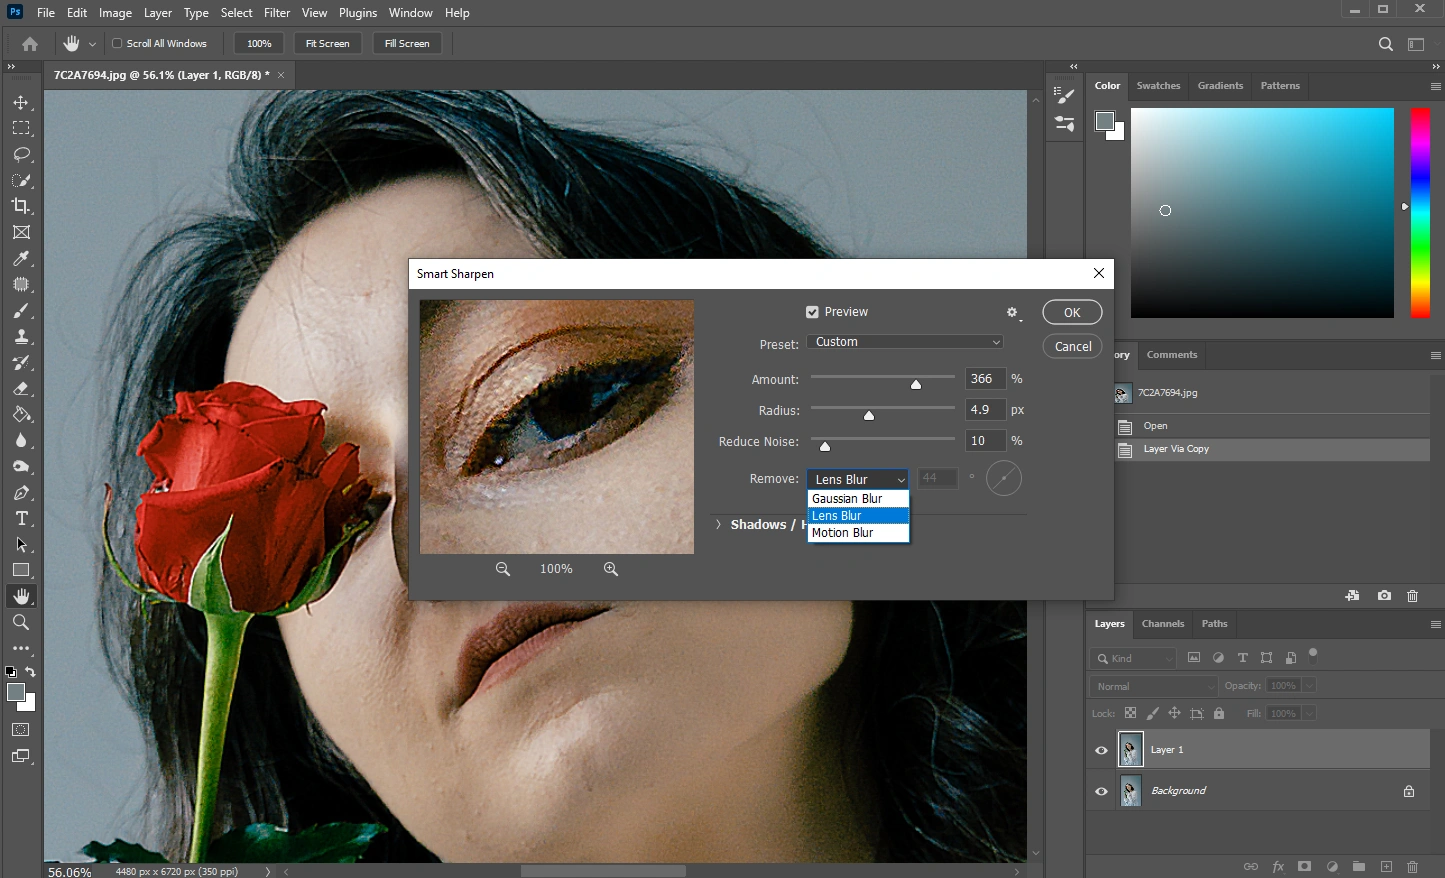
- Increase the Amount. It may look weird, but that’s okay.
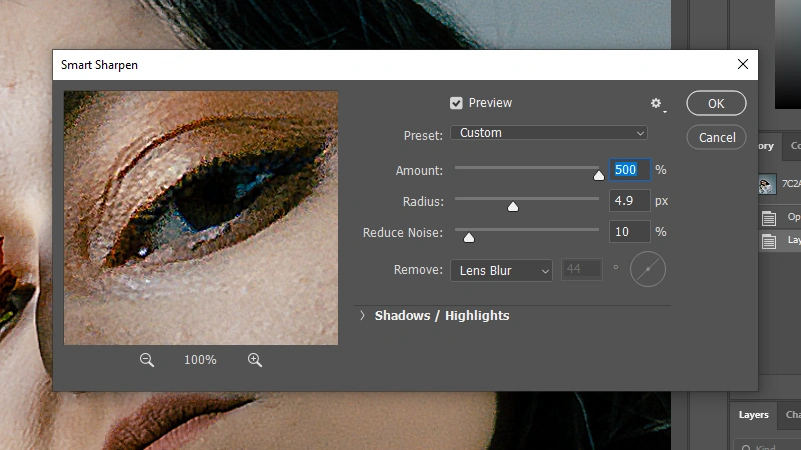
- Find an area where there’s a pronounced edge, then start adjusting the Radius slider. Stop at the point when you start to see the halo effect.
- Experiment with the Radius and the Amount slider until you get the desired result.
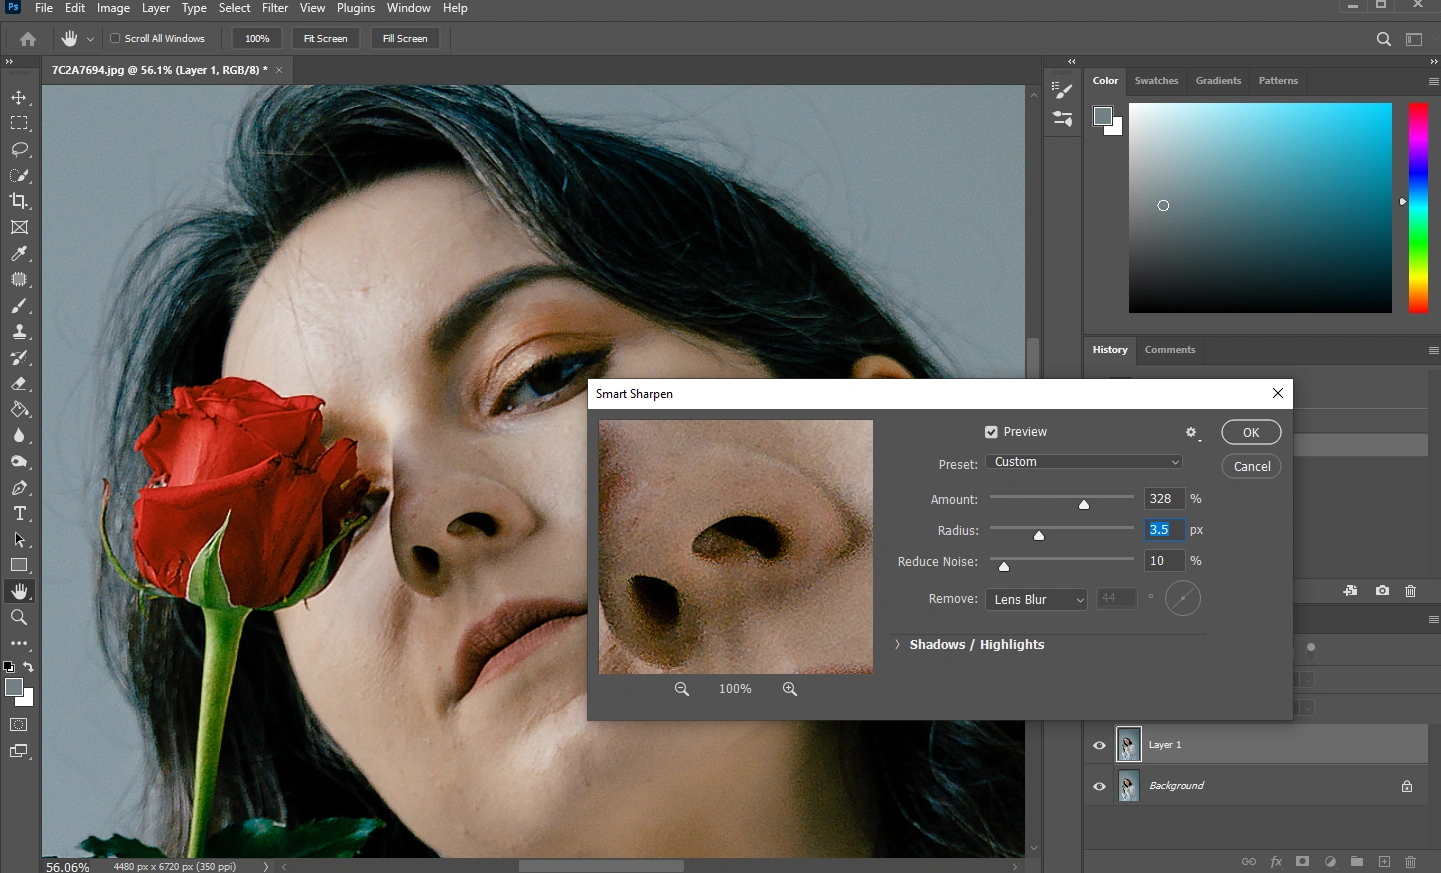
- Click OK to apply the changes.
- Once you zoom out of the image you will notice that the other areas might look overly sharpen. Let’s fix this.
- Make sure Layer 1 is selected. Then hold the ALT / OPTION key and click on the Layer Mask button. This will create a negative mask.
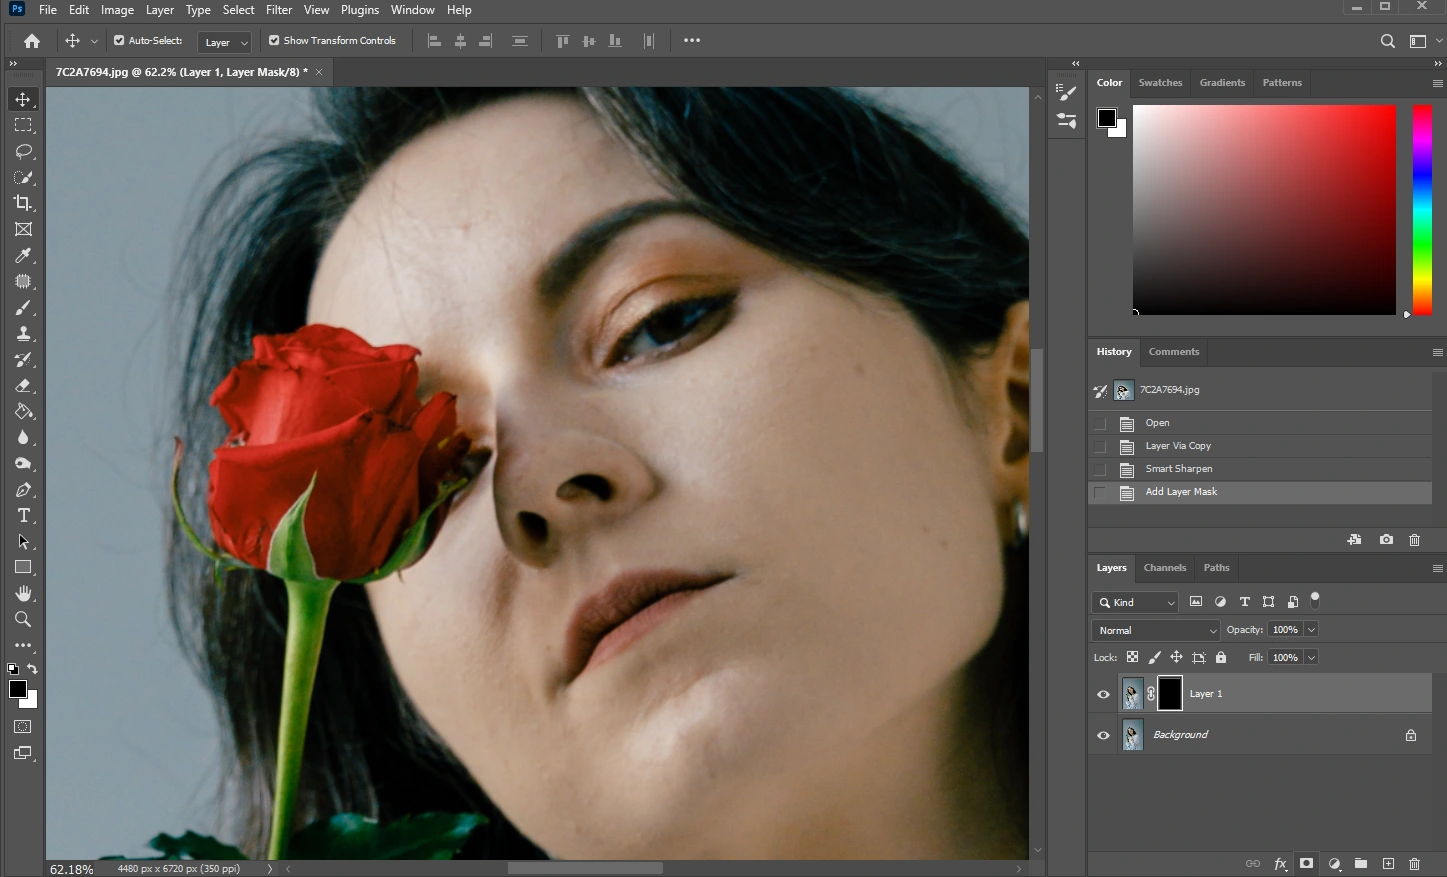
- Click on the mask to select it (if it’s not already), then grab the Brush Tool from the toolkit on the left. It might be better for the brush to have a soft edge.
- Select white as the foreground color.
- Paint over the areas where you want to apply sharpening.
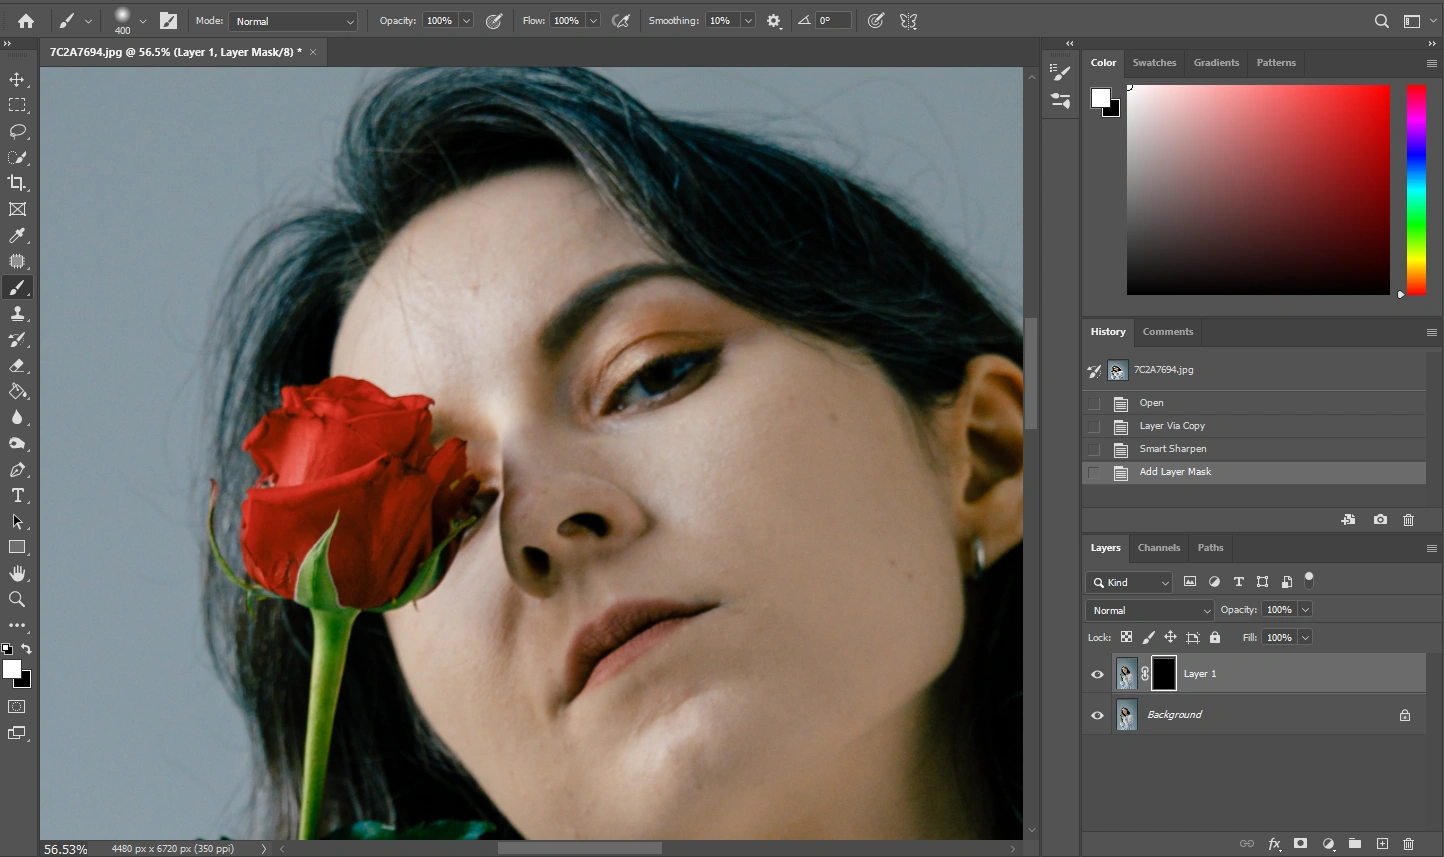
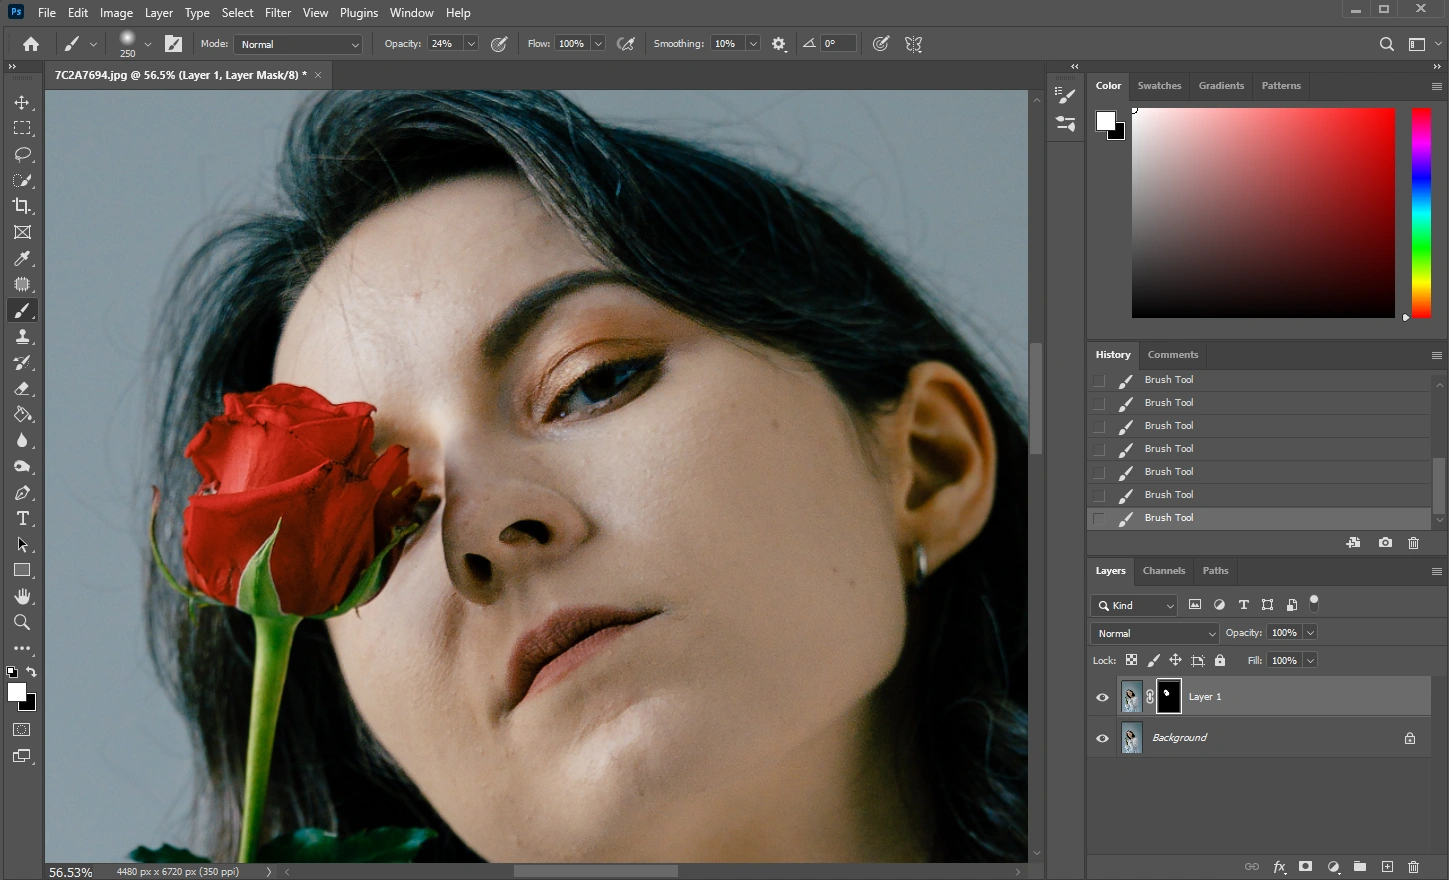 You can also experiment with different levels of Brush’s opacity. This will help you achieve a more natural-looking effect.
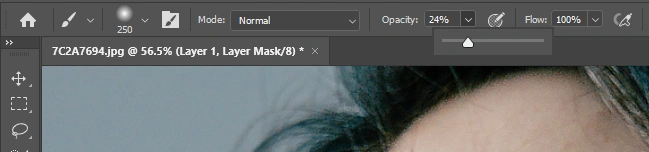
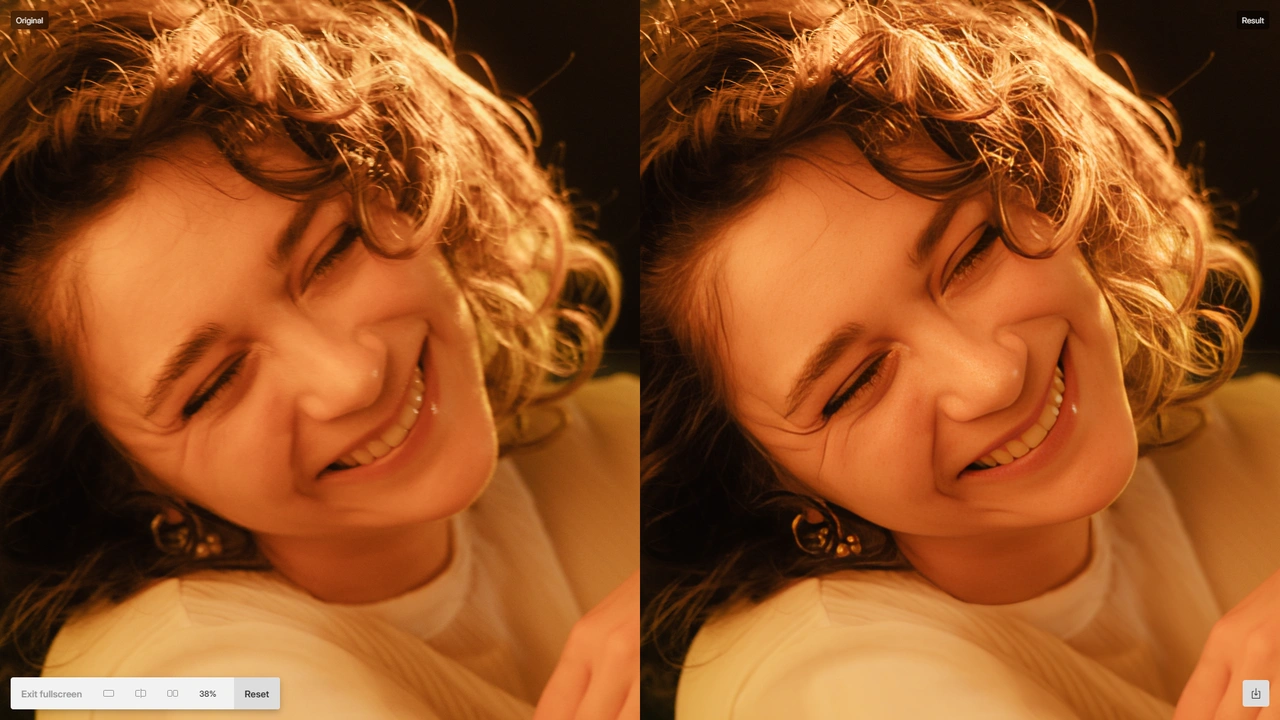
Voila! Your image is fixed now!
Both of these processes require some time and skills, but they aren’t overly complicated. So, you might be able to salvage your images if you happen to have Adobe Photoshop.
Here’s a tip. You can give a try to Topaz Labs AI tools. They offer downloadable software for AI image editing and web tools. You can try web tools for free (with limited usage), but you will need to pay for the software. For instance, they have a web-based Unblur tool.
Topaz is quite expensive, but well worth it. It does a much better job at fixing both the motion blur and the lens blur. You will be truly amazed by the results.
The best part about the Topaz AI tools is that they are not only powerful, but also pretty easy to use. You just tell the app what exactly you want to achieve, wait until it processes your image. Then you can tweak the settings, if necessary…and that’s pretty much it. All the processes are automated.
Here’s another tip. Both Adobe Photoshop and Topaz AI tools are expensive. If they are outside your budget right now, you can give a try to GIMP. It’s an open source and completely free image editing software. Its interface is somewhat similar to Adobe Photoshop. So, all you need to do is open your image in GIMP, then go to Filters > Enhance > Sharpen (Unsharp Mask).
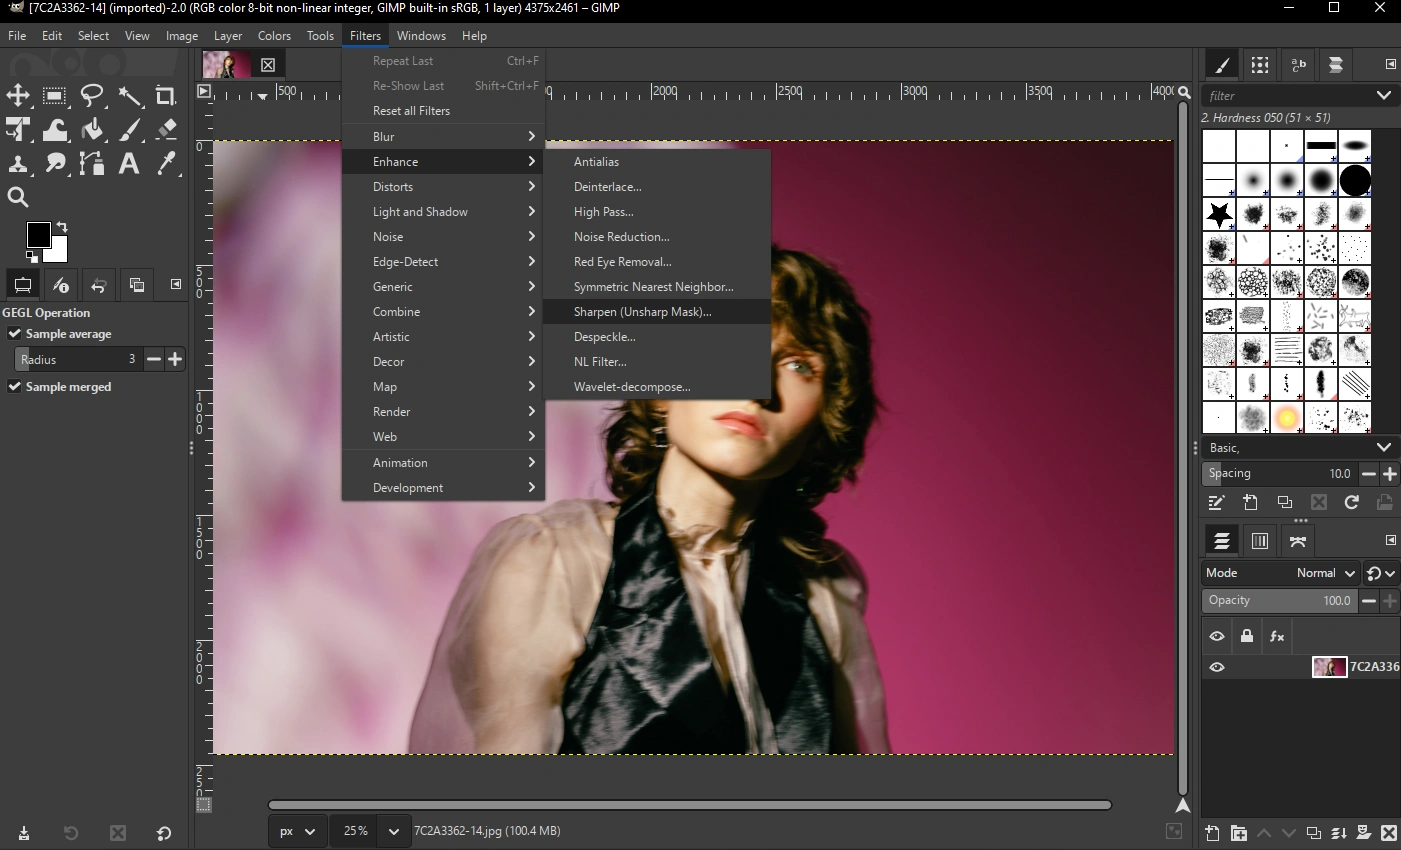
Then adjust the Radius, Amount and Threshold manually.
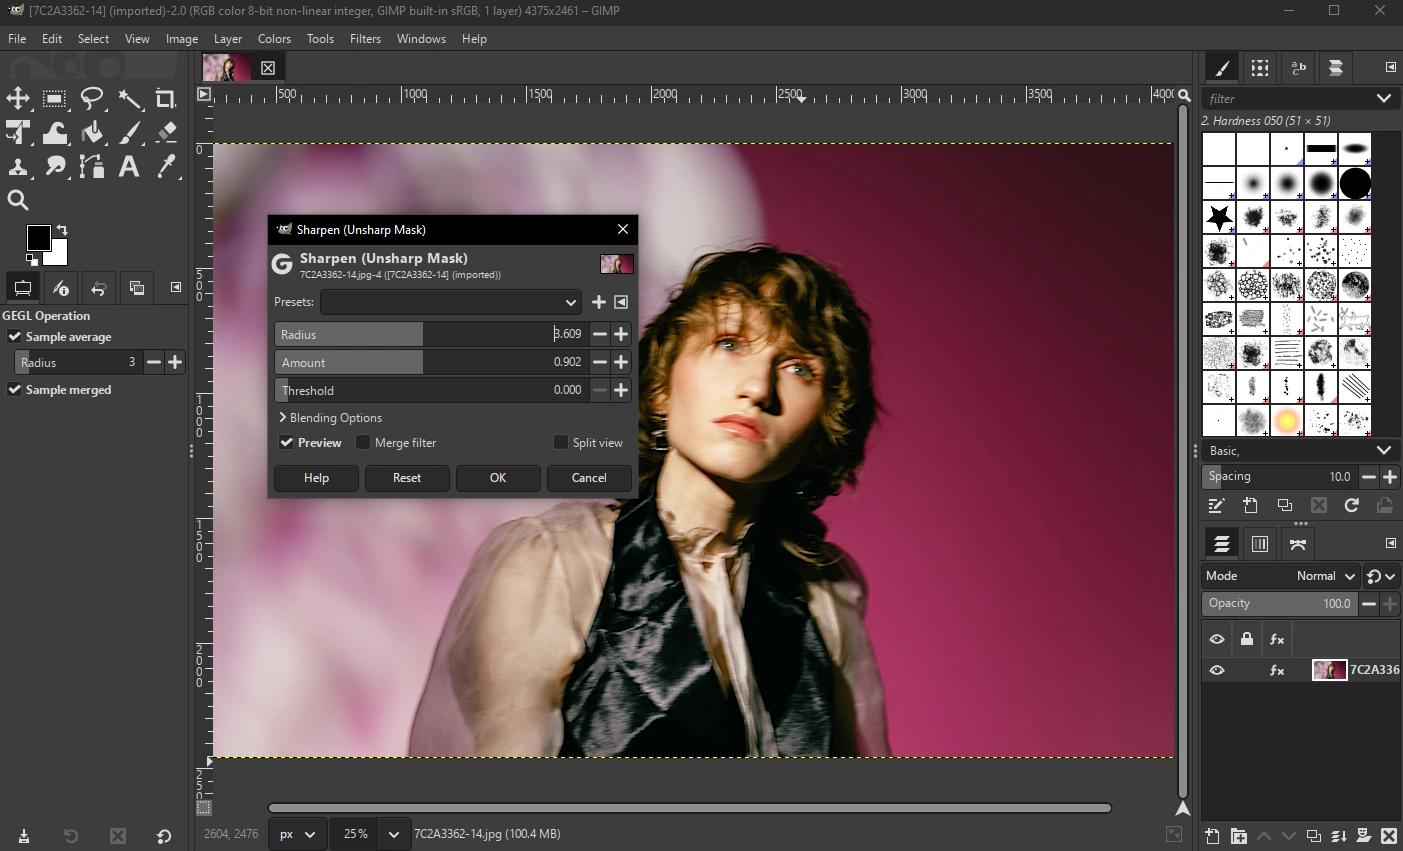
Please note, though, that GIMP is not as advanced as Photoshop. So, it will probably be able to salvage your photo only if the blurring is really subtle.
How to Unblur a Photo Using Web-Based AI Tools
Alright, what if GIMP isn’t enough for your needs? And dealing with Photoshop seems too complicated?
Well, fortunately, today’s digital world offers AI tools that can make editing tasks much easier and quicker. That’s right, you can actually use an AI tool to unblur a photo with minimum effort. It’ll take just a couple of minutes, if not less.
Moreover, there are plenty of deblurring tools on the Internet. So, if one tool doesn’t provide the necessary result, you can give a try to another one.
Now, there’s something worth mentioning. The vast majority of these apps allow you to process one or, maybe, a small handful of images for free. If you want to process more, you will need to purchase the paid version. On top of that, it’s quite uncommon for these apps to add their watermark to photos and decrease the size of the processed image in the free version. There’s a very small chance that you will find an AI tool that’s efficient and completely free of charge without any limitations.
Here’s another thing that you need to know. Once you choose an AI tool, give a try to it first. AI tools provide different results. When an AI tool unblurs a photo, it paints all the details back in. So, if you want to unblur a portrait, it’s possible that once the AI tool paints their face back, this person will be unrecognizable. This is why you should try different AI tools and see which one provides the desired result.
Fortunately, most of the AI tools work pretty much the same. You will need to:
- Upload the photo that needs to be fixed into the app.
- Wait while the app analyzes and sharpens it, then paints back all the necessary details automatically.
- Download the processed image.
Some apps might provide more control – you will be able to adjust the amount of sharpness and details. The apps with more flexibility can help you achieve more natural looking result, so, if possible, go for them.
But that’s pretty much it. AI tools are incredibly quick and convenient.
Now, here are some of the best web-based apps that you can use to unblur a photo:
- We’ve already mentioned Topaz Labs’ web-based tool for unblurring.
- Canva offers the Unblur tool in the Apps section of their editor, but this tool is only available in Canva Pro.
- PicWish’s photo enhancer can actually be a great choice. It can remove blurriness as well as slightly beautify portraits.
- Picsart offers the AI-powered tool for unblurring images that can improve resolution as well.
- Fotor’s unblurring tool is great for general sharpening and deblurring. This tool is a part of a full editor suite, so you can use it for some other image editing tasks. For instance, adding text to a photo.
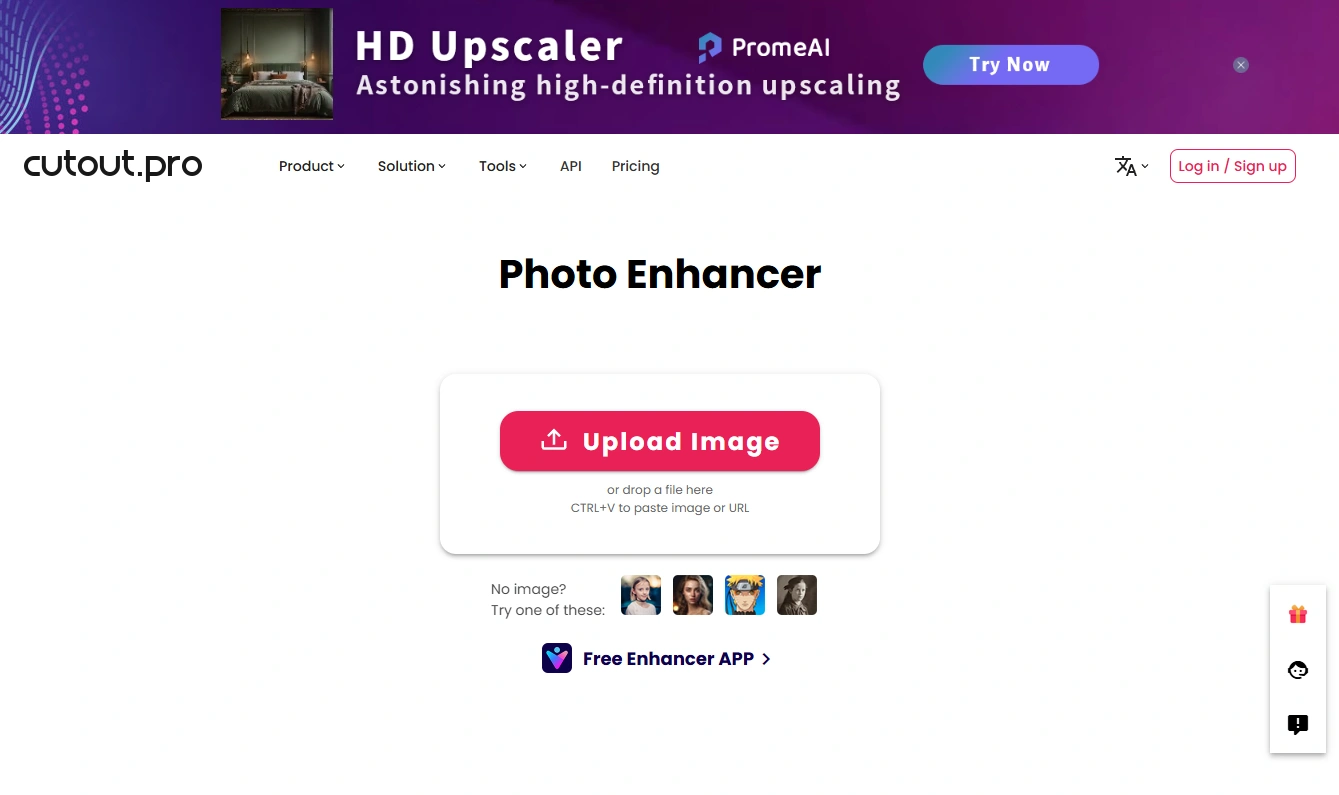
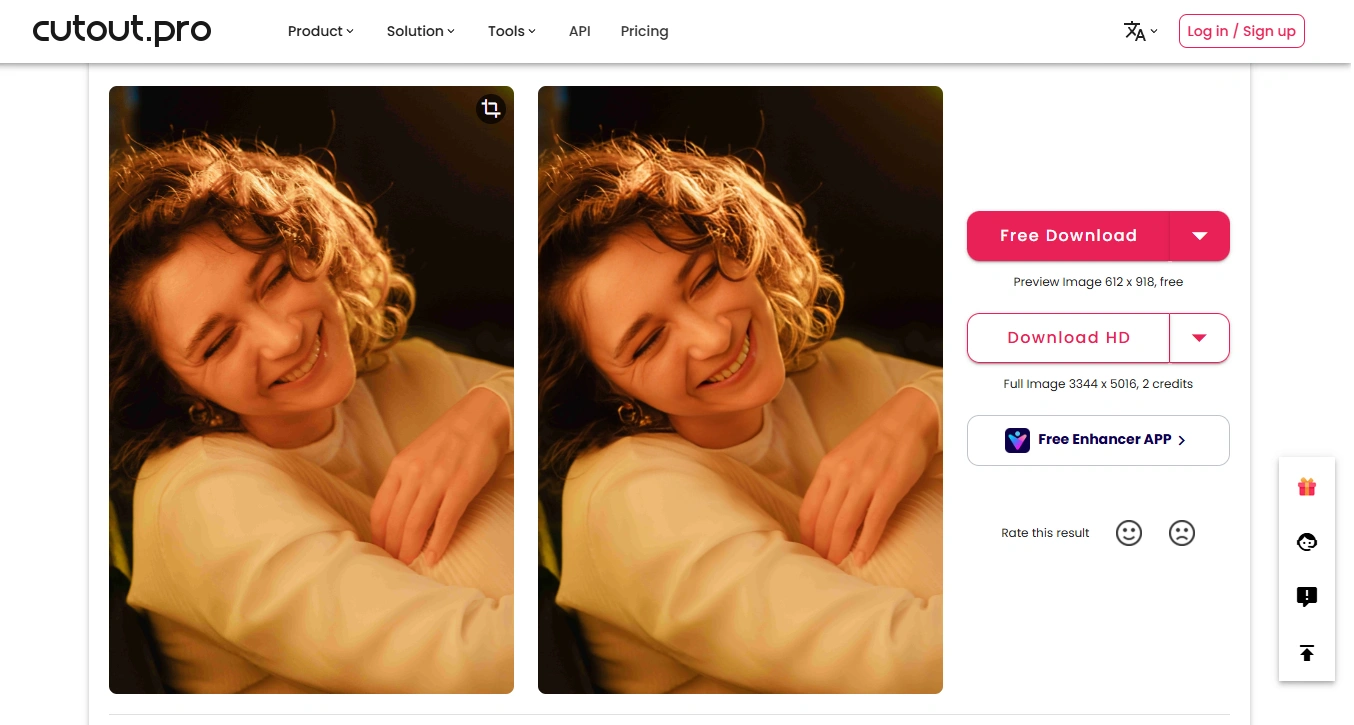
- Cutout.Pro’s image enhancer is also pretty great. With it, you can quickly make your image sharper and clearer as well as improve its resolution.
These apps are only the tip of the iceberg, but they are definitely a good place to start.
How to Unblur a Photo On a Smartphone
Of course, the beauty of web-based apps is that you can use them on practically any device. But not all web-based apps are well-optimized for mobile devices. Fortunately, there’s a good selection of mobile apps that you can use to unblur a photo right on your smartphone. The process tends to be quite similar to using browser-based AI tools.
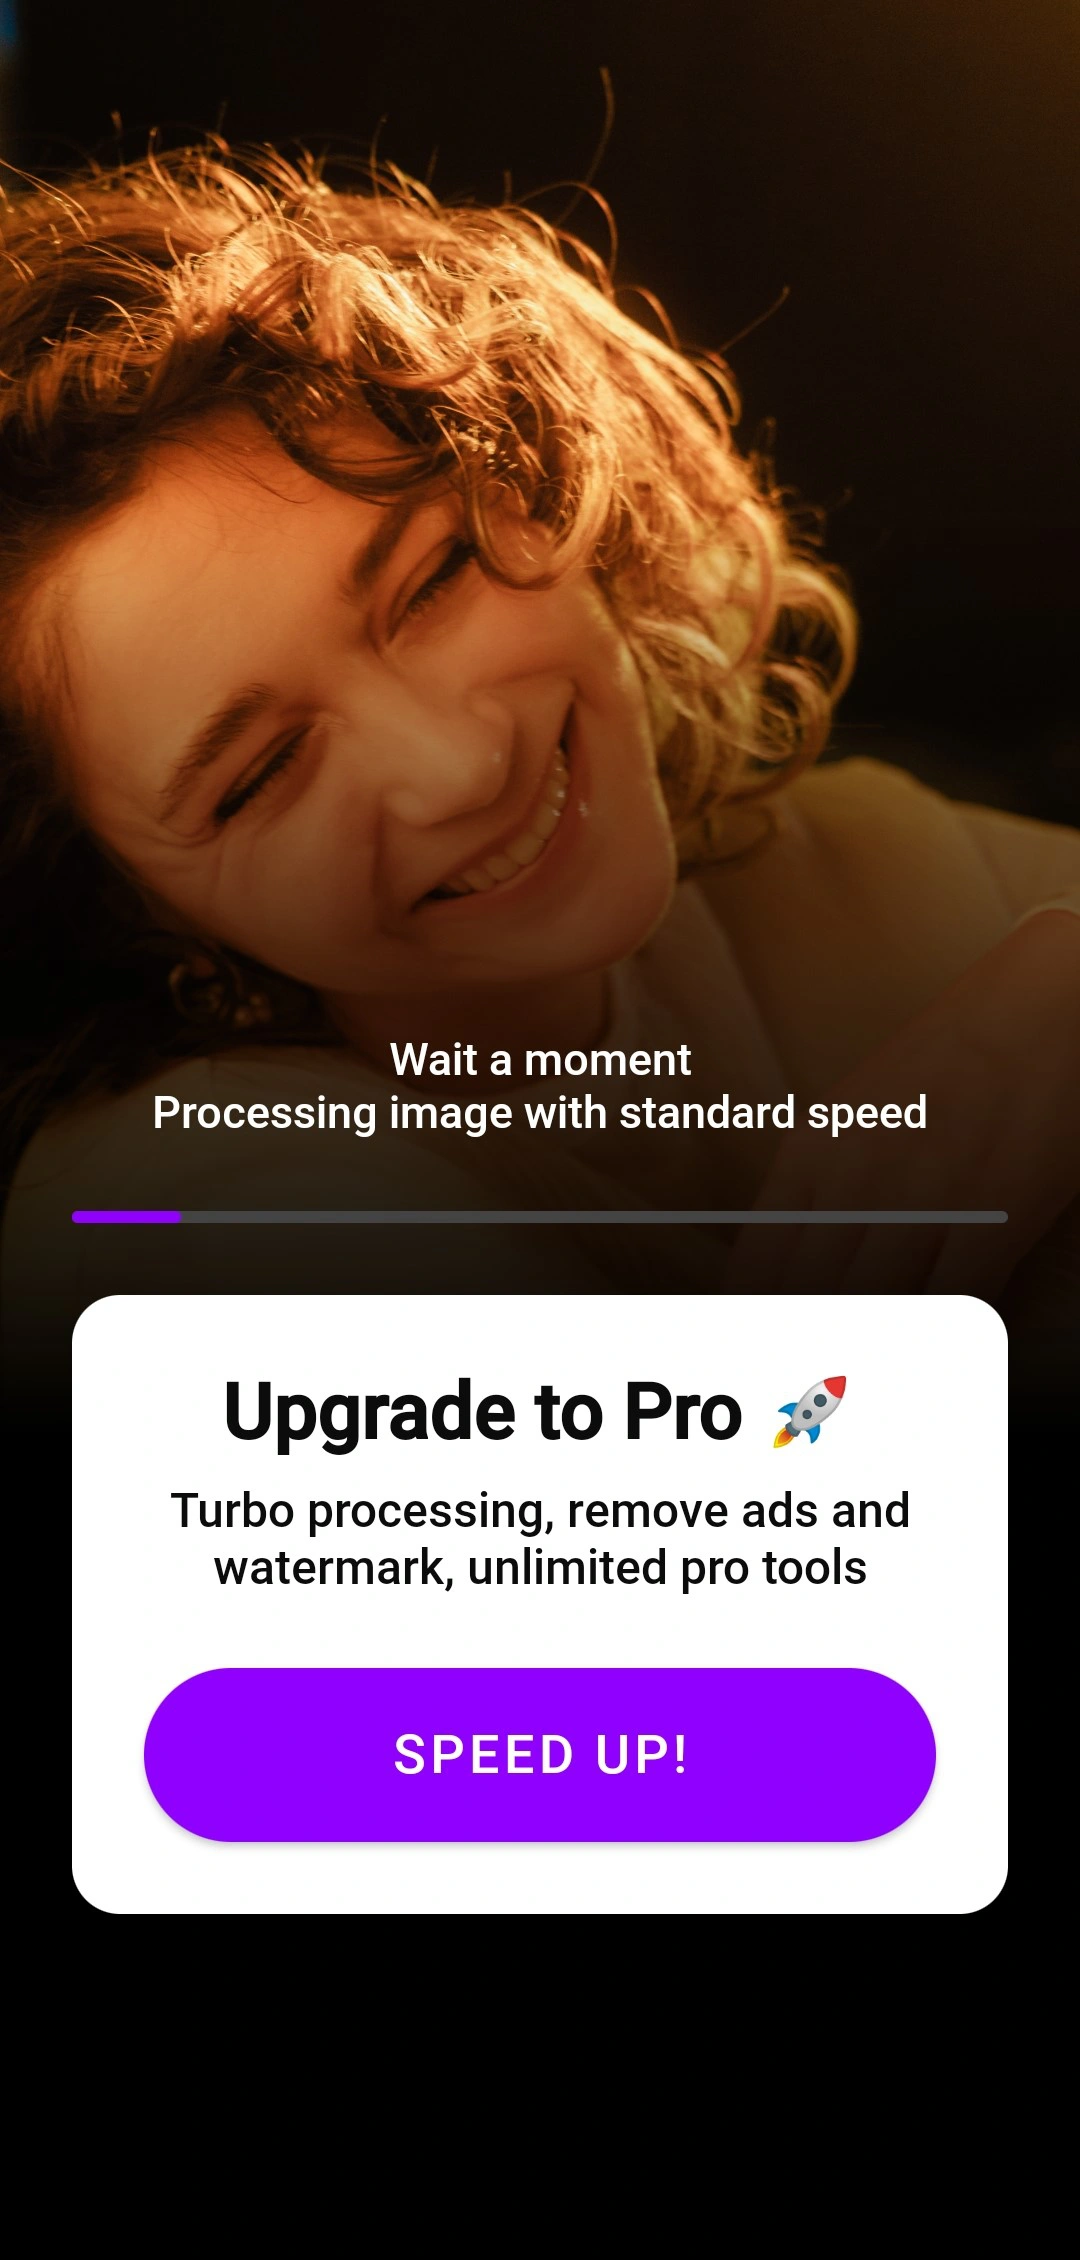
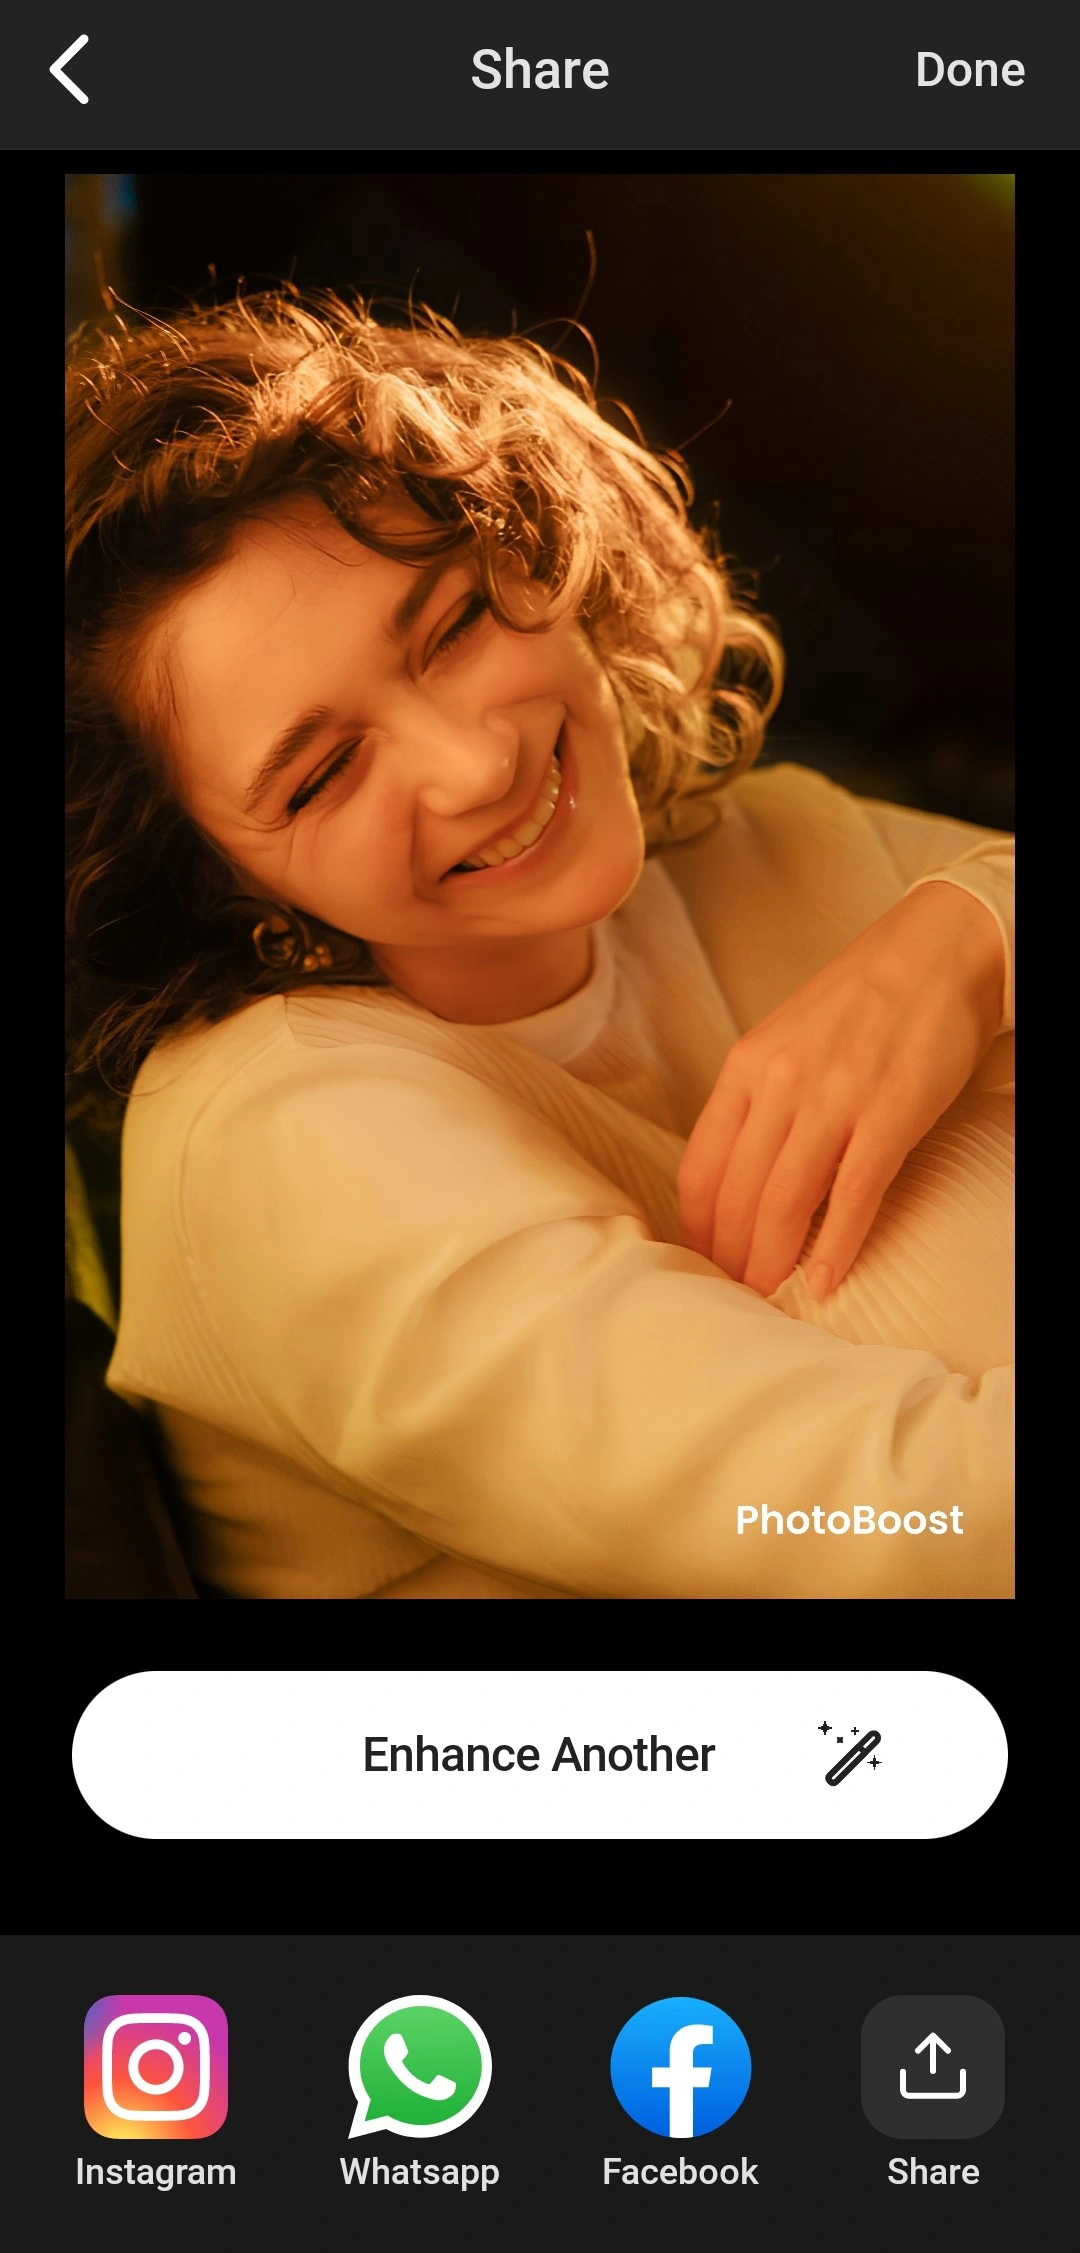
For instance, you can give a try to PhotoBoost, which is available for iOS and Android. It includes AI Enhancer that can remove blurriness and improve the overall image. It’s very effective for portraits.
All you need to do is:
- Pick the necessary photo from your gallery and tap on Enhance.
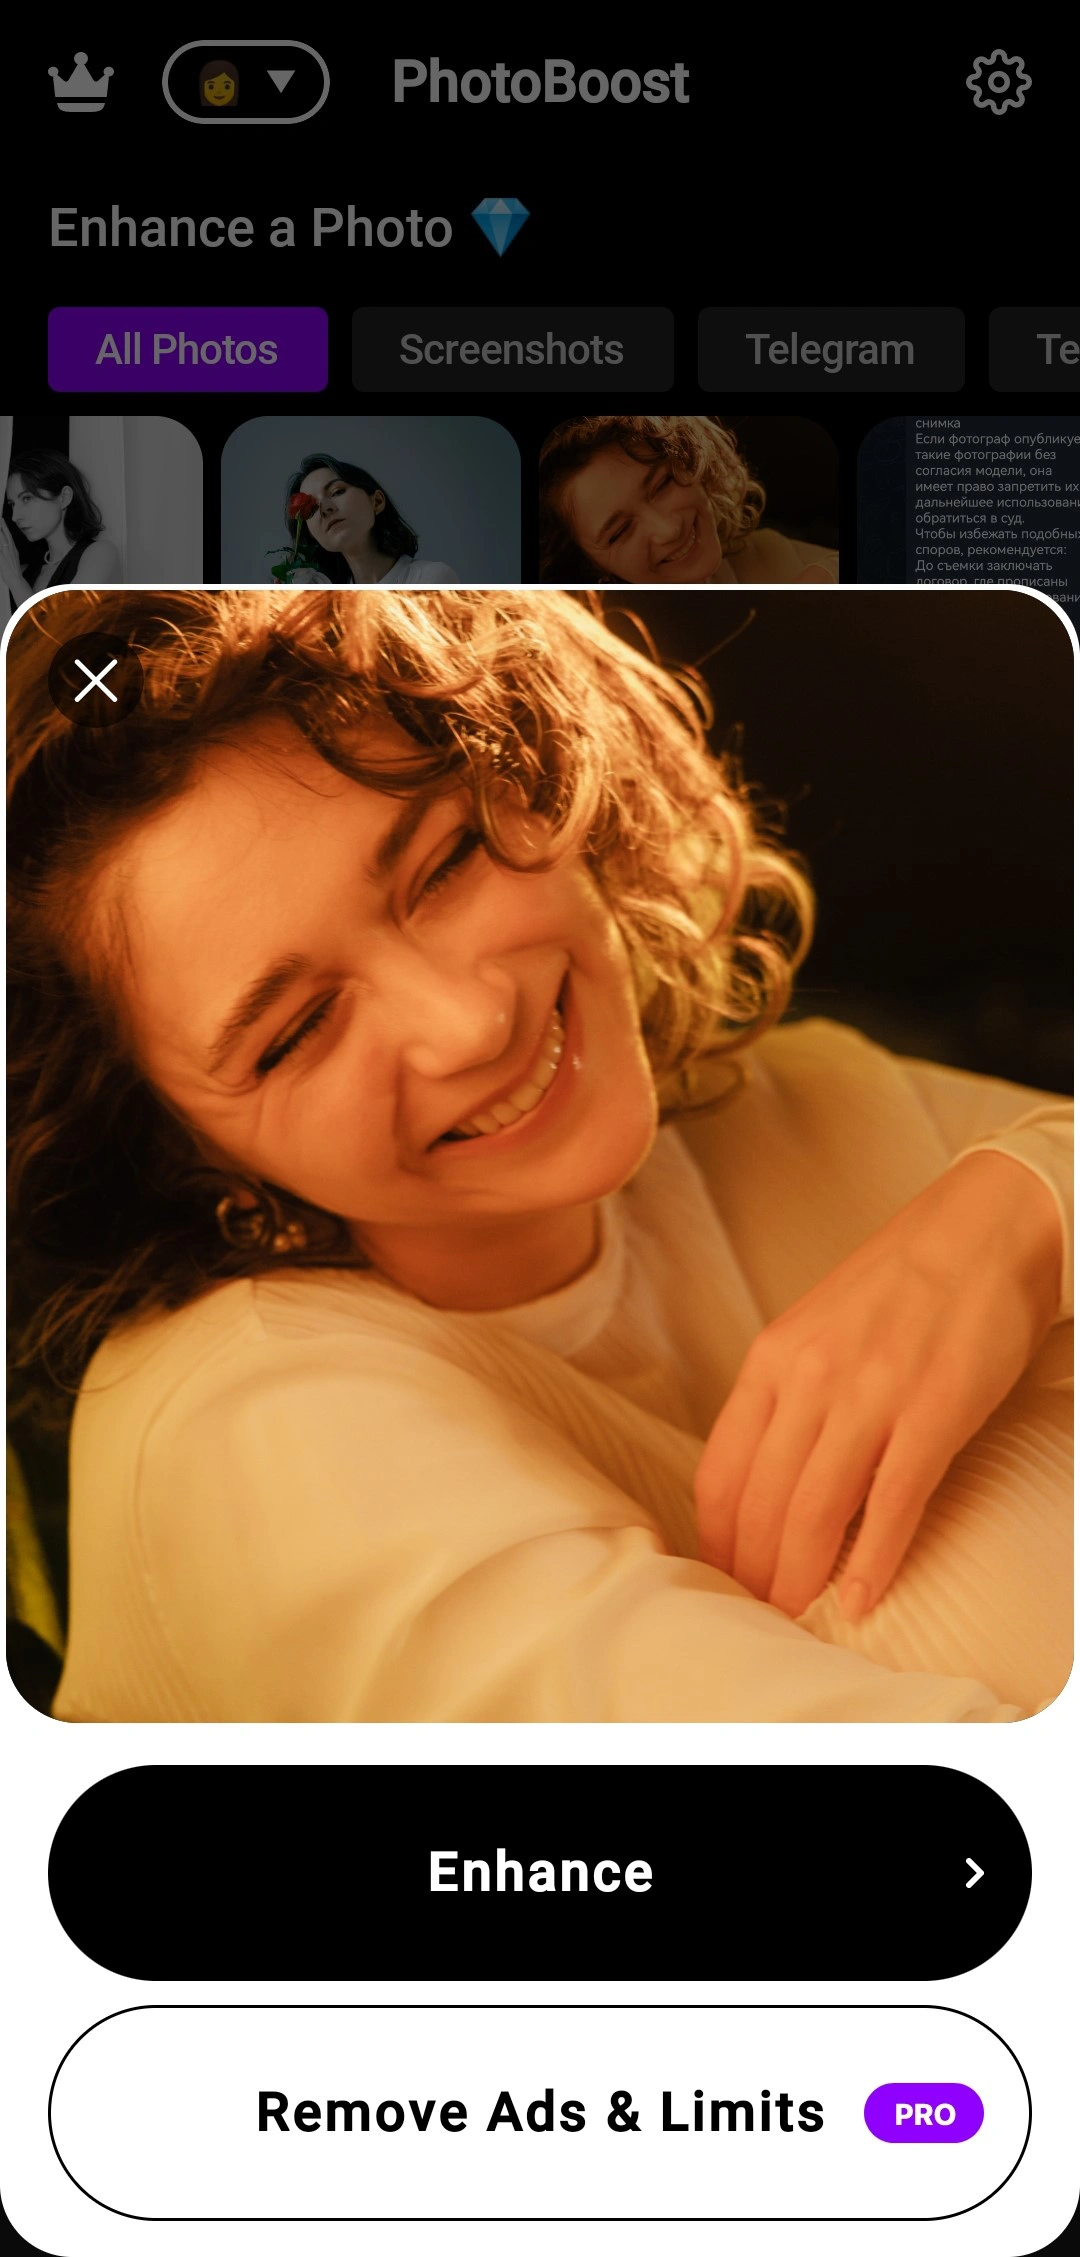
- Wait while the app processes your image.
- Save the enhanced image.
Yep, it’s that quick and simple!
The downside of this app, though, is that you won’t be able to tweak the result of the enhancing feature. For instance, you won’t be able to decrease the amount of sharpening. Everything is automated. Also, as you can see, the free version adds a watermark.
Here’s a tip. If you are looking for an all-in-one creative suite, go for PhotoDirector: AI Photo Editor (iOS & Android). Its free version is also somewhat limited, but this app is a good alternative to PhotoBoost.
How to Upscale an Image Without Making It Blurry
What if the original image doesn’t have any motion blur, and it’s not particularly blurry, but its size is too small? Say, you have a logo that’s 500x500px, but you need its size to be 1000x1000px. If you try to make it bigger in Adobe Photoshop or some other image editing app, you might end up with a blurry image.
Can you fix this? Yes, you can! You will need to make your image bigger using a special image upscaler. For instance, Visual Watermark’s web-based image resizer. It can increase the pixel dimensions of your image while also preserving its quality – and even making it a bit better.
It’s also very easy to use:
- Open the app and import the photo that you need to upscale.
- Pick the necessary resizing option, then enter the target values.
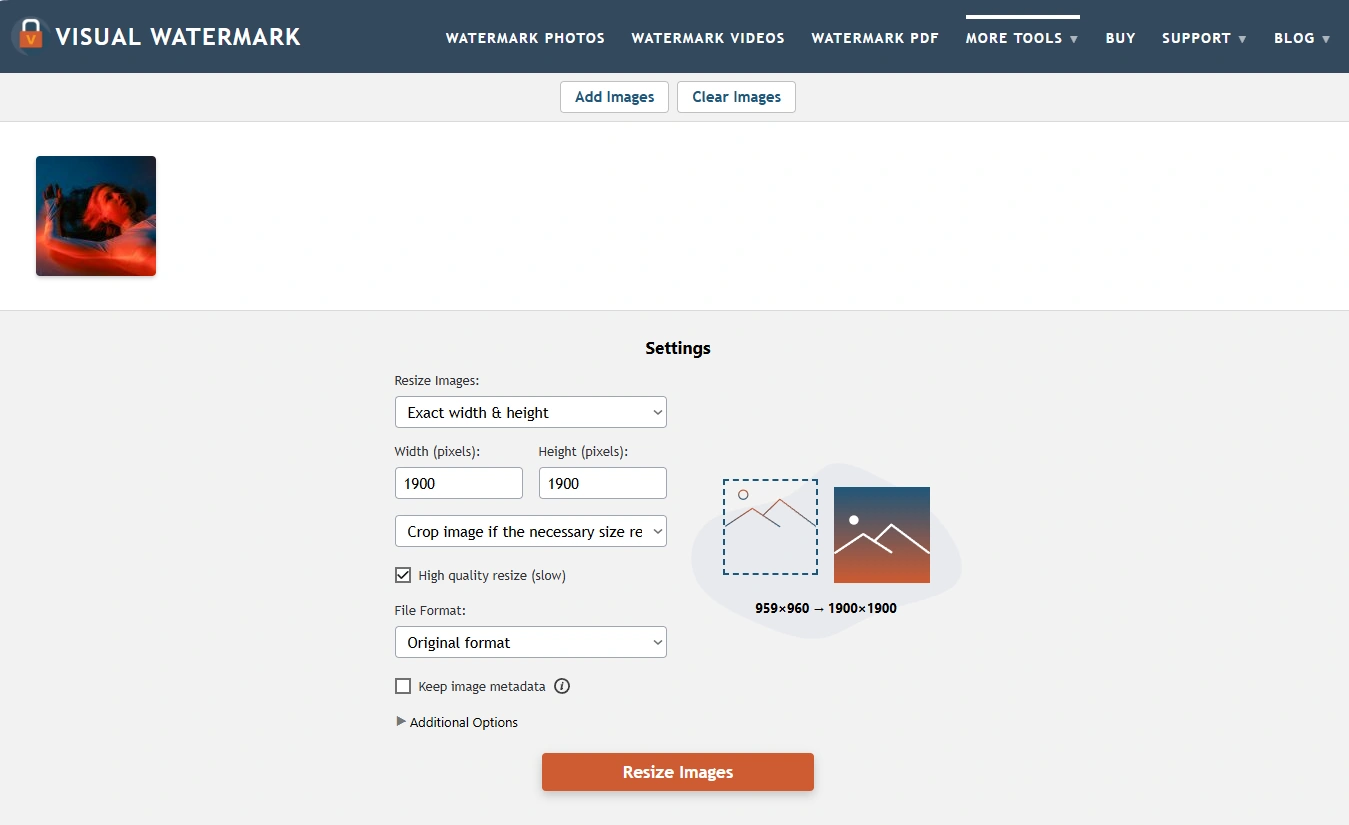
- Remember to tick the High quality resize option. It’s important!
- Click on Resize Images, wait a bit, then download your processed images.
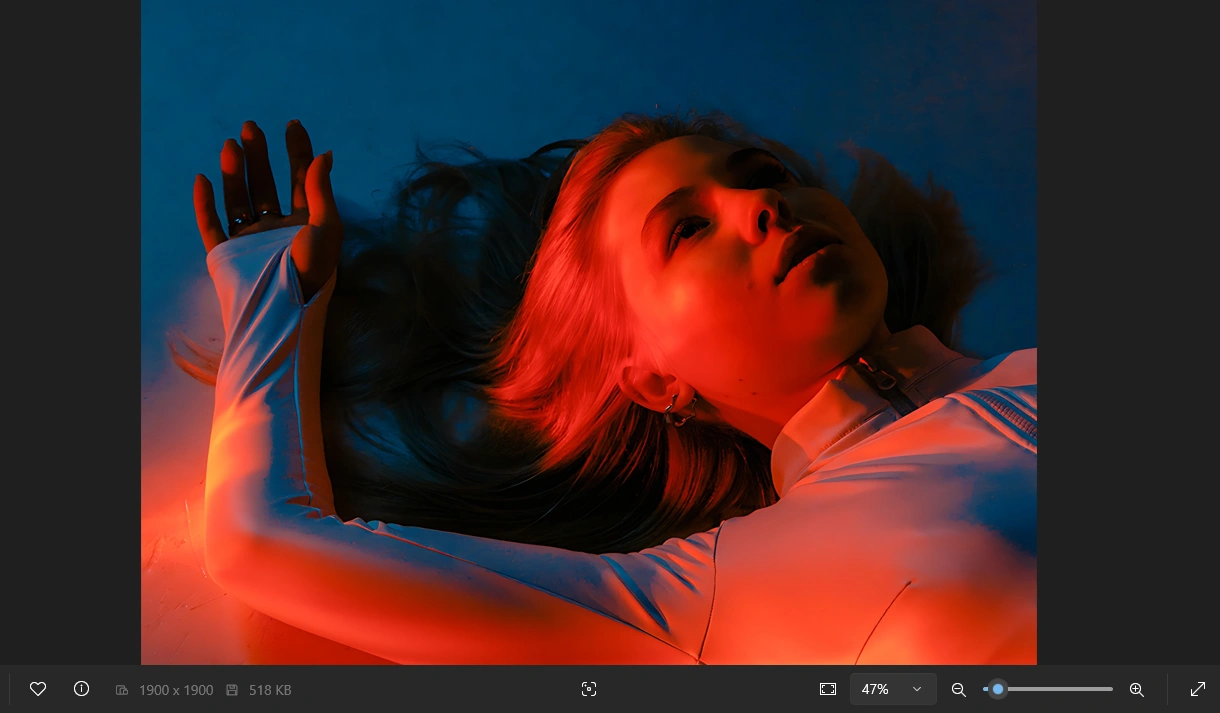
As a result, your image will become bigger, yet nothing bad will happen to its quality.
Tips to Avoid Blurry Photos
Keep in mind that not every blurry photo can be rescued and restored. So, here are a few tips that will help you avoid blurry photos in the future:
- Use a tripod for stability when possible.
- Choose faster shutter speeds for moving subjects.
- Ensure your camera or phone focuses properly before shooting.
- Shoot in good lighting conditions to prevent the need for slowing the shutter speed.
- Set the High-Resolution option in your camera setting to avoid producing photos with poor image quality.
Final Thoughts
In the past you couldn’t do much with blurry photos. But today’s AI-powered tools has completely changed the landscape. Whether you’re a casual smartphone photographer or a professional, there’s now a solution for nearly every situation.
If you are a pro, go for Adobe Photoshop and maybe consider investing into Topaz Labs – it’s a real game changer. If you don’t have any image editing skills and just need a quick fix, opt for some web-based AI tools or mobile apps mentioned in this guide. You will definitely find something that suits your needs and budget.