 by
by You may be unaware of this, but Microsoft Word is more than a simple word processor. With its help, you can easily watermark your documents as well as do some basic imaged editing like cropping. And, of course, you can also use it to add text to a picture. That’s right, you can add photo captions, quotes, titles or whatever text you need. Moreover, it offers a nice selection of tools for formatting your text. You’ll be amazed by how easy it is!
It’s also super convenient since you won’t need to spend your time on dealing with image editing apps like Canva or Adobe Photoshop. All you will need to do is to open a Word document, insert an image, then add and design your text. That’s it!
In this detailed guide you will learn why you might need to add text to images in MS Word as well as learn how to do this on Windows, Mac or a smartphone. We’ll also show you an alternative method which can be more suitable for processing a batch of images or in case you might want more creative freedom.
Why You Should Add Text to a Picture in MS Word
It’s true that you can benefit a lot from adding text to your images. Here are several compelling reasons:
1. Draw the attention
Text placed directly on an image draws immediate attention. It’s really hard to miss. So, that’s exactly what you need to do if you want to put an emphasis on a headline, a quote or even a call-to-action. And it can make your image look more professional!
2. Design marketing materials quickly
Need to create a flyer or a poster but don’t have much time? Instead of learning a new design app, you can use MS Word to combine images and text into a visually appealing design within just a couple of minutes. Moreover, you will be able to easily save it as a PDF or print right away.
3. Make things clearer
Adding labels, titles, or annotations to diagrams, screenshots, or photographs can make business and academic documents easier to understand. Your audience will surely absorb and retain information much better. It will also make them more polished and well-organized.
4. Create branded content
Adding a watermark with your brand name or logo to an image before sharing it can be of great benefit. Moreover, you can watermark your documents in MS Word and then add your brand name to your images. This can be great for increasing the protection of your textual and visual content as well as boosting your brand awareness.
How to Add Text to a Picture in Microsoft Word on Windows & Mac
You can easily add text to an image in MS Word within just a couple of minutes. Just follow these simple steps:
- Open the necessary document in MS Word and find the spot where you want to add your image and your text.
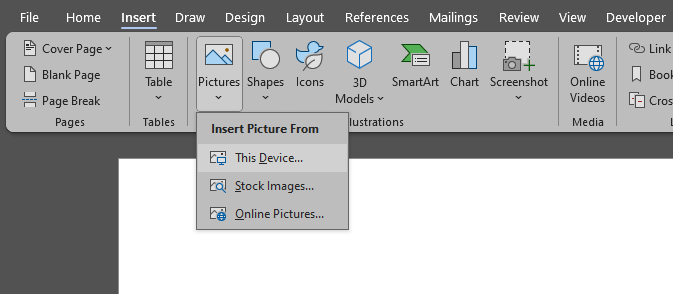
- Place the cursor on the necessary spot and go to Insert > Pictures and choose:◦ This Device to upload a picture from your computer. ◦ Stock Images or Online Pictures to make use of galleries provided by MS Word.
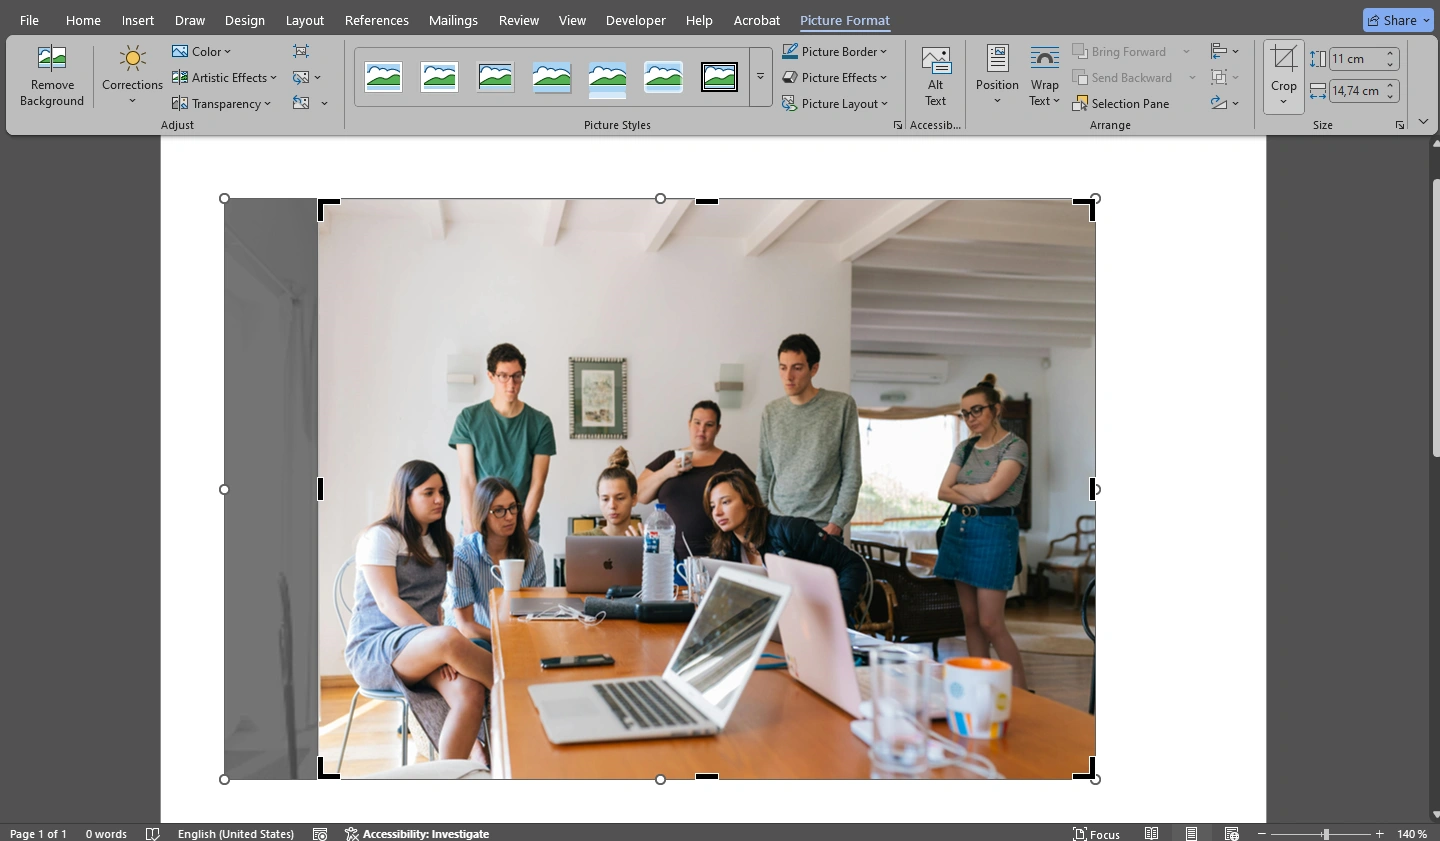
- Make the necessary adjustments. You can crop your image in MS Word as well as resize and reposition it.
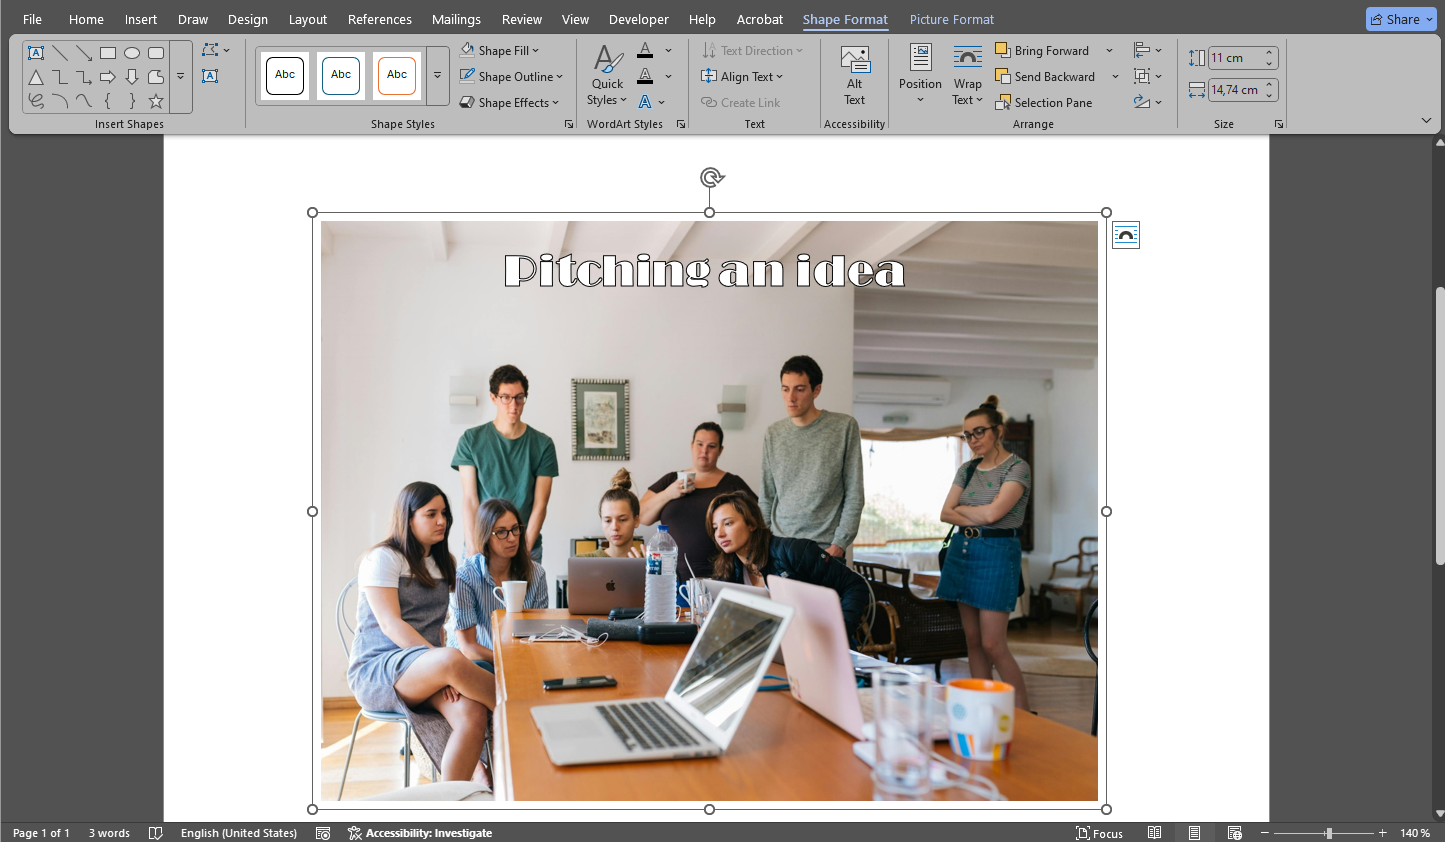
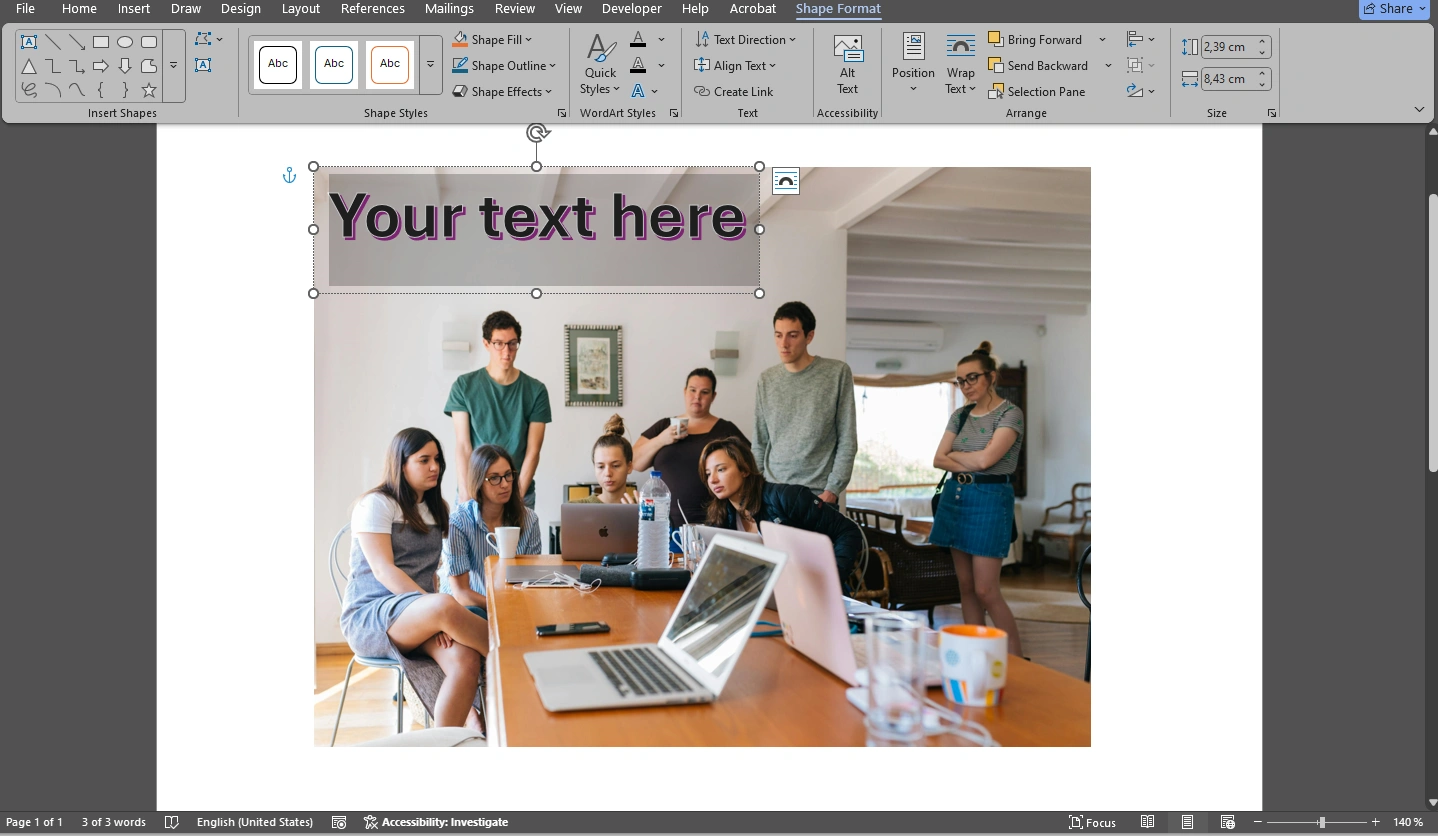
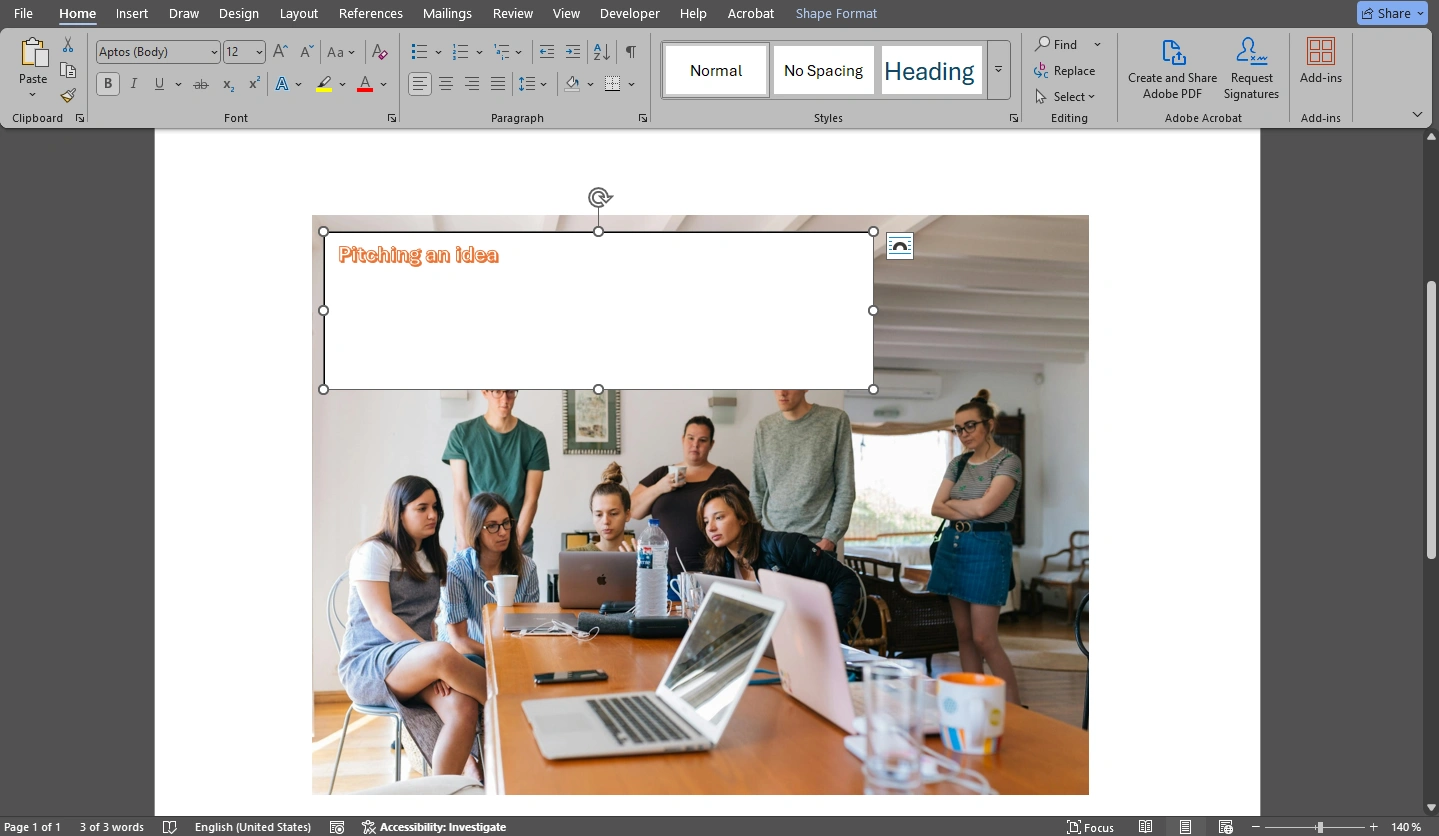
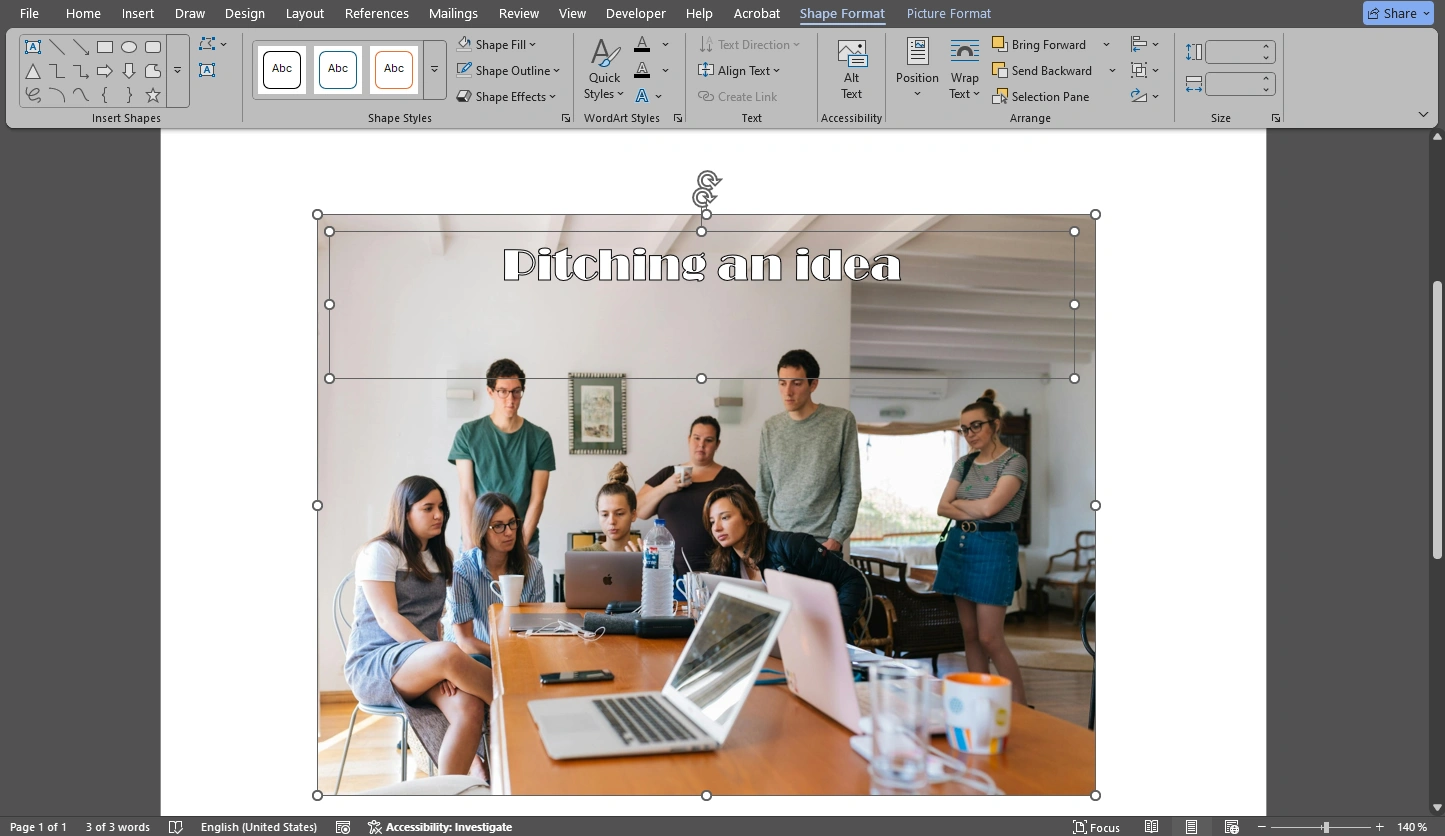
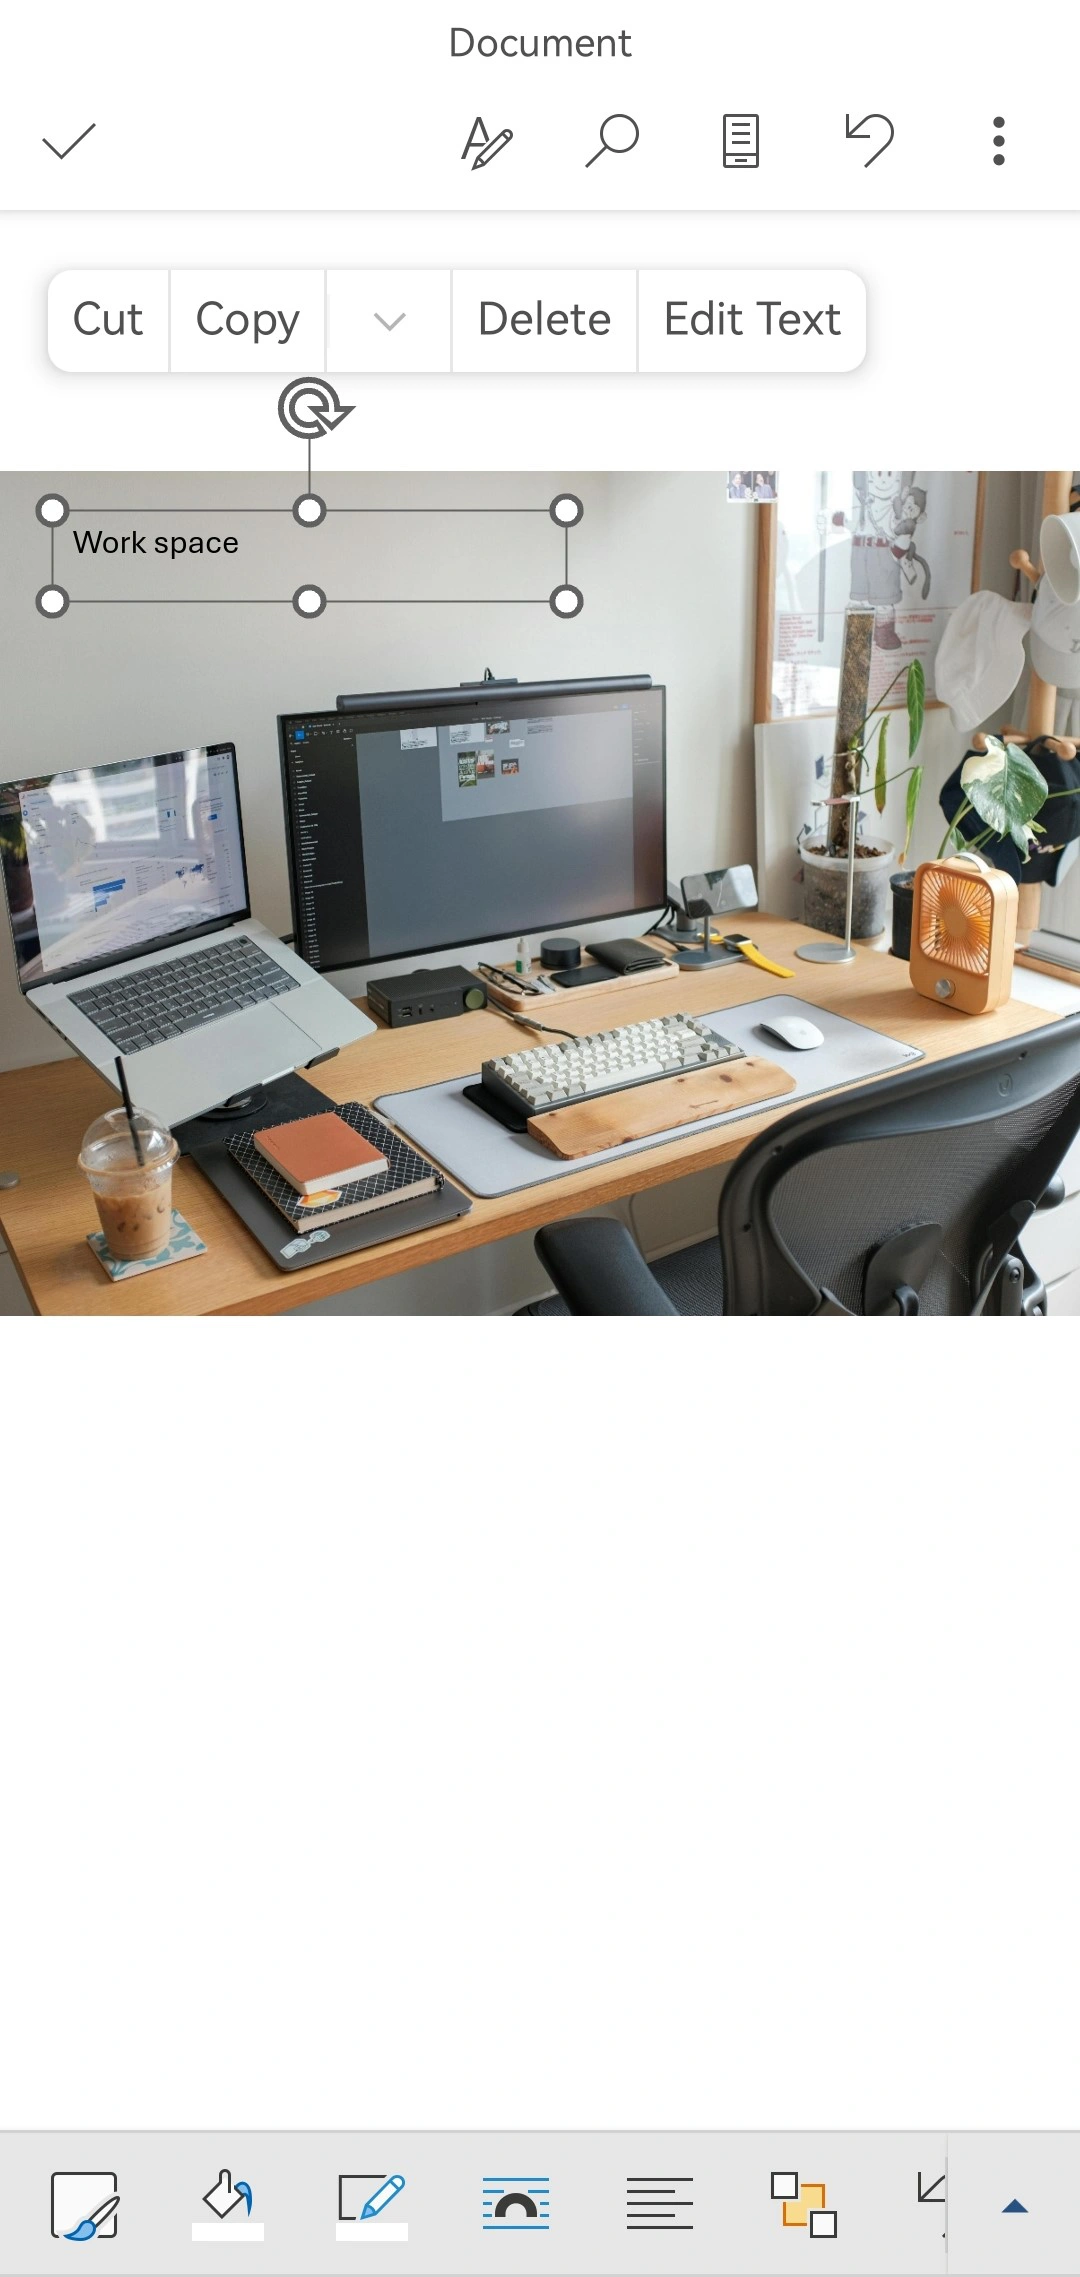
- Now, let’s move on to inserting your text. Go to the Insert tab again and click on Text Box > Draw Text Box.

- Click wherever you want to insert your text. Once a new text box appears, enter your text.

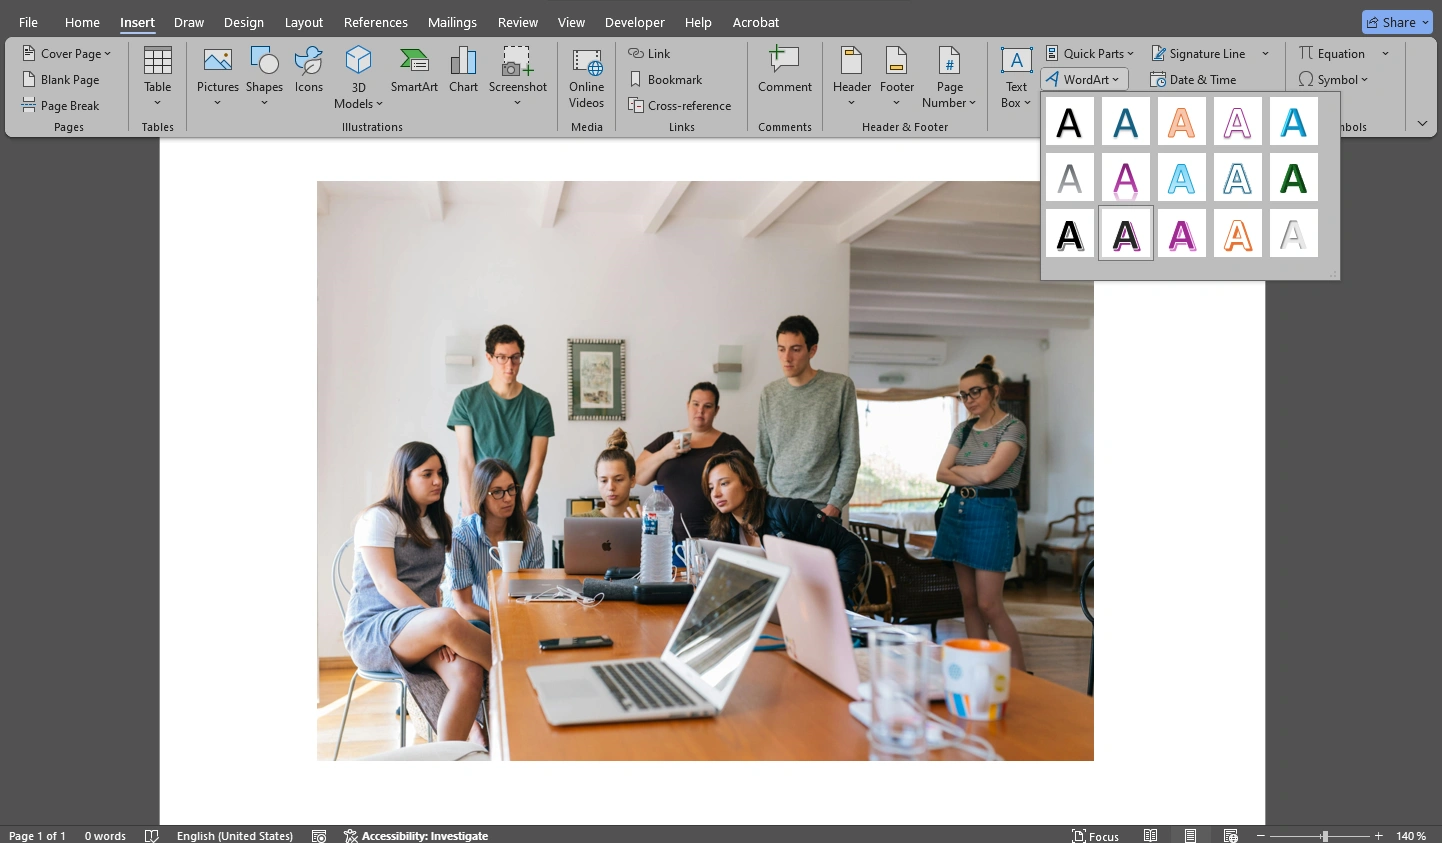
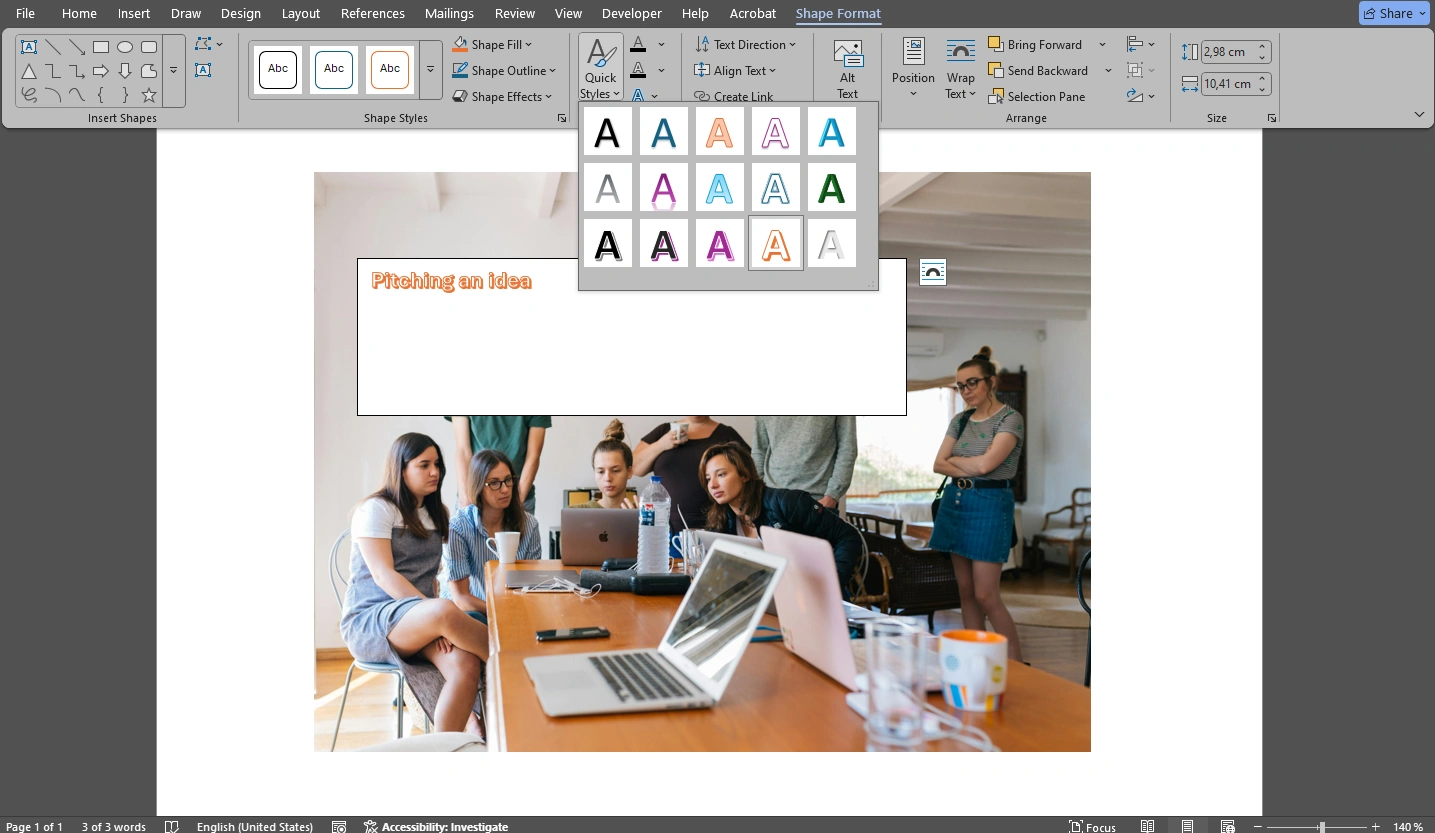
- As an alternative, you can insert WordArt instead of a text box. Simply go to Insert>WordArt, then pick the necessary style.
- It’s worth mentioning that if you are using one of the latest versions of MS Word, you will still be able to pick a nice-looking style and add an effect to your text even if you add a text box.
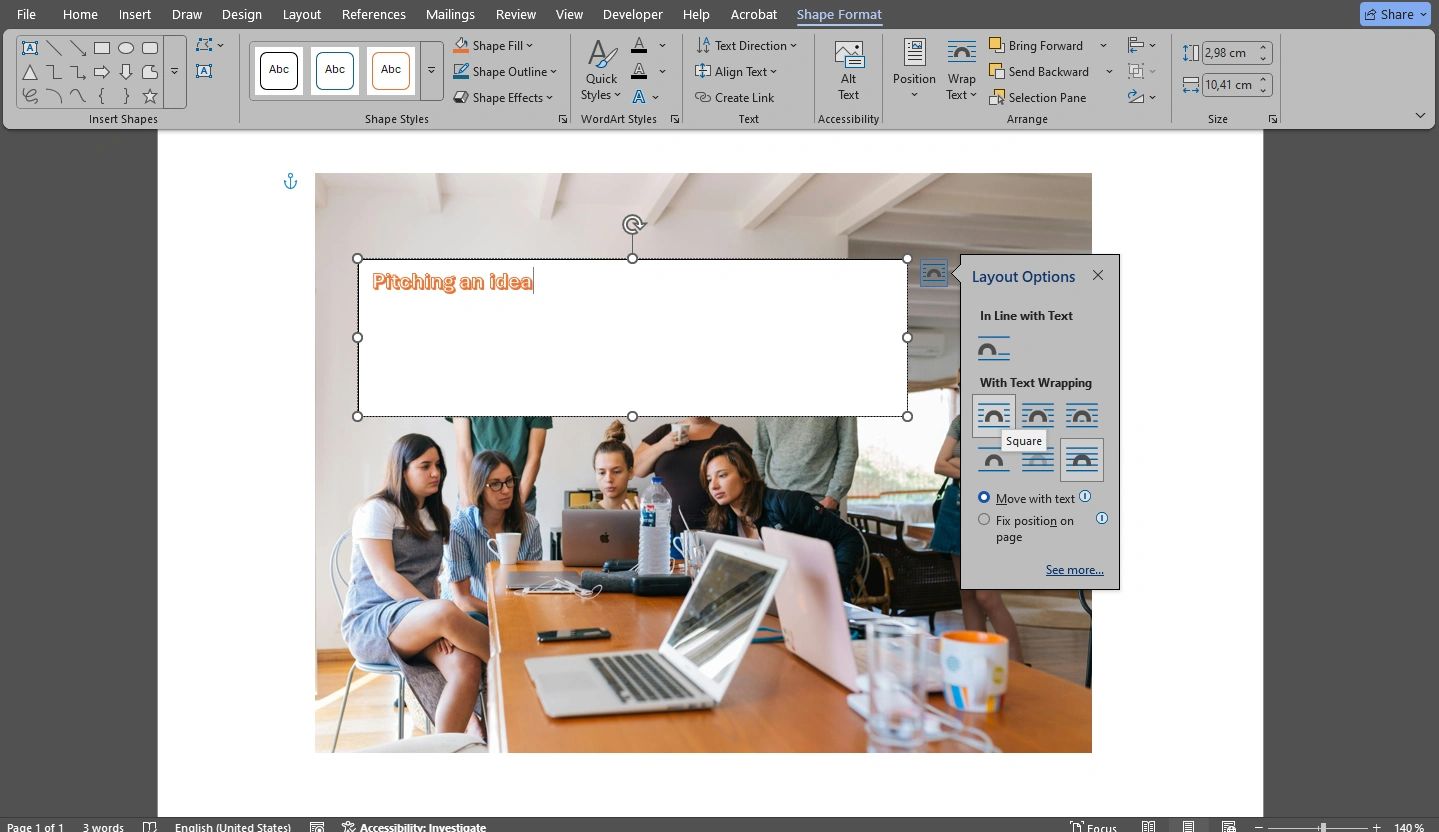
- Before you get to making any adjustments to the text, there are a couple of important things that you’ll need to do. First, click on the Wrap Text icon next to the selected text box. Choose the Square option.
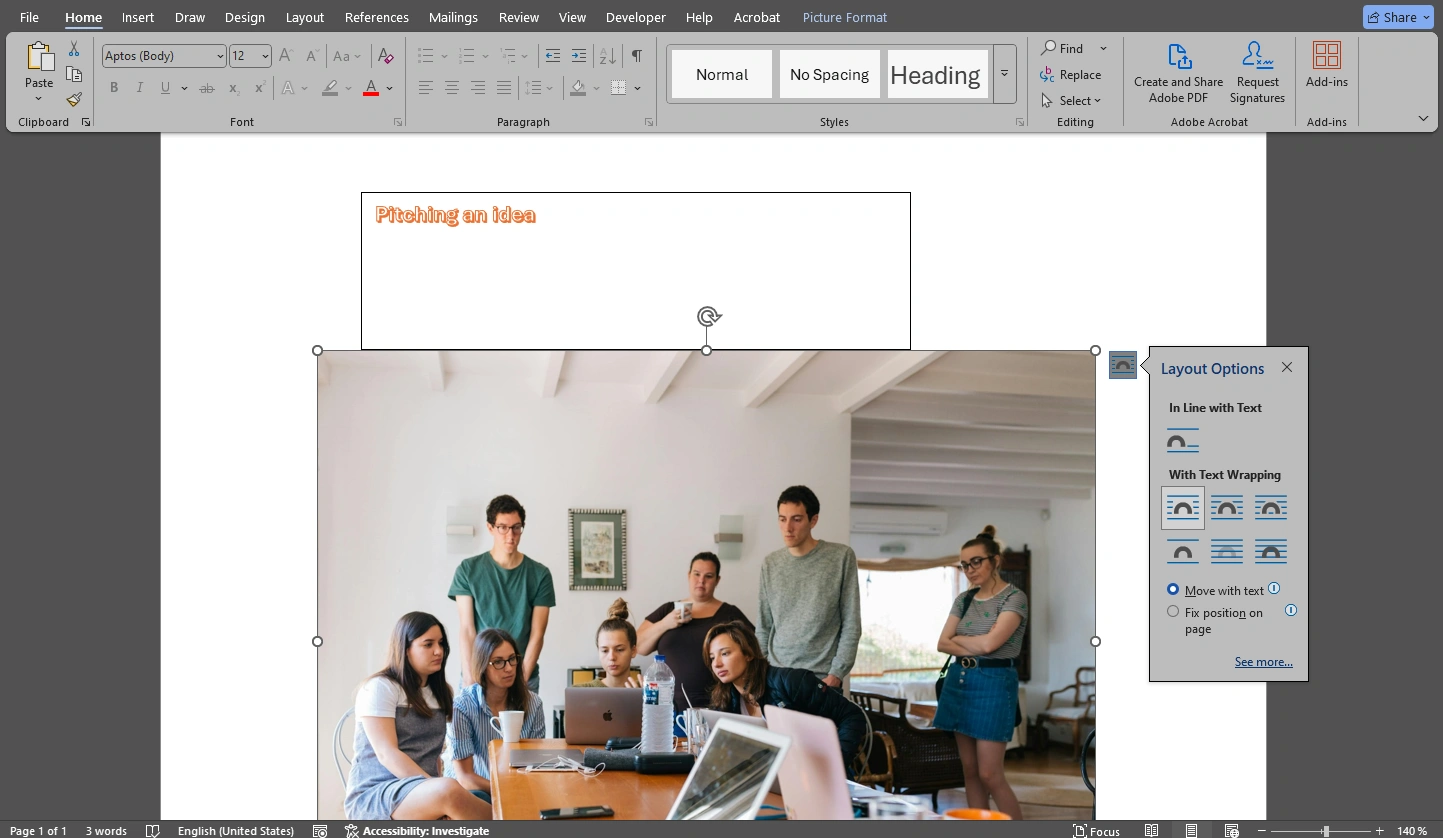
- Click on the image to select it. Then click on the Wrap Text icon and choose the Square option, as well.
- Right-click on the border of the text box and choose the Bring to Front option.

It’s worth noting here that if you don’t need to place your text on top of your image – you want the text to sit above or below your image – you can actually skip this step. - Using the cursor place your text box on top of your image.
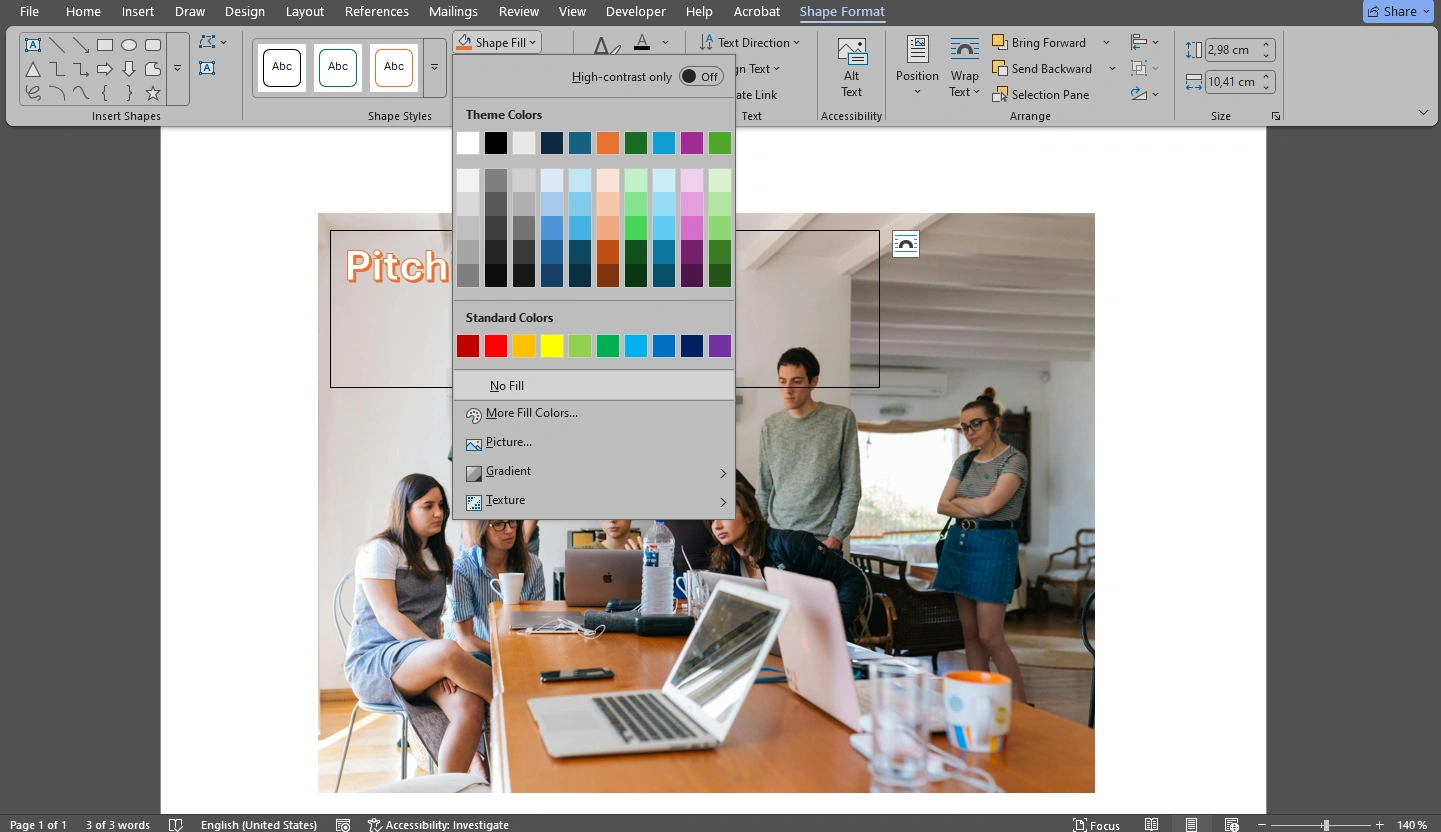
- To make the background of the text box transparent, go to the Format Shape tab, then select Shape Fill > No Fill.
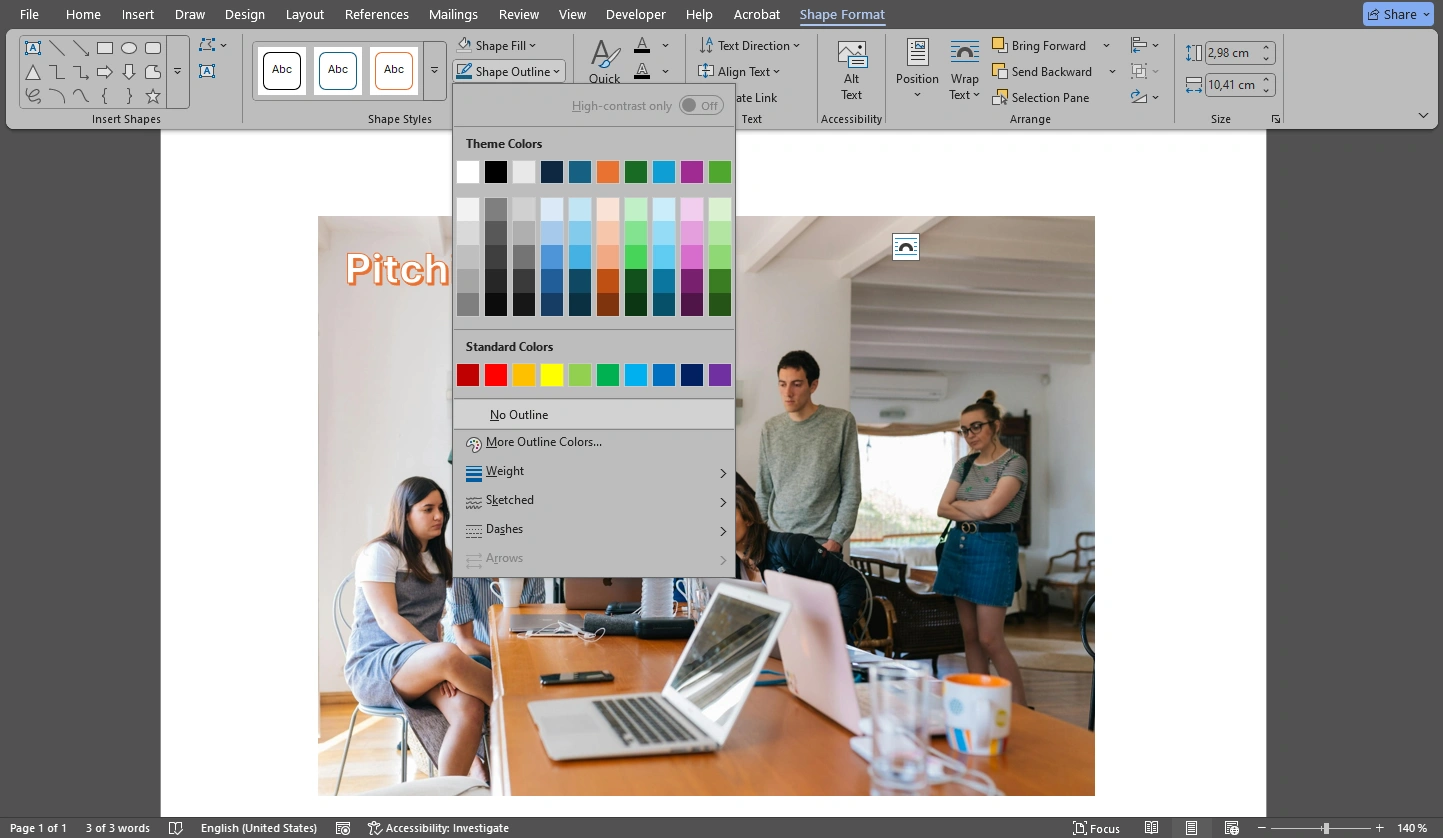
- Remove the outline by selecting Shape Outline > No Outline. If you added the WordArt instead of text box you may not need to do this.
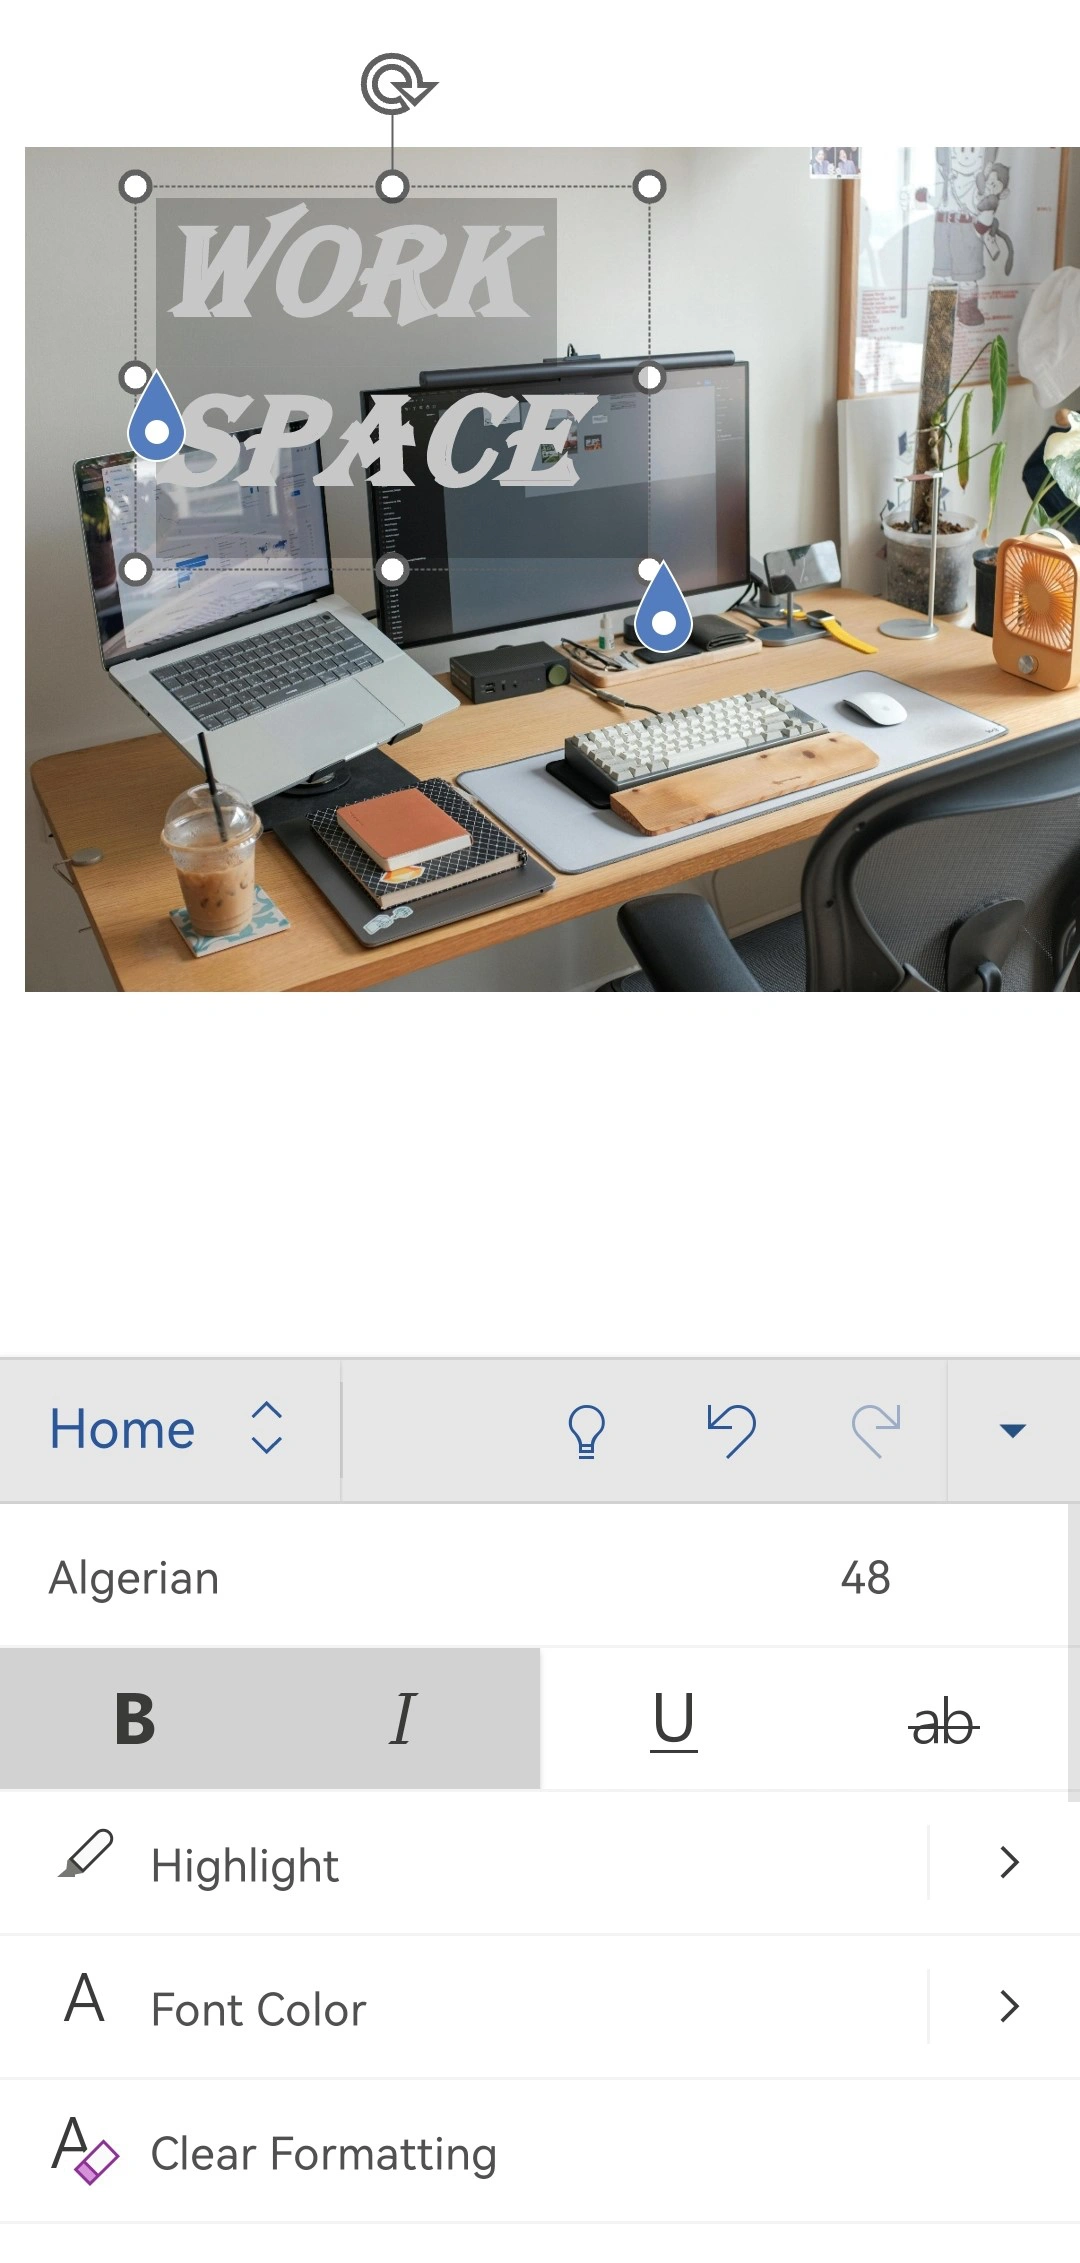
- Let’s format the text! It’s important to select the text with the cursor first, otherwise no changes will be applied to it. Make the necessary changes to your text. Pick a color and a font, adjust the size and alignment, etc.
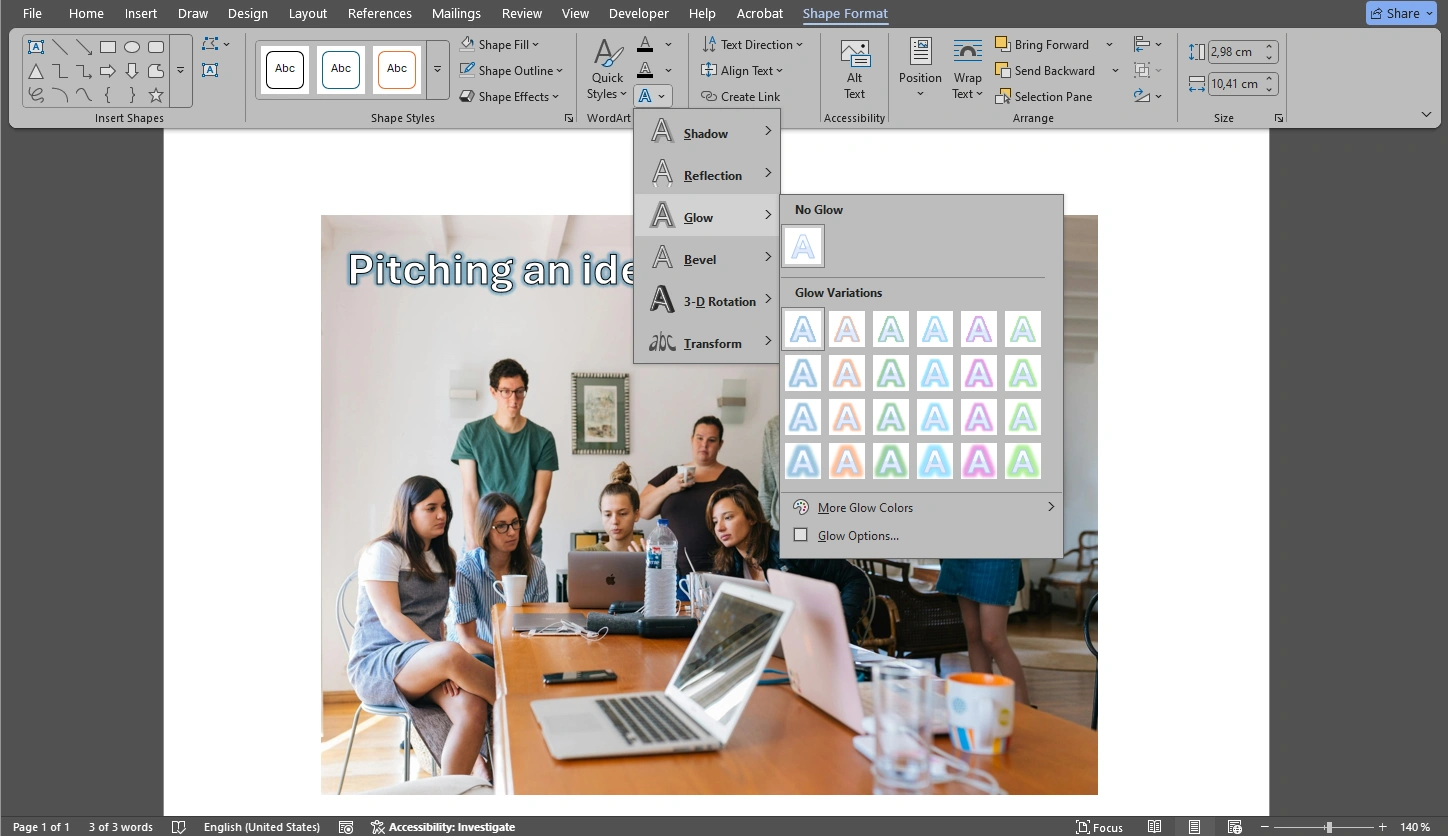
- Please note that if you opted for the style of text that has an outline, then you can change the color of your text in the ribbon by using the Text Fill and Text Outline menus. You can also experiment with different effects in the Text Effects menu.
- Alright, are you done with editing? It’s time to group your text and your image. This is necessary in case you might want to reposition your image. Because if you don’t group these elements, then try to move the image, the text won’t go anywhere. Its position will remain unchanged, so you will need to reposition it as well.
- Click on the text box to select it. Then hold CTRL on Windows or CMD on Mac and click on the image. Now, both the text box and the image should be selected.
- Go to the Shape Format tab in the ribbon and select Group > Group.
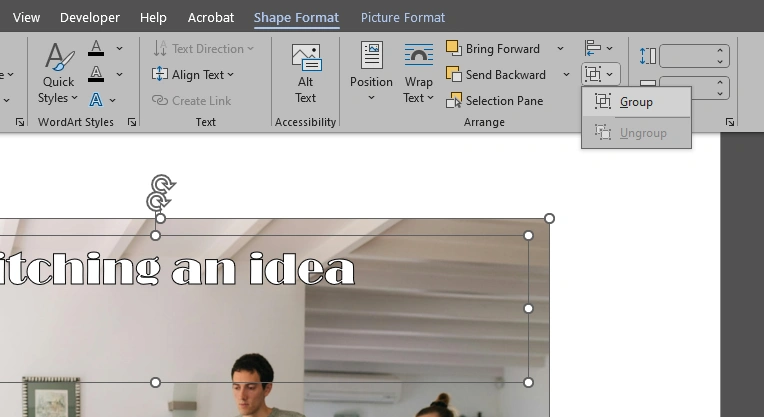 The image and the text box will be grouped!
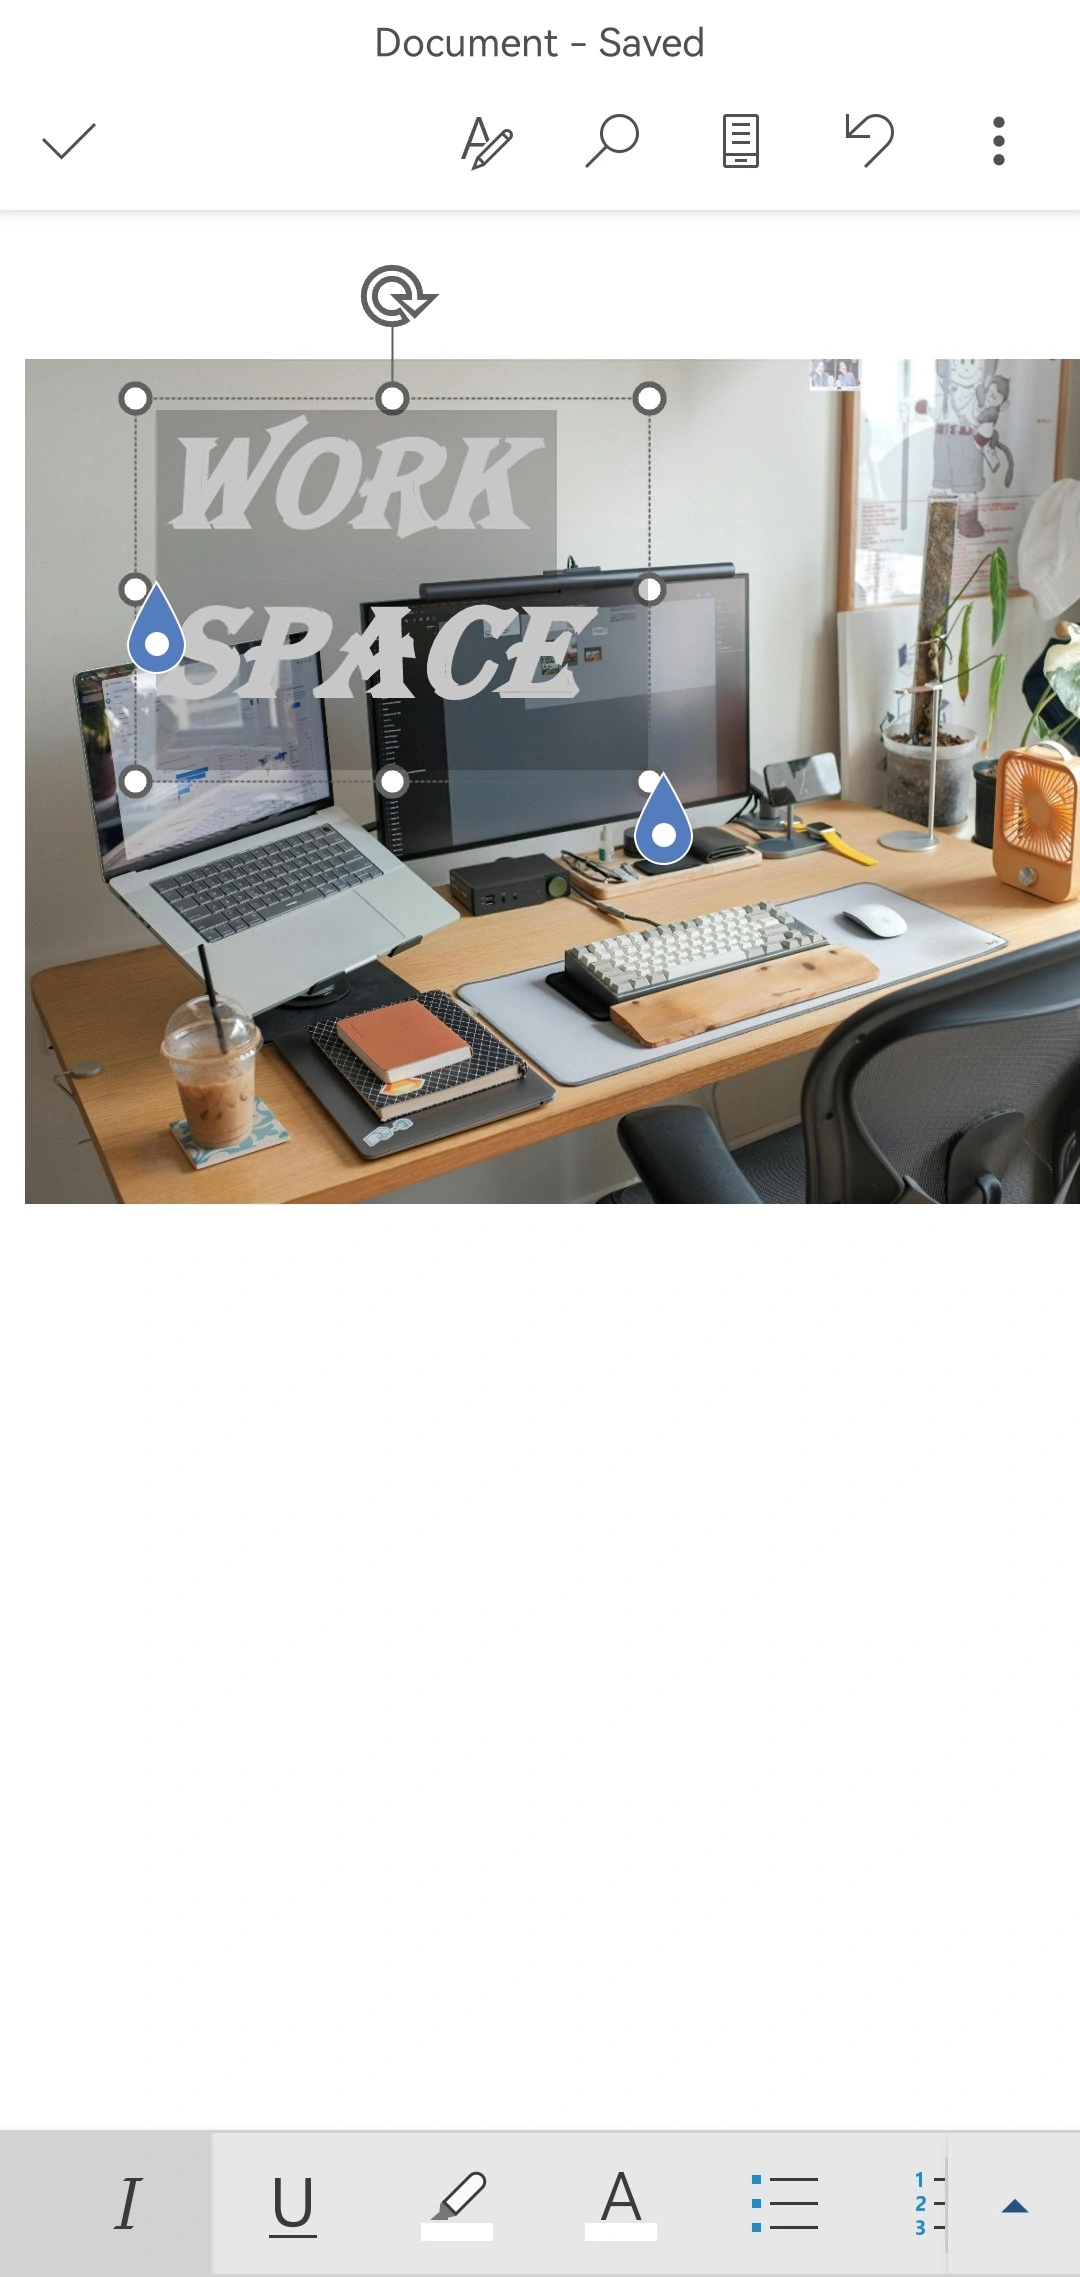
- Make sure to click on the Save icon or use the CTRL / CMD + S shortcut to save the changes in your document.
- As an option, if you want to reuse this image with your text in other documents or somewhere else, you can actually export it as a file. Right-click on the image and choose Save as Picture.
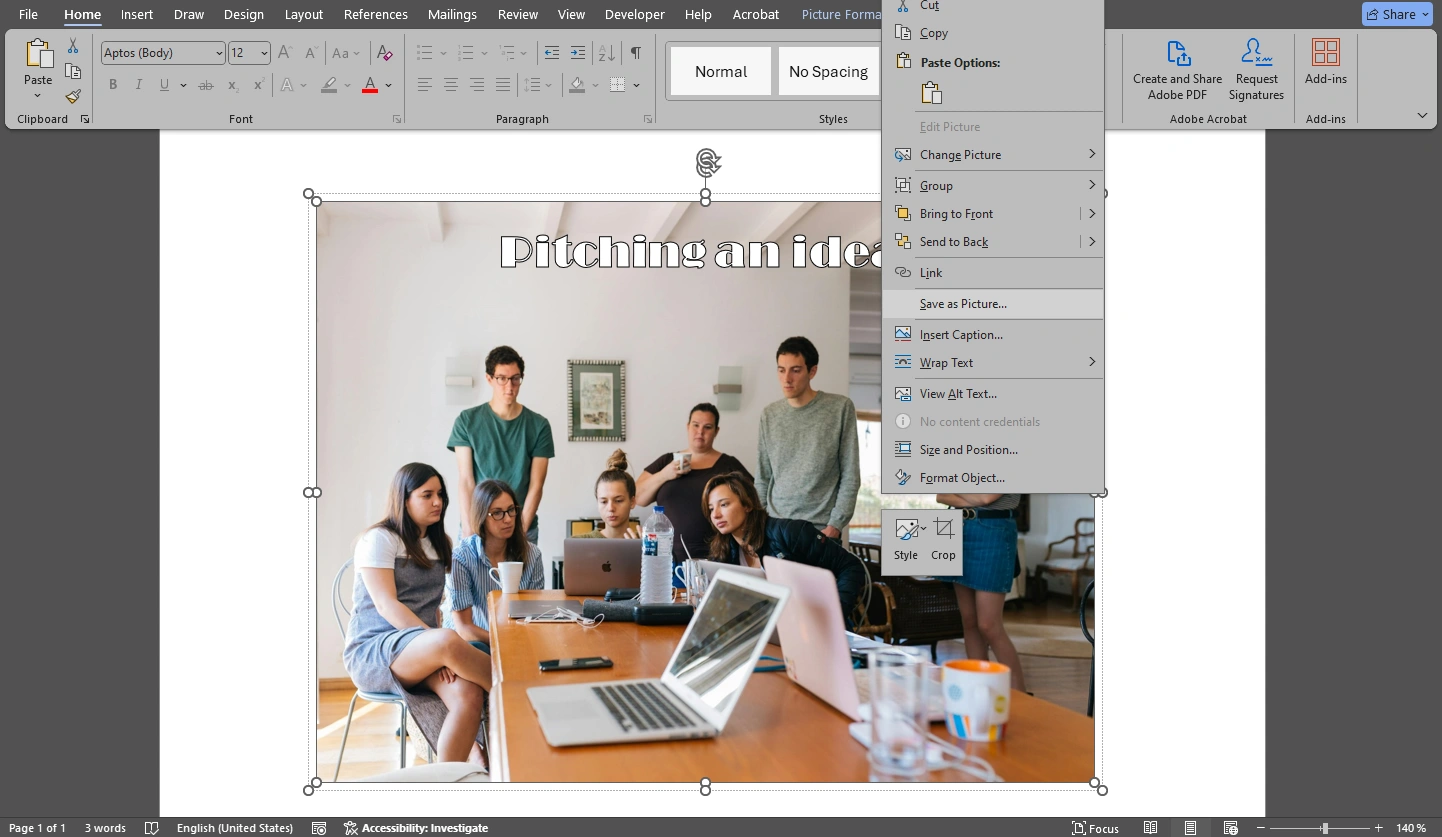
- Name your file and find the necessary location, then click on Save.
And that’s how you can add text to a picture in Microsoft Word!
It does involve quite a few steps, but it’s not too complicated. Even if you’re a newbie, you will still be able to do this.
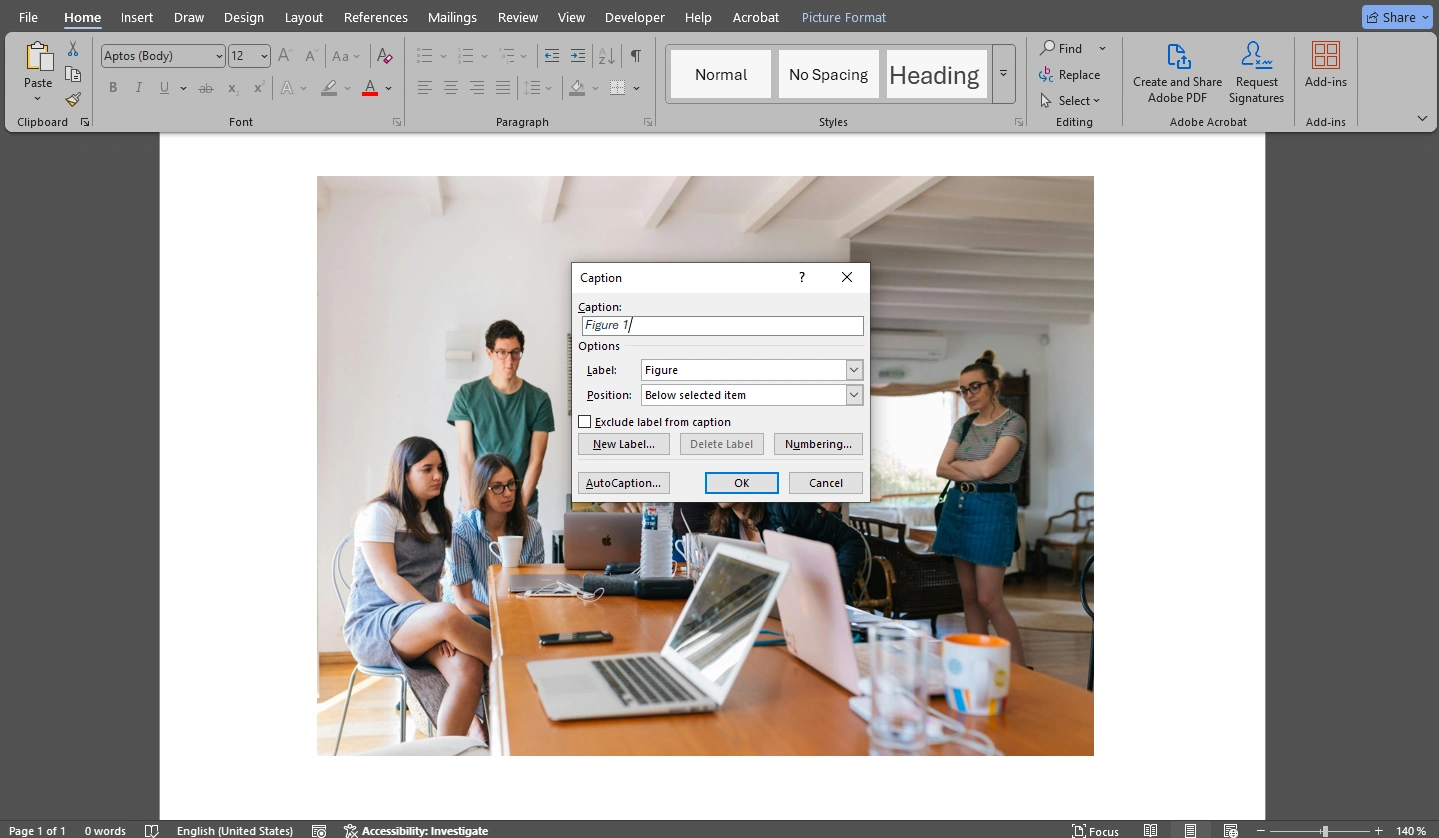
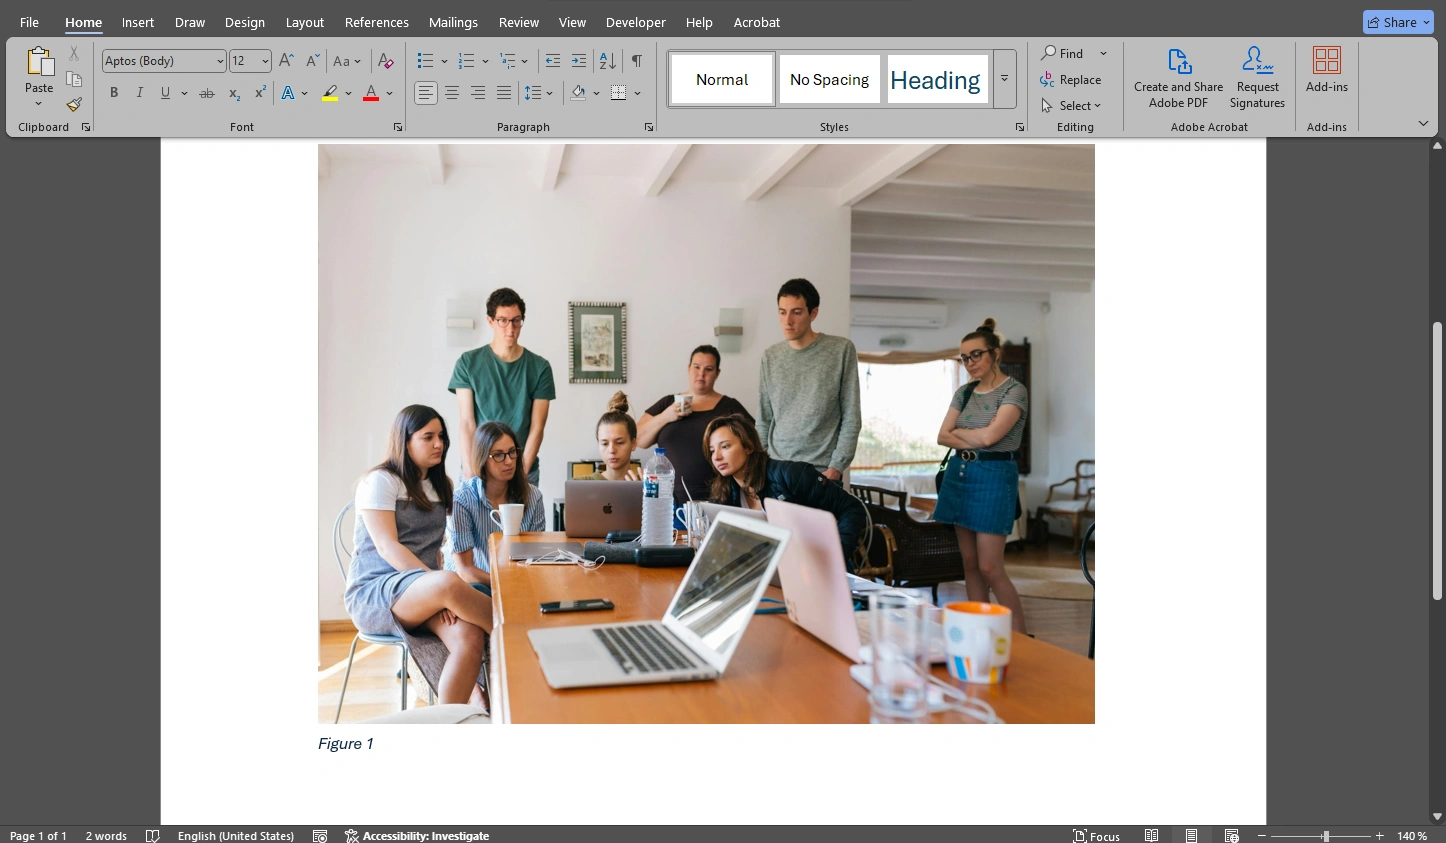
It’s worth noting that if you want to label your image with a caption, like Figure 1, MS Word actually has this option. Once you’ve inserted your image into the document, you need to right-click on it and choose Insert Caption.
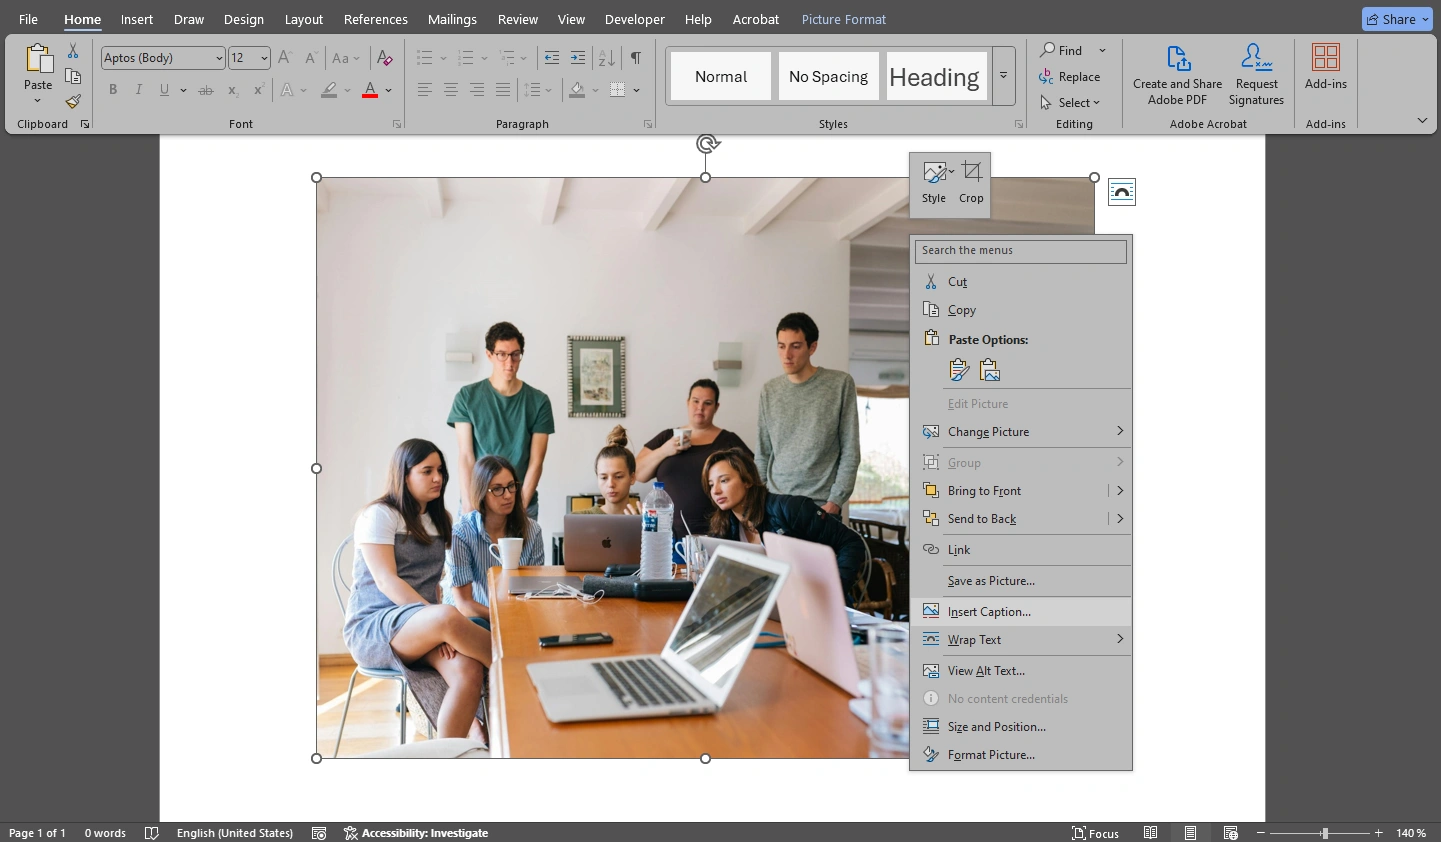
In the Caption dialog you will need to specify what the caption should say and set a couple of other settings. It’s possible for your caption to be above or below your image. Once you hit OK, the caption will appear in your document.
The downside of this method, though, is that the caption won’t be attached to your image. So, if you reposition the image, the caption won’t be automatically repositioned with it. More to that, it’s much harder to reposition this kind of caption; unlike repositioning a text box. Therefore, it would be better for you to insert a text box, then group it with your image as described in the method above.
How to Add Text to a Picture in Microsoft Word on a Smartphone
As you may know, MS Word also has a mobile version, which can be used on Android and iOS. So, you can add text to a picture on the go using a smartphone or a tablet. The whole process is pretty similar with a couple of exceptions.
Here’s what you need to do:
- Open the necessary document or create a new one in MS Word mobile app.
- Tap the A with a pencil icon to enable the editing mode. If you don’t see this icon, then you’re already in the necessary mode.
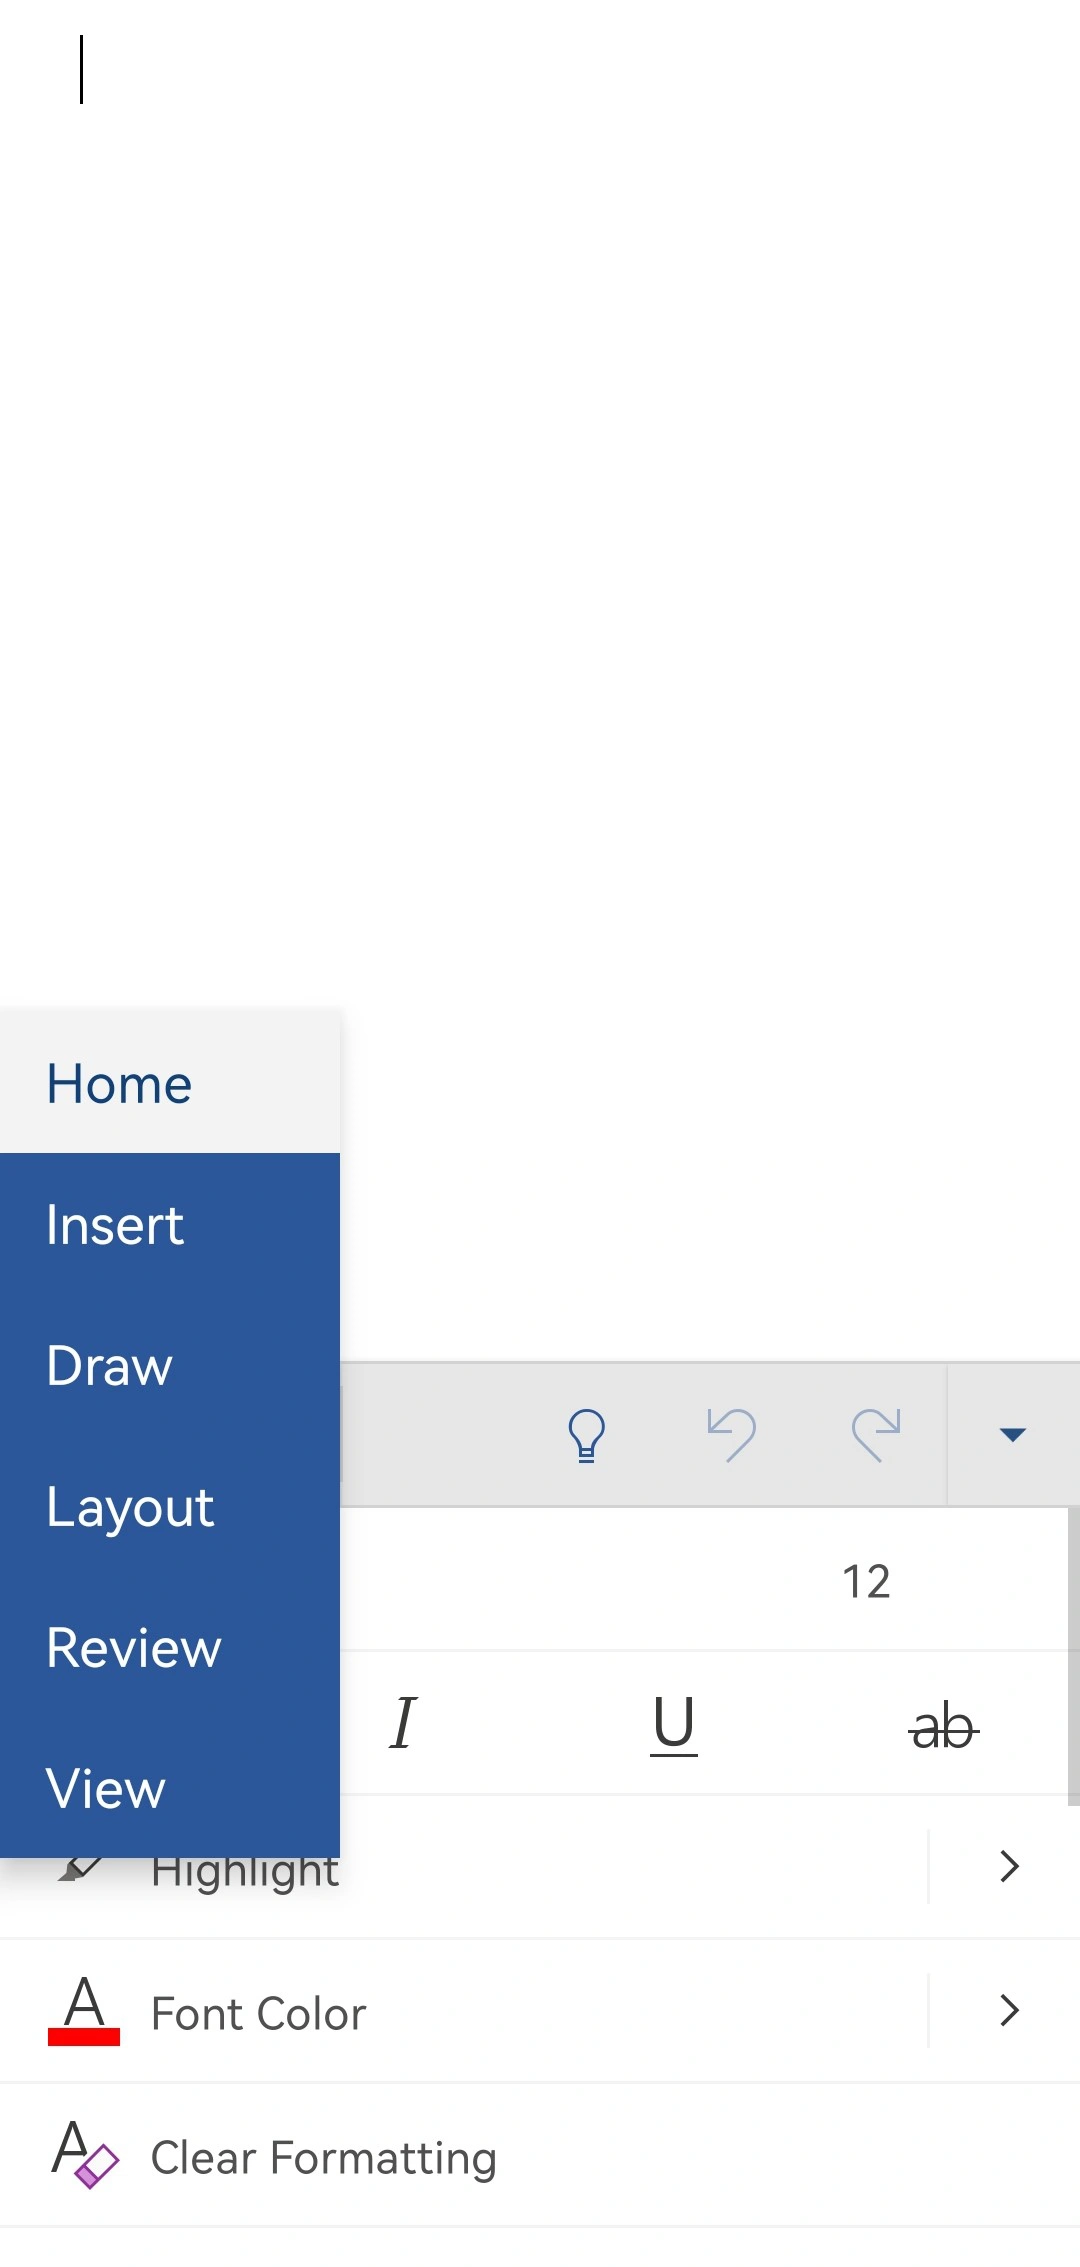
- Next, tap Home and once you see the list of different options, choose Insert.
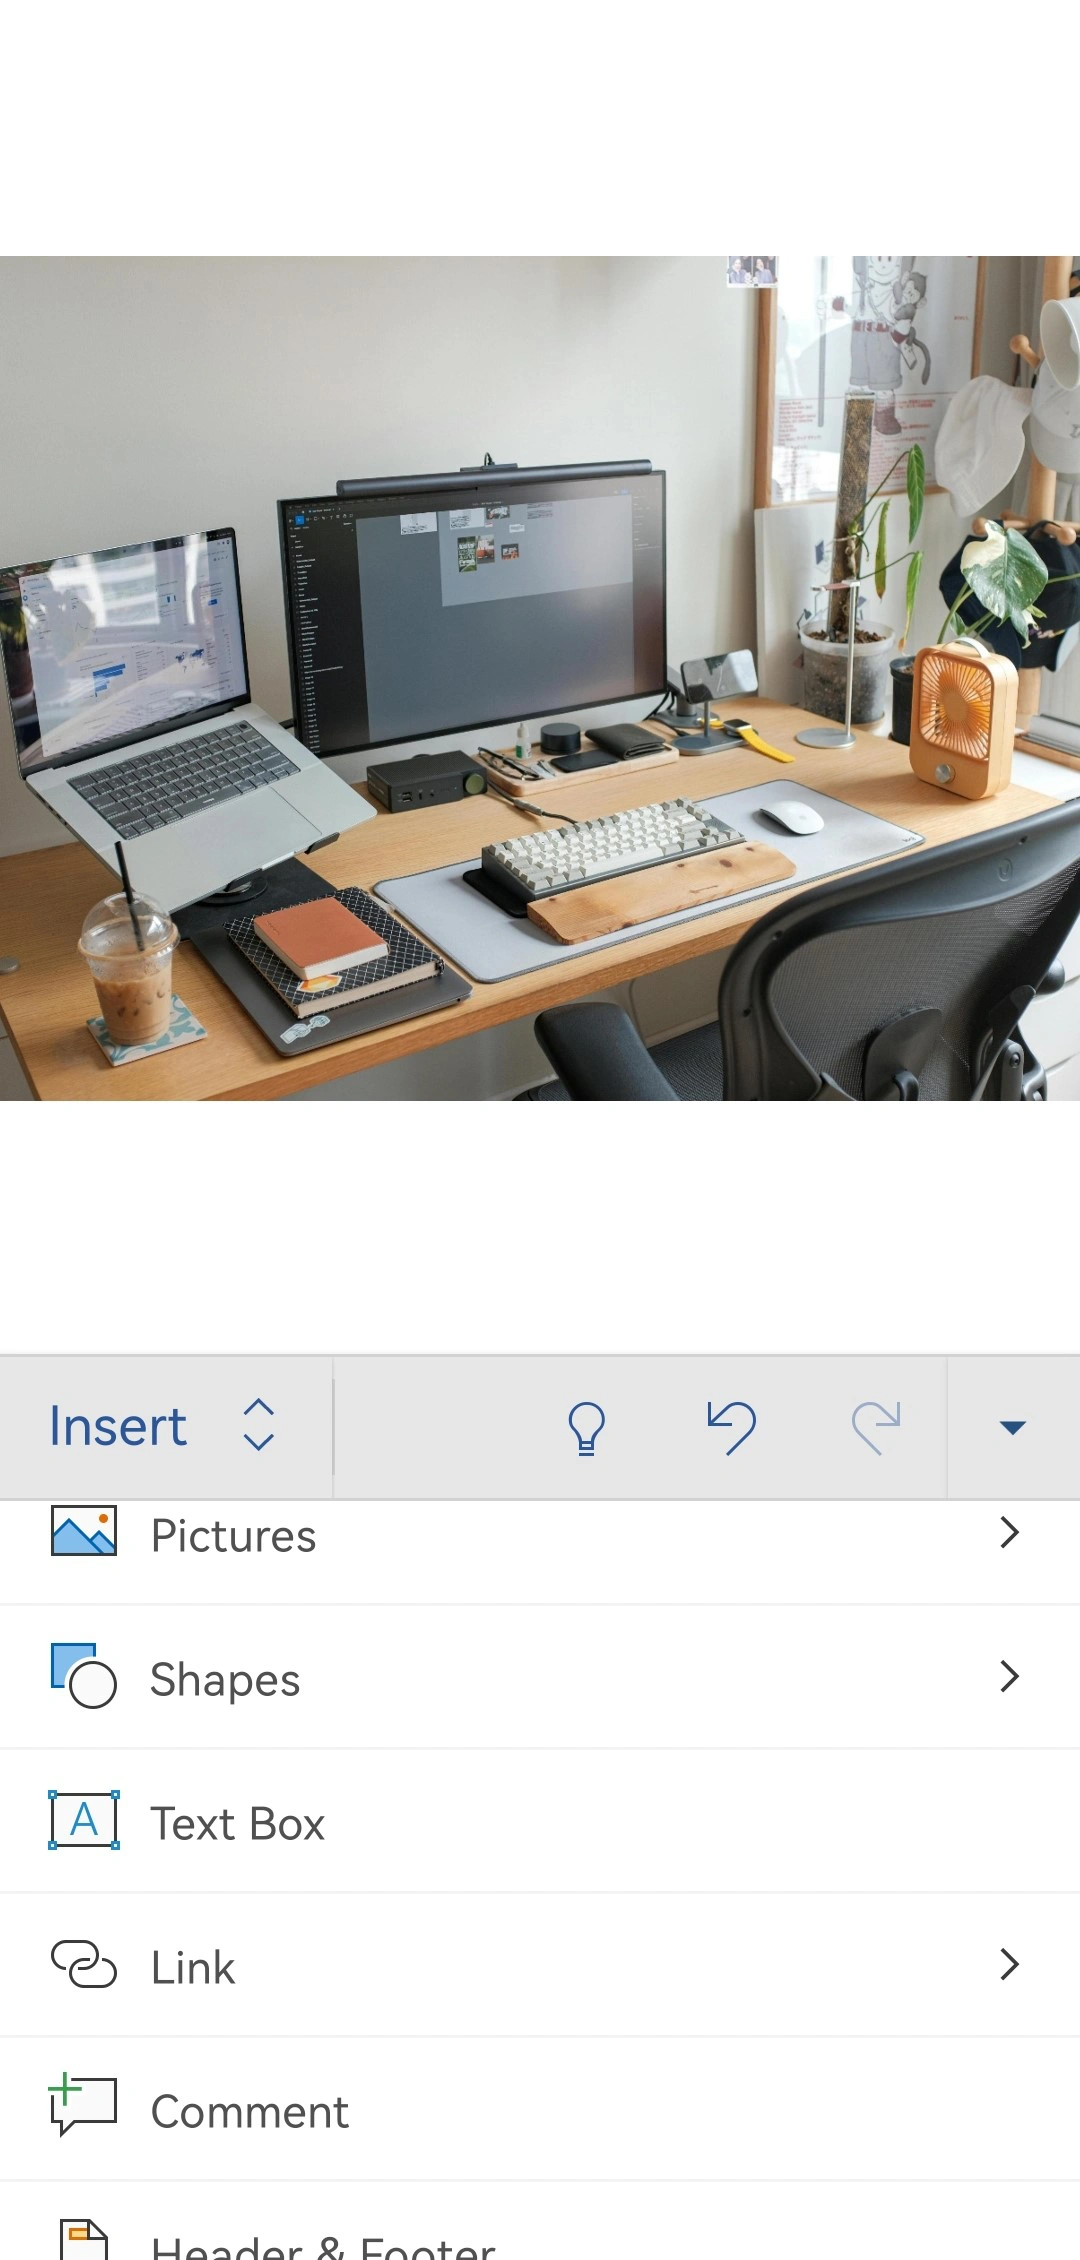
- In the Insert menu, pick the Pictures option and select where you want to import your image from.
- Import the necessary image into your document and make the necessary adjustments to it.

- Go back to the Insert menu, scroll down and choose the Text Box option.
The text box will appear on your document.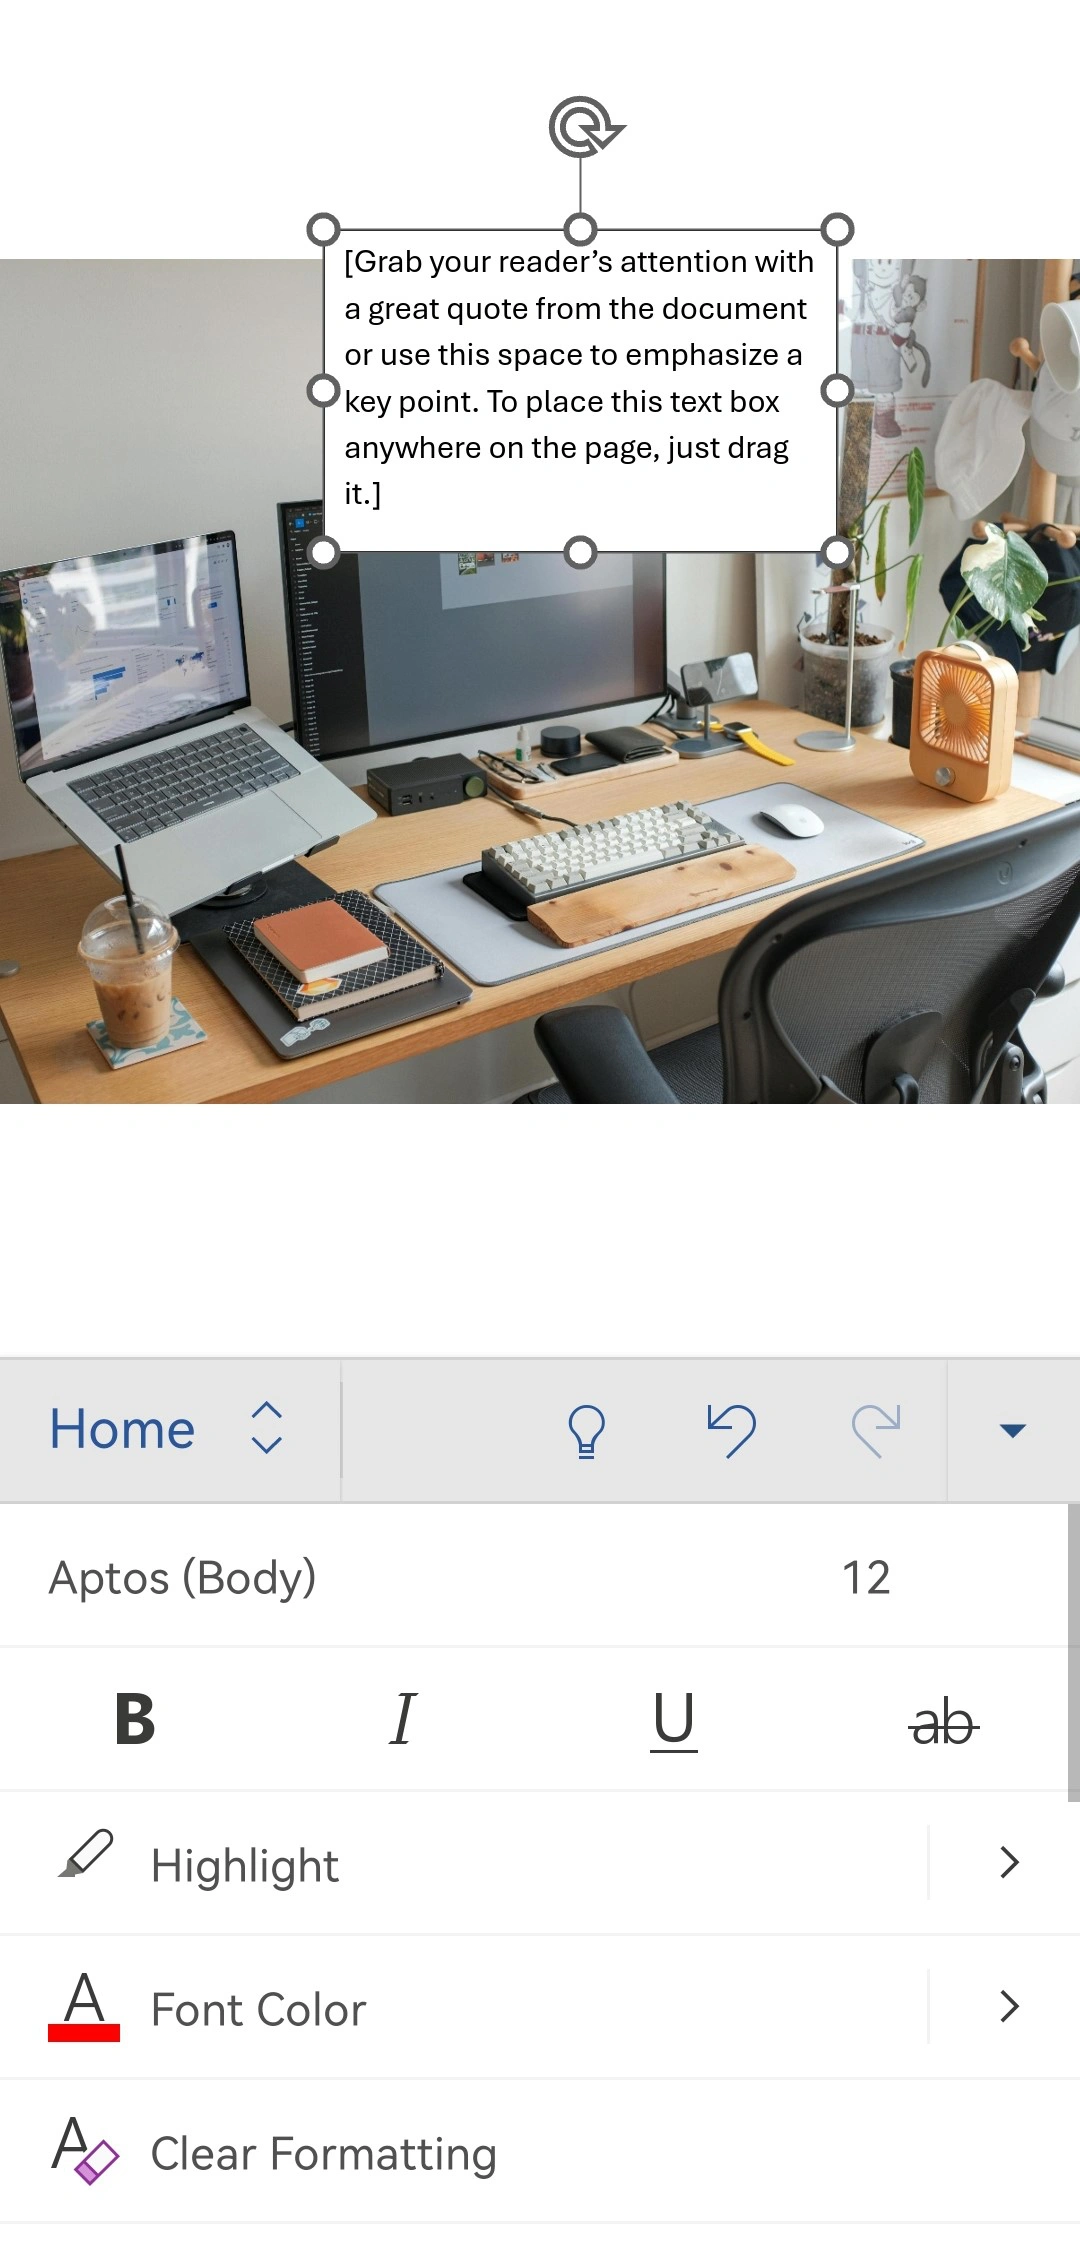
- You will see the Shape menu at the bottom. Here, go to Fill > No Fill.
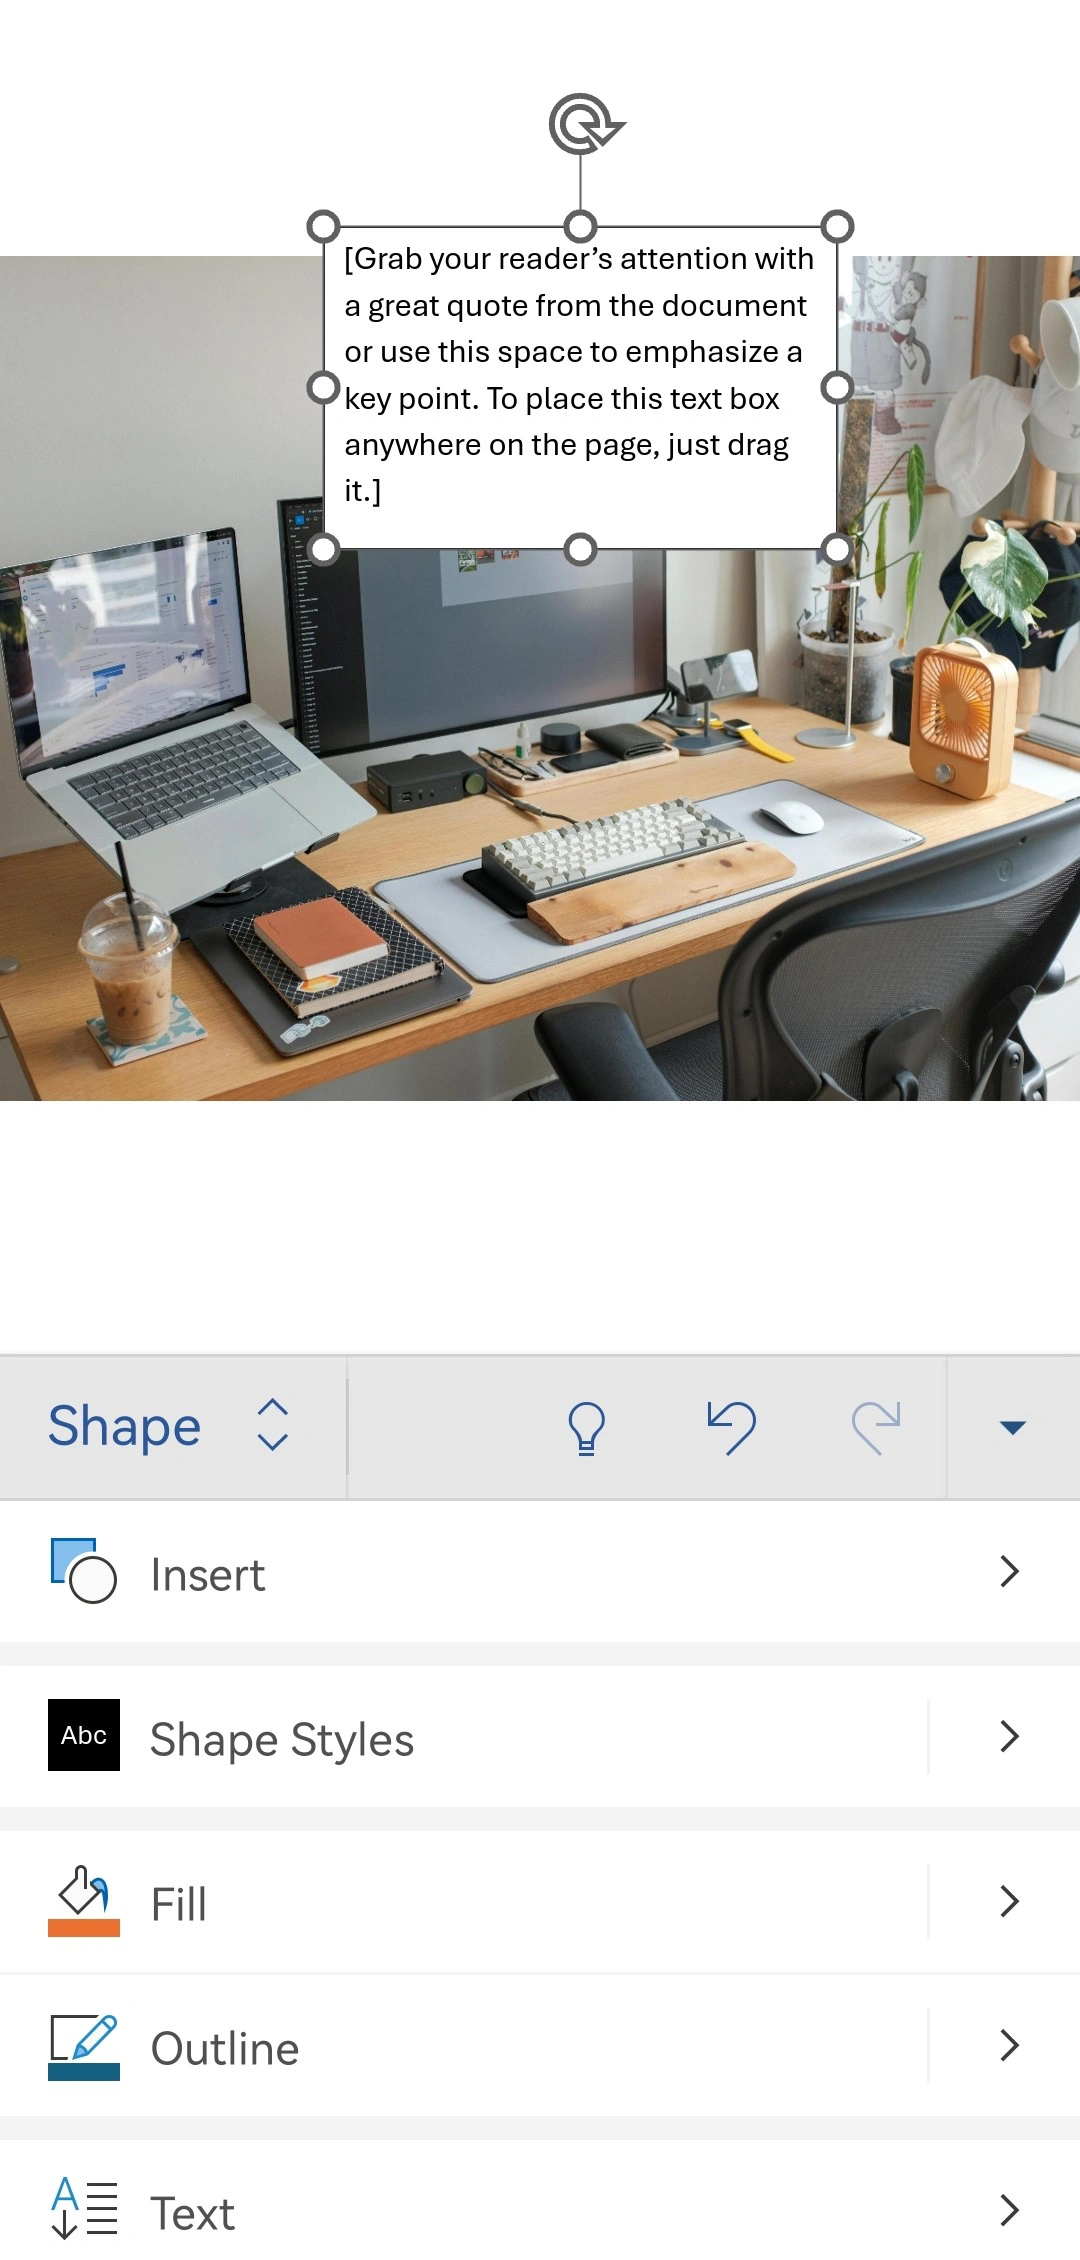
- Then go to Outline > No Fill.

- Reposition the text box using your finger.
- Delete the sample text and enter whatever text you need.
- Tap on the text box to select it, then tap on Edit Text.
It’s also possible to make some adjustments in the Home section. - Select your text, then make the necessary adjustments to it. Change its size, pick a color and a font.
- The mobile app also offers the option to send the shape forward, so use it, if your text is not in front of your image.

- When you’re ready, tap the checkmark in the left corner.
That’s it!
Now, the downside of using the mobile app is that you can’t group your text and image. So, you will need to reposition your image and then your text separately, if this need arises.
That said, the MS Word mobile app can be a bit tricky to use on a smartphone, so naturally, it’s mostly good for some small and quick changes.
An Alternative Way to Add Text to a Picture
Surely, adding text to a picture in MS Word isn’t really a challenge. But what if you need more creative freedom? Or add text to multiple images? MS Word doesn’t support batch-processing. Thus, you will need to add your text to each image separately, which can be quite tedious and time-consuming; especially considering all the extra steps of sending the text forward and grouping the elements.
Fortunately, there’s an alternative. You can add text to a picture using Visual Watermark’s online app, then insert your images with text into your document. Moreover, there are two apps that can be beneficial to you.
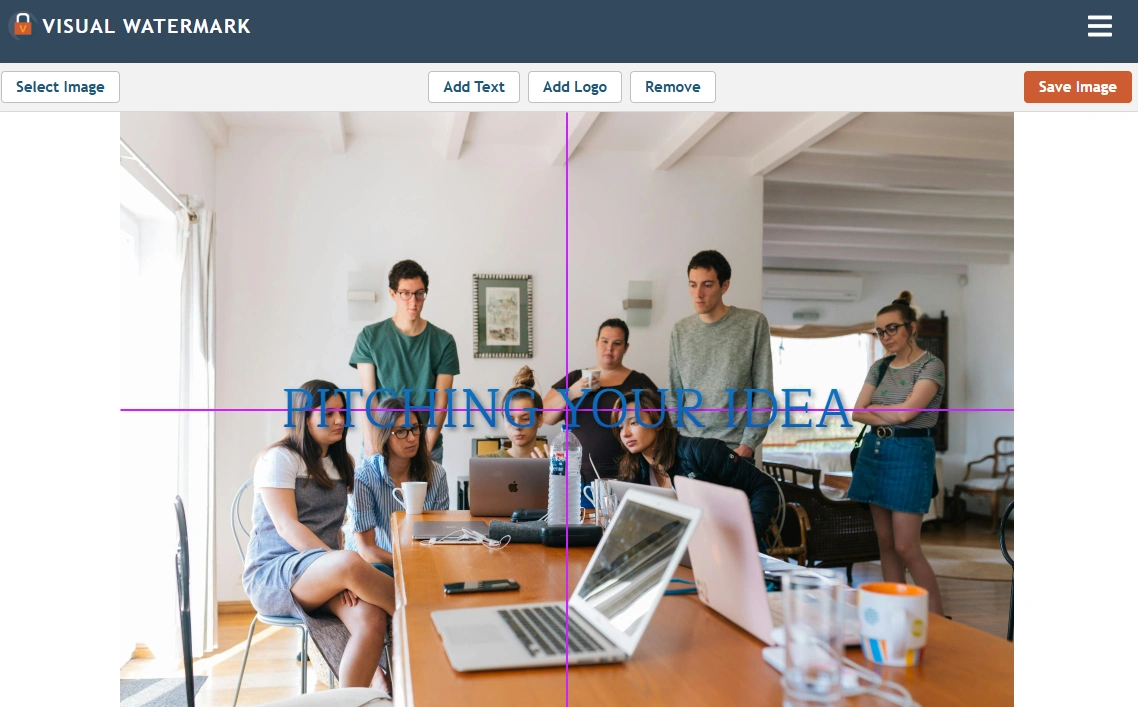
First, Visual Watermark’s website offers the app called Add Text to Photo, which allows you to add text to a single photo; we’ll get back to batch-processing in a minute. The main benefit of the Add Text to Photo app over Microsoft Word is that it offers more editing options. Not to mention that the whole process is much easier. You simply:
- Upload your image into the online app.
- Click on the Add Text button, then enter your text in the text input area. There’s no need to remove the fill and the outline of the text box. The text box won’t have a background.
- Resize and reposition your text. Unlike MS Word, Visual Watermark’s app has guiding lines, so you will be able to position your text with more precision. For instance, it will be much easier for you to place your text in the center of the image.
- Pick a font from an extensive library.

- Choose a solid or a gradient color.
- Rotate your text, adjust its transparency. It’s also possible to add an effect to it. For instance, a semi-transparent box.

- Specify the export settings.
- Download your image.
And after that you can insert your image with text – as a single element – right into your document! There’s no need to group anything to move the image around.
Visual Watermark also offers an online and a desktop app for watermarking photos. It allows you to add any text you want, so it works similarly to Add Text to Photo, except that here, you will be able to process as many images as you need. You will also need to upload your images into the app, enter your text, then customize it. Finally, you will simply export your images with your text sitting on top of them.
Now, there are a couple of things that you will need to keep in mind:
- The watermarking app adds one and the same text to a batch of images. You can make some minor changes to the style, size and placement of your text. But the text itself will be the same. So, if you need to add different bits of text to your images, you will need to do so separately.

- The desktop app allows you to add sequential numbers. So, if you need to label your images with Figure 1, Figure 2, etc., this feature can be quite useful.
- Both the Add Text to Photo and the watermarking app allow you to add text on top of your image. So, if you want to place your photo caption near your text – above or below – you will need to do this in Microsoft Word.
- Visual Watermark is a website with a selection of online tools for basic image editing. For instance, here, you can also crop your images, compress photos, convert them to JPEG, or blur any part of a picture.
- Visual Watermark applies all the changes to automatically created copies, so nothing will happen to the original files.
- You will be able to use your images with text for some other purposes, not just for inserting into your document. For instance, you will be able to post them on social media.
If you need more flexibility and creative freedom, then either of Visual Watermark’s apps might be a better choice for you than adding text to a picture in Microsoft Word.
Final Thoughts
Microsoft Word can be used not only for creating textual documents, but for combining text and images, as well. This opens up a world of possibilities: you can easily create social media posts within mere minutes as well as design polished and well-organized materials for educational or advertising purposes without switching between different apps. It’s also incredibly easy – even a beginner with no design skills will be able to do this!
However, if you want to make things easier and need more creative freedom, consider using Visual Watermark.