 by
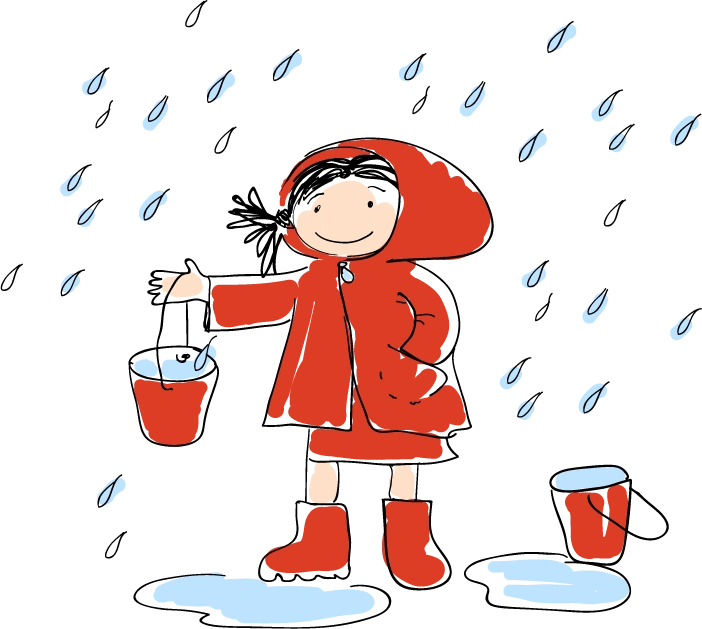
by Achieving the best exposure is pretty much like collecting rainwater in a bucket. You want to make sure that you collect neither not enough (underexposed images), nor too much (overexposed images) water.
You are in charge of three key elements:
- the bucket’s size
- the length you keep it in the rain
- the amount of water you want to gather
Think of ISO as the intensity of the rain. Your goal is to collect, say, one gallon of water. If you collect more, the water will flow out of the bucket and you will get over-exposed image (everything on the image will be overly bright with no shadows). If you collect less than one gallon, you will get an under-exposed image.
The secret is that you can use various combinations of size, duration and quantity to achieve the best results. For example, to collect the same amount of water, you need less time if you have a really wide bucket. On the other hand, for equal amount of time, you can collect less water if you use a really small bucket.
The Exposure Triangle
In photography, the three key elements – aperture, shutter speed and ISO – are similar to the size, time and amount of water we discussed above.
However, you can get better and better at using these three key elements – “the exposure triangle” – to be able to achieve amazing results in your photography. Each of the three elements of the triangle depends on light and on how it enters and interacts with your camera.
Each element affects exposure in a different way:
- Aperture: controls the amount of light that reaches the image sensor
- Shutter speed: controls how much time the aperture remains open
- ISO speed: controls sensor sensitivity to a certain amount of light
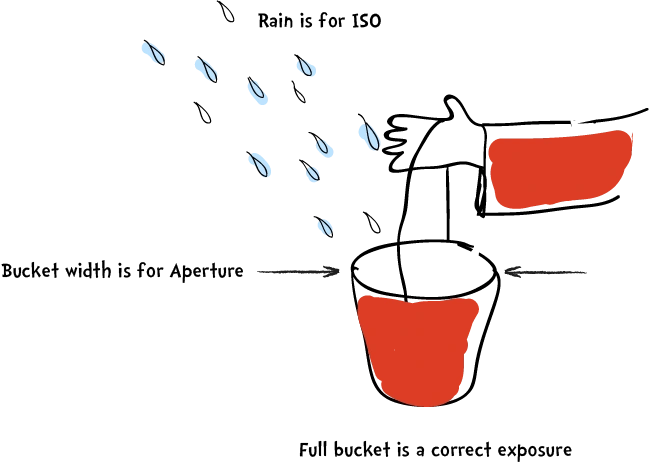
Here is an easier way to help you understand the exposure triangle. The following analogy will eliminate all the confusion and make it a bit more logical. Think about the rain that you use to fill a bucket with water:
- The width of the bucket is the aperture – the larger the diameter, the more water runs through.
- The duration you keep the bucket in the rain is the equivalent of the shutter speed – the longer bucket is in the rain, the more water comes in.
- The intensity of the rain is the ISO – the more watermark falls over time, the bucket is filled faster.
- The amount of water collected into the bucket is the exposure.
As you can see, there are multiple ways to combine these three elements to achieve the same exposure. The mastery, however, is to know which ones to choose, since each variable also affects other image attributes.
For example, aperture determines depth of field, shutter speed freezes / blurs motion and ISO speed produces image noise. It is at the intersection of these three elements that you can achieve the best image exposure.
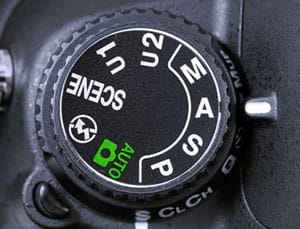
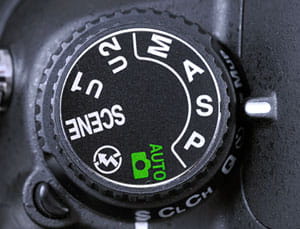
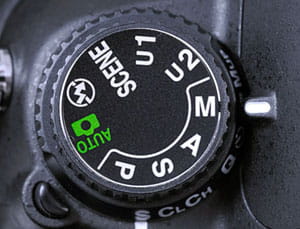
Exposure Mode Controls
Next, I will give you a breakdown of the exposure mode controls on modern cameras. It’s Auto, P, A (sometimes Av), S (sometimes Tv) and M. This is a basic guide to where and when to use each mode:
Auto
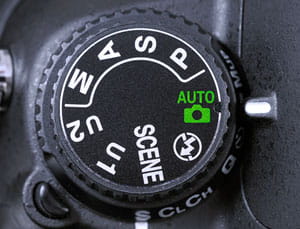
In Auto mode the camera attempts to guess the best exposure settings and chooses everything for you – shutter speed, aperture and ISO. Typically, in Auto mode the camera never opens aperture too wide or closes it completely.
This mode can be simple and easy to use and you might get reasonably good shots. However, most cameras are packed with advanced settings that you can learn to use successfully – and you can use them to achieve amazing results.
Program (P)
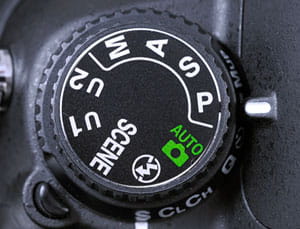
Program (P) mode is basically Auto mode, but you tell the camera what object you’re currently shooting. This is also called the “Green” mode because it’s usually marked by a green “P” on the camera. The Program mode also leaves all the decision-making on autopilot. The camera creates a combination of Shutter Speed and Aperture so you don’t have to worry about exposure at all. In some cameras this may also come as “Portrait”, “Sports” or “Landscape” modes.
You may select “Portrait” program and the camera will tend to use a larger Aperture – which will throw the background out of focus, while keeping your object really sharp. In “Sports” program, the camera will use a higher ISO setting to reduce the Shutter speed and produce sharper images of quickly moving athletes.
Although the camera chooses both the aperture and shutter speed, you can still change the camera’s selection by turning a dial or pressing a button. This allows you to boost or reduce the shutter speed and the camera will select the aperture accordingly. This is a good compromise between automatic shooting and manual operation.
Use the P mode for shooting somewhat stationary subjects that don’t require either a very fast/slow shutter speed or too much/too little depth of field.
Aperture priority mode (A or Av)
“A” mode allows you to choose the aperture (f-number, f-stop) and the depth of field, leaving the camera to determine the most appropriate shutter speed. Use this mode whenever you want to create a nicely creamy background and lose all the unnecessary details from your shot (e.g. macro photography).
In a nutshell, use a…
- Small aperture – when you want everything to be in focus (e.g. a landscape)
- Large aperture – when you want to blur the background (e.g. macro photography or portrait shooting)
This mode is very useful in low-light situations, where you want to set the brightest, largest aperture in order to get the fastest shutter speed and no movement. Select a large aperture when you need a faster Shutter speed – like shooting sports or shooting in low-light conditions.
If you are shooting in low-light conditions, don’t be afraid to push the aperture to its maximum value, for example, f/2. If you need excessive depth of field or you want a slow shutter speed, stop down to f/11 or f/16.
Remember, the higher the ISO, the higher the sensor’s sensitivity to light, which means more noise in your shot. To keep exposure the same for a specific ISO value – if the Aperture is lowered by one stop, then the Shutter speed must be increased by one stop and vice versa. For example f/11 and 1/125 sec is as f/8 and 1/250 sec.
As a rule of thumb, a f/5.6 aperture gives you a little bit of depth of field (provided you don’t use a tele-photo lens) and is still wide enough to allow a high shutter speed.
Shutter priority mode (S or Tv)
S mode is particularly useful when you’re taking action shots and you want to freeze the motion with a high shutter speed. On the contrary, if you are photographing a waterfall and you want to create a beautiful silky effect and blur the water, you could use a slow shutter speed and the aperture would change accordingly.
Basically, what Tv mode does is to allow you to choose your shutter speed and then the camera tries to select an aperture for a properly exposed shot. Use Tv mode if you are taking many shots of moving subjects (e.g. sports photography) and want to freeze the action.
| Shutter Speed | Classic Examples |
| 2 – 1/2 second | To create a silky effect to a flowing waterfall |
| 1/2 to 1/30 second | Landscape shots on a tripod for a nice depth of field even in low light – Use a tripod |
| 1/50 – 1/100 second | Carefully taken hand-held shots with image stabilization |
| 1/100 – 1/250 | Common hand-held shots with no considerable zoom |
| 1/250 – 1/500 second | To freeze action and movement (e.g. sports). Hand-held shots taken with telephoto lens |
| 1/1000 – 1/4000 second | To freeze quick and up-close subject motion |
For example, if you are trying to freeze a football player, set the Shutter speed at 1/250 or higher. If you want to create some blur effect, you can shoot slower – try shooting at 1/30 and move the camera along with the player to intentionally blur motion.
If the Shutter speed is too slow and you get blurry images, increase the ISO. If the Shutter speed is too fast (say, 1/2000), or you get over-exposed images, the reduce ISO setting.
Manual mode (M)
In this mode you choose your shutter speed, aperture and ISO – sometimes with the help of the camera’s suggestion. Manual mode is best suitable for long exposures or other particular situations when the camera’s meter is not reliable. For example, in contrary light or when the sky is too bright.
Here are the steps for taking a picture in manual mode:
- Set the camera to Manual mode.
- Set the ISO at an appropriate value (e.g. ISO 100 for a sunny day, ISO 400-3200 for indoor shots)
- Point the camera at your subject.
- Frame the picture (zoom in if you are using a zoom lens).
- Select either the shutter speed or the aperture that you need to create the desired effect.
- Press the shutter button half way down to enable the camera’s light meter. It will tell you if your picture will be over/under exposed.
- Based on camera metering, select the aperture or shutter speed (whichever one you did not set in step 5) until the light meter tells you that your exposure is about right.
- Take the shot!
The Sunny f/16 Rule: If you are photographing a landscape without using atripod, inverse the ISO in choosing your shutter speed (e.g. withISO 200 – choose 1/200 shutter speed at f/16 aperture.
Ultimately, getting started using alternate camera modes is not as daunting as you may think. Learning more about some of the other camera settings is a must to growing as a photographer.
Tying Everything Together
Hopefully, now you have a much deeper understanding of how these 3 variables influence each other and the reasons why they are critical to master. It’s all about balance – combining the 3 variables of the exposure triangle to achieve your desired result in terms of blurring or freezing action, highlighting the subject or having more of the scene in focus and having a sharp beautiful image.
Allow your artistic fleur guide you and packed with these advanced techniques you will get better and better with every picture you take. Happy shooting!
More Resources
Check out this tool that enables you to experiment with different Aperture, Shutter Speed and ISO settings: http://camerasim.com/camera-simulator/
Here is a list with additional great books on exposure:
Ansel Adams – “The Negative”
Chris Johnson – “The Practical Zone System: For Film and Digital Photography”
Bryan Peterson – “Understanding Exposure, 3rd Edition: How to Shoot Great Photographs with Any Camera”
Ibarionex Perello – “Chasing the Light: Improving Your Photography with Available Light (Voices That Matter)”
Bill Smith – “Designing a Photograph: Visual Techniques for Making your Photographs Work”
David Hurn, Bill Jay – “On Being a Photographer: A Practical Guide”
Think Twice Before Publishing Hi-Res Images Online
Thank you for your time. I hope you will make much better images today. I just want to warn you about publishing your originals online. As the Web and Social Media has become all-pervasive, we can observe “piracy” on a massive scale. Because it’s so easy to copy digital photos, they can be used by many people from all over the world, often without the author’s permission.
Did you ask yourself how to prevent copyright infringement, and how to protect your photos from unauthorized use?
One of the best ways to protect your photos is visible watermarking. While it has some negatives, it provides a good level of copyright protection at almost no cost. You can even use a batch watermarking software like Visual Watermark. It makes photo watermarking a one minute operation.
Please take care of your images!