 by
by All of us know that the best way to protect your digital photos on the Internet is by watermarking them, but sometimes to place the watermark on the photos is not enough to secure your photos. For example, look at these pictures.


We removed the watermark using photo editing software. Remaining defects on the restored picture are so invisible that the photo can be easily stolen.
Does it mean that watermarks in general are insecure? No. Watermarks are secure if you use them properly. Look at the next pictures to understand how you can improve the watermark.

What is the difference between the pictures above?
First of all, we placed the new watermark in the center of the photo. Watermark position is a crucial factor that can make your watermark exceptionally strong or useless.
For clarity, we split the image that you want to protect into three areas. Placing the watermark in these areas will guarantee you a different degree of protection.

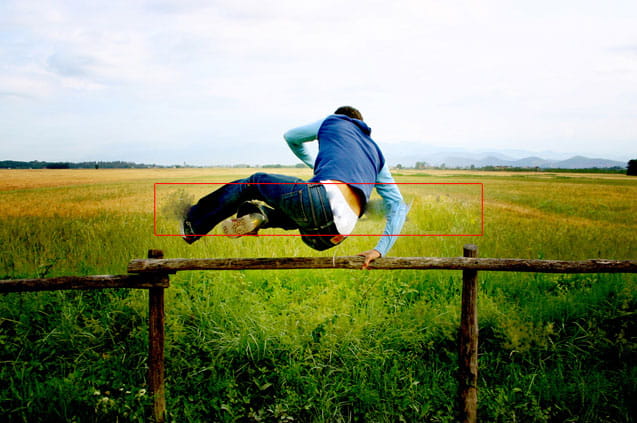
![]() Worst protection
Worst protection
![]() Better protection
Better protection
![]() Best protection
Best protection
Placing the watermark in the corner of the picture makes your protection as weak as possible. The worst decision in this case is to reduce the watermark size. However, such watermark (especially, small watermark) affects the overall picture expression as little as possible.
The yellow area is an excellent place for your watermark because it doesn’t allow an easy crop the image to remove the watermark. It can still be removed using a pixel-by-pixel retouching, but that is a hard task by itself.
The center of the picture is the best place to put your watermark on a photo. This is the most detailed part of the picture. So this way of watermarking makes the protection stronger. In addition, your watermark is particularly noticeable.
If your watermark seems to irritate the viewers (too noticeable), just make it translucent.
 |  |
| Opaque watermark (no transparency) | Translucent watermark (70% transparency) |
The second distinction is photo coverage. The watermark is large enough to protect most of the picture’s details. As the result, this watermark can’t be removed without remarkable effects to the image. A good-sized watermark should cover at least approximately 30% of the photo.

Protected photo with bigger watermark

Noticeable artifacts after watermark removal
To restore this picture we have used the same technique as before. You see there are lots of defects on the picture so that we are not able to use it unauthorized way. Combining these two approaches above, you can considerably improve watermark security.
If you tried watermarking in your photo editor, you may find it a time consuming task. It’s not true with our watermarking tool Visual Watermark. We designed it to be easy to use and be able to watermark all your photos at once. You can download trial version for free from our website here: Download